Author: rradiuk

Summer Potato Lentil Salad

I just got back from traveling AND EATING for almost a month and am trying to get over jet lag along with a terrible cold I picked up somewhere between Rome and San Sebastian (aka pasta and pintxos heaven). The last couple days of traveling and the flight home socked me good. But I’m still hungry! Have I mentioned before that when I get sick I’m not one of those people who eats a half piece of toast and “can’t eat another bite”? I hate those people. Nope, when I’m sick I NEED ALL THE FOOD!

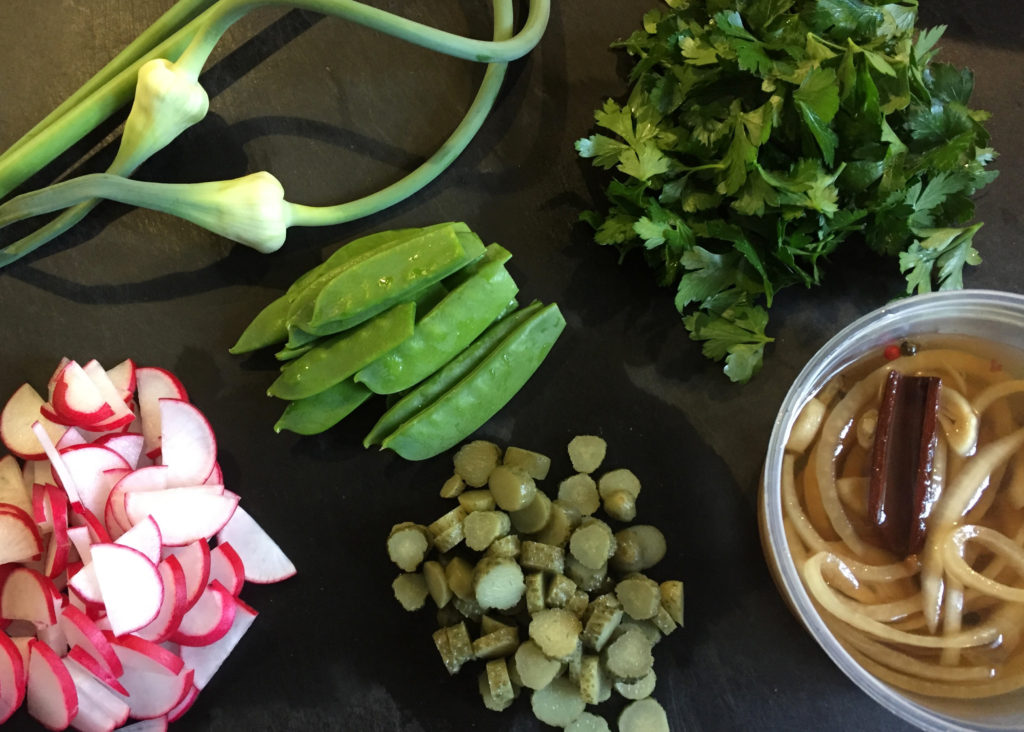
One night in San Sebastian I had a pintxos (basically a small snack served on a slice of baguette alongside a drink) of a beautifully rare bite of steak sprinkled with salt. Yesterday I was craving that steak but not the heavy potatoes and sour cream that usually accompany it. What did I think about a lightened up potato salad? Salad sounds good. What about adding healthy French lentils to counteract the eating of the last month? I could go for that. And how about elevating it with something punchy like chopped gherkins or pickled onions? Suuuuure! And should I throw in some radishes and peas from the garden? Why not?! Anything else I need to use up? I do have those garlic scapes…

As you can see, I’m simply using what I have on hand. I love to cook this way in the summer. Use the potatoes, lentils and vinaigrette as a base and add whatever is available to you. Little tomatoes would be delicious. Fresh green beans that have been cooked to just tender-crisp. Oooooh, maybe some olives to make it a bit “nicoise-y”. Or some hard-boiled eggs for a more traditional potato salad. Oh, and wouldn’t the salty bite of some goat or sheep feta be lovely??? The world is your oyster (mmmmmmm, oysters). ;)
Vinaigrette:
2 TBS white wine vinegar
1 clove garlic, minced
1 TBS tsp Dijon mustard
2 tsp anchovy paste (you know you want to!)
few grinds of fresh black pepper
1/3 cup good fruity olive oil

Whisk together all ingredients and set aside.

1 cup dry French (Puy) lentils
1 lb small new potatoes
handful of fresh parsley leaves, chopped
Salt and pepper to taste
6-8 chopped sour gherkins and/or sweet pickles (optional)
1/4 cup pickled onions (optional, but HIGHLY recommended)
handful of radishes, washed and sliced (optional)
handful of sugar snap or snow peas, chopped (optional)
Garlic scape, tender bits thinly sliced (optional)

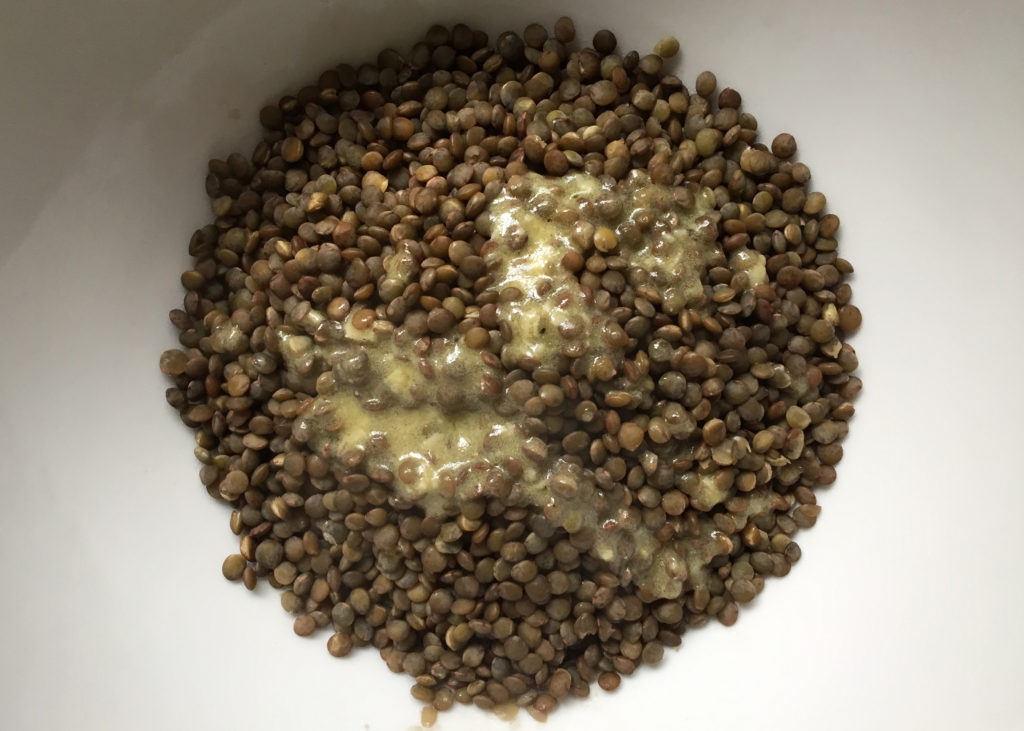
Cook lentils until tender but not mushy, using your favourite method. I soak mine for about 4 hours then steam them until tender… 15-30 minutes depending on how old the lentils are. Drain and turn into a large bowl. Stir in 1 TBS of the vinaigrette to season the lentils. Set aside.
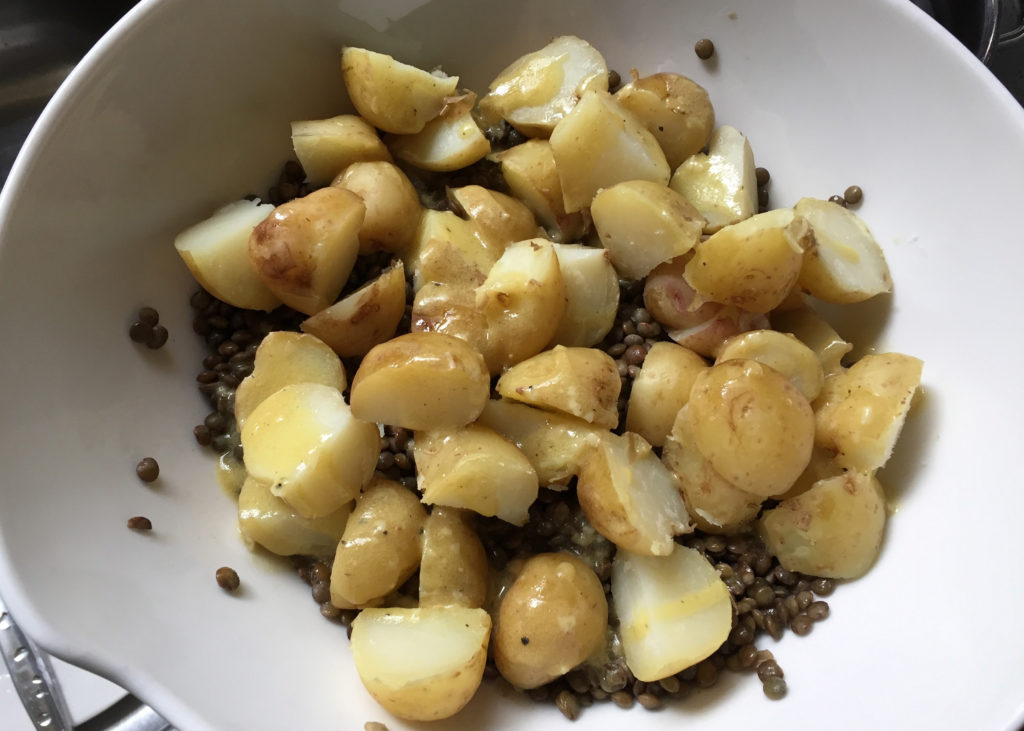
Scrub new potatoes. Leave whole if small or cut in half if larger and cook in simmering water for about 15 minutes until just tender. Drain and cut in half (largish bite-sized pieces). While still warm, place the cut potatoes in the bowl with the lentils. Fold in 3 more TBS of the remaining vinaigrette and let sit so the warm potatoes and lentils absorb more of the dressing. Salad can sit at room temperature for a couple hours.
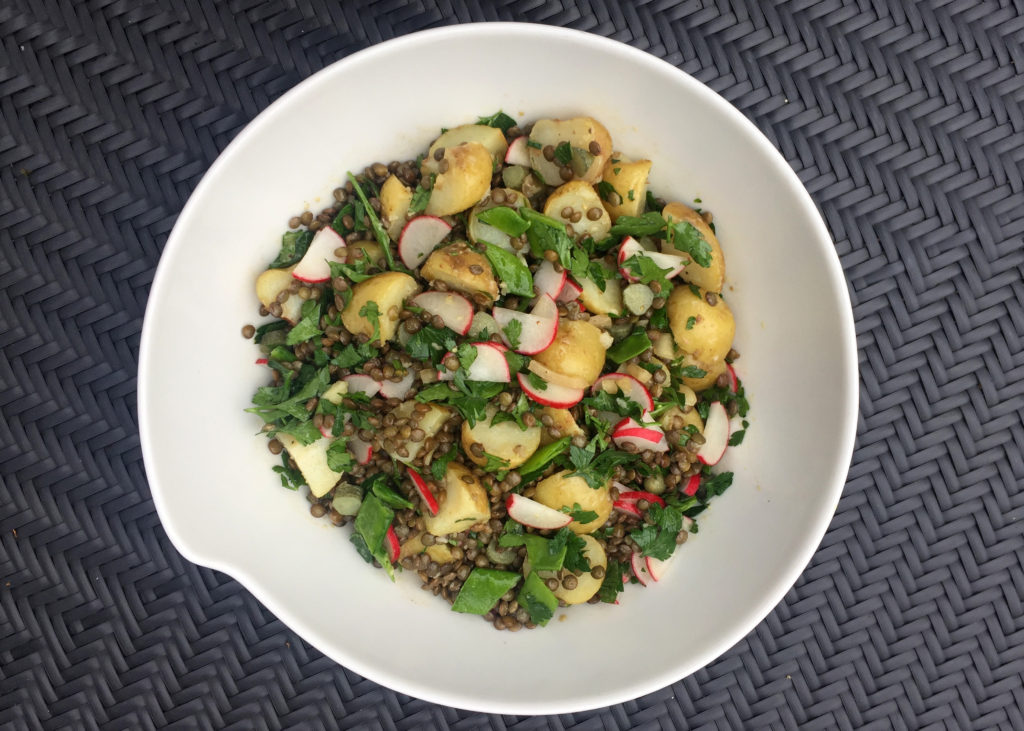
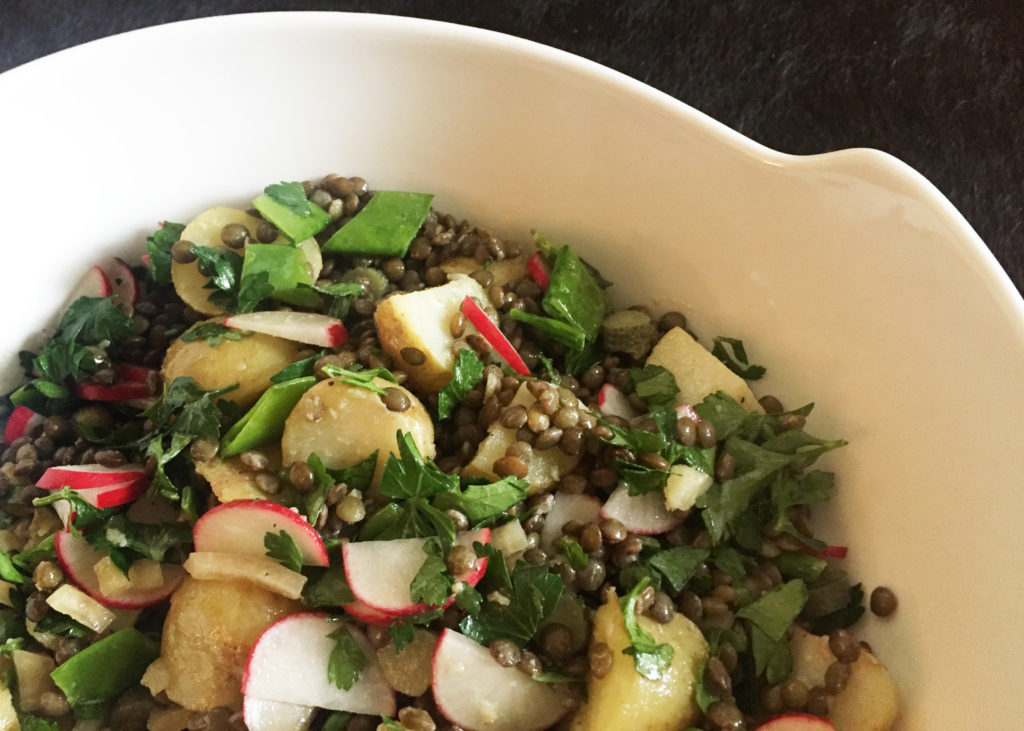
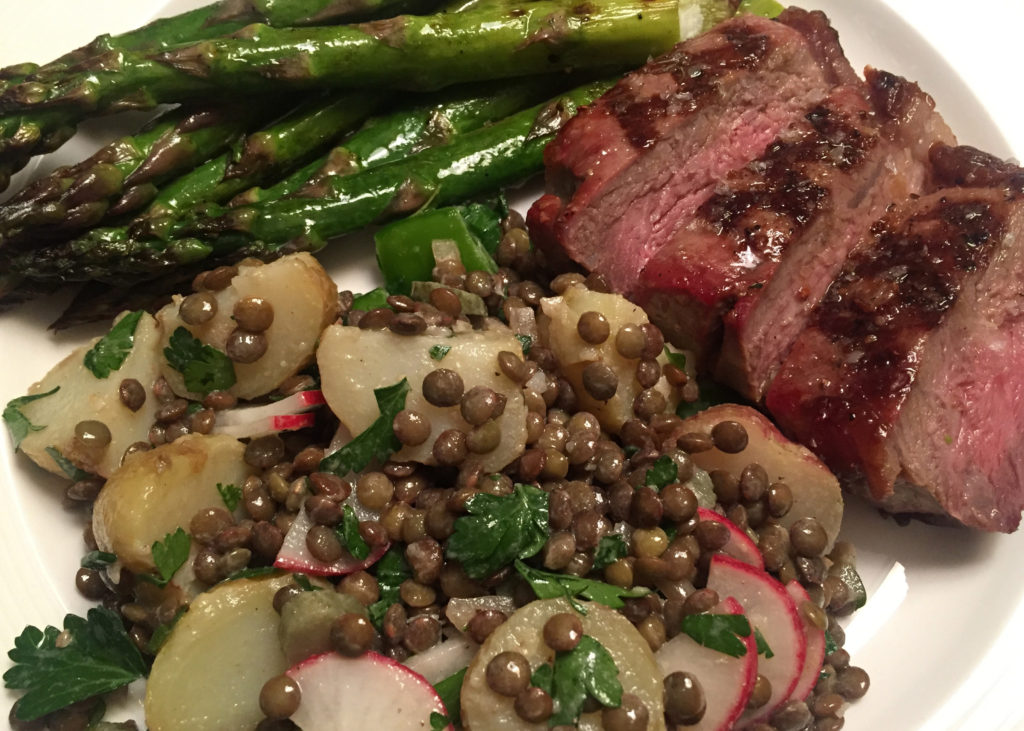
When you are ready to eat, add the chopped parsley and your other additional ingredients from the options above or your own choices. Drizzle with the remaining vinaigrette and gently stir to combine. Taste and re-season with salt and pepper if necessary. We ate this with BBQ steak and grilled asparagus. Sooooo good.
Rhubarb Compote

My rhubarb patch is absolutely bursting and besides giving away several pounds, I’ve made numerous galettes, muffins, and I have a scone recipe waiting in the wings, but it appears that the simplest preparation is sometimes the most favoured.

At Husband’s request I have been making homemade yoghurt (“I miss the tangy yoghurt in Mallorca” he lamented… *insert rolling eyes here*) and a few weeks ago he was craving dessert so I suggested he stir a couple of tablespoons of rhubarb compote into his yoghurt…

And I have been struggling to keep up with the making of the yoghurt and rhubarb compote ever since.

There are tons of things you can do with this compote. Spread it on toast or on top of a bagel with cream cheese, dollop on to grilled or fried pork chops, add it to whipped cream, serve over ice cream or pavlova, add to your morning oatmeal, fold it in to berries for shortcake, and of course, stir it into plain yoghurt. We like it not too sweet so I use 3/4 cup of sugar but you can start with that and taste and add more sugar throughout the process. And don’t be afraid to use a pinch of hot pepper flakes, it won’t make it spicy, it will just give it a deeper, rounder flavour.

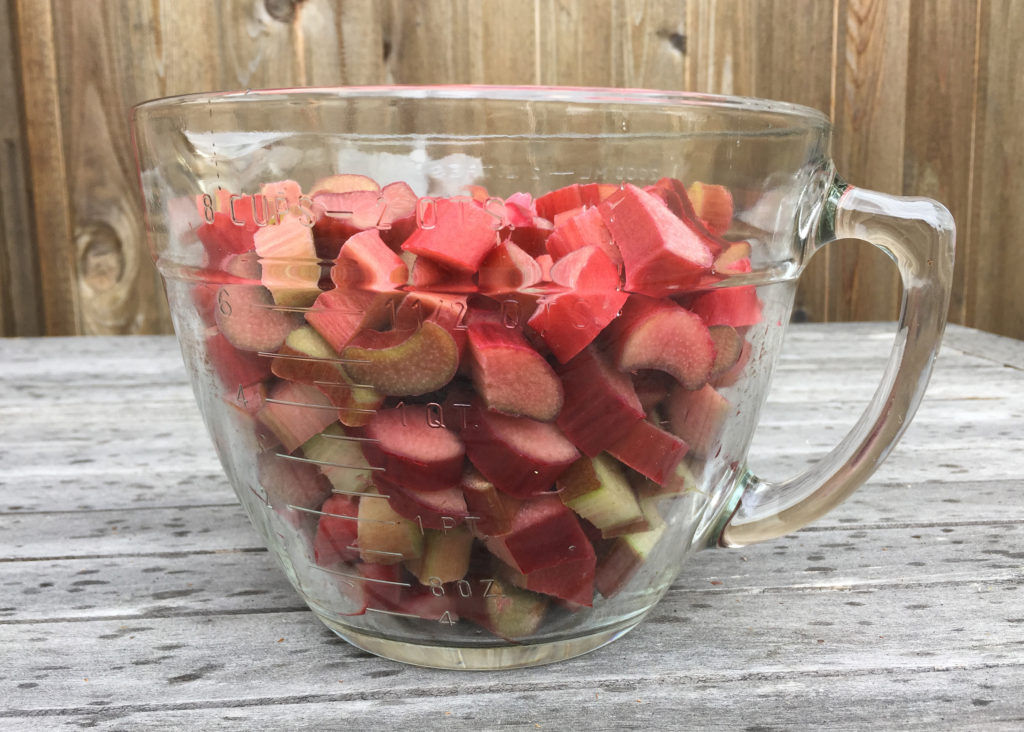
2 pounds (about 7-8 cups) fresh rhubarb, 1/2 inch slice
3/4 cup sugar (you can add more at the end if you like it a bit sweeter)
6-8 thin slices fresh ginger (about 1″ total)
1 TBS balsamic vinegar
pinch of hot pepper flakes (optional)

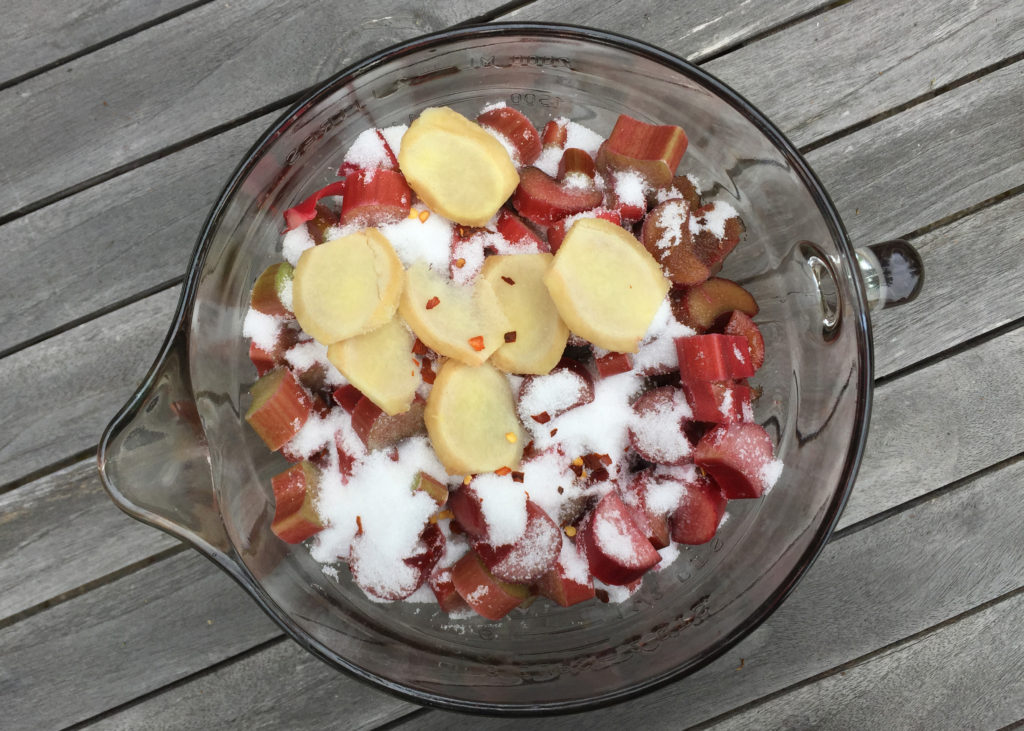
Combine all ingredients in a large, heavy bottomed pot and let stand for at least 30 minutes until the fruit has released some liquid.

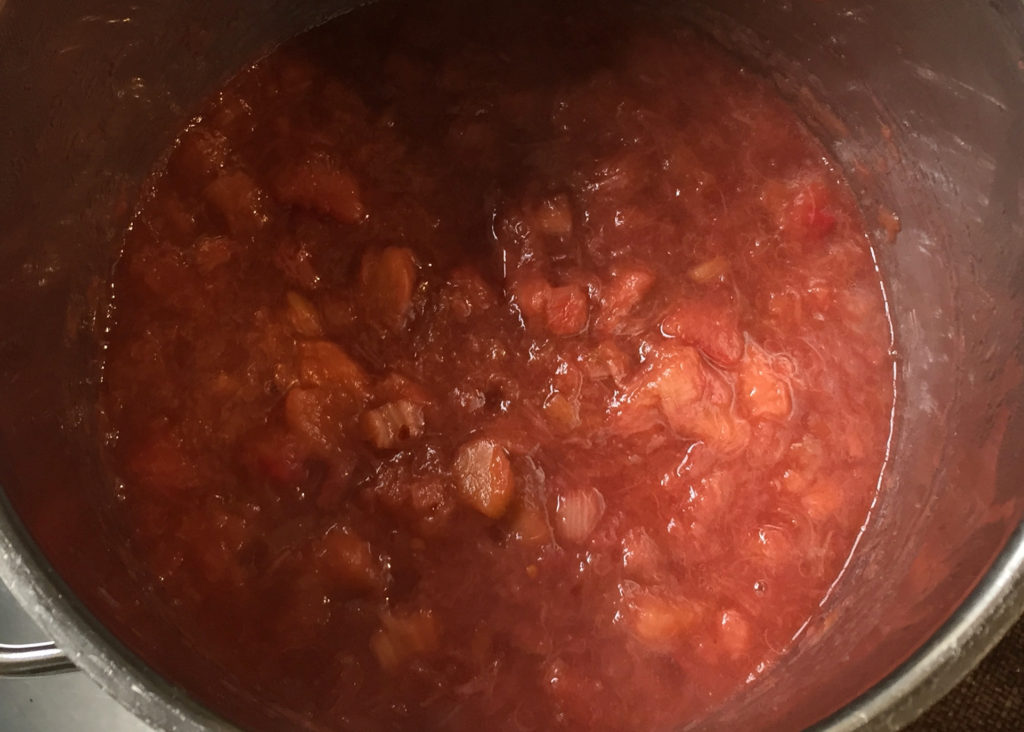
Place pot over medium-high heat until liquid comes to a boil then reduce heat to a simmer. Stir every minute or so until rhubarb is very tender and starting to break down and the compote starts to thicken, about 10-12 minutes is perfect for us but you can decide what texture you want. Taste and adjust sweetness by adding in another tablespoon or two of sugar if you wish. Remove from heat and let cool.

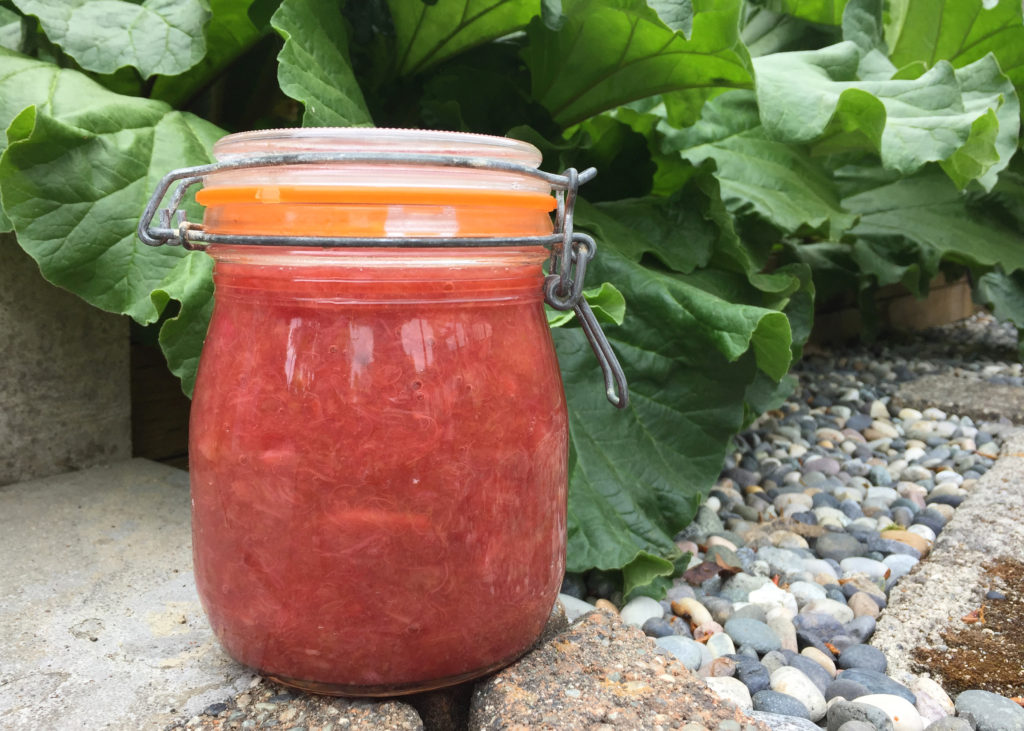
I store mine in a large glass jar in the fridge. It will keep for a few weeks but ours usually disappears before then.

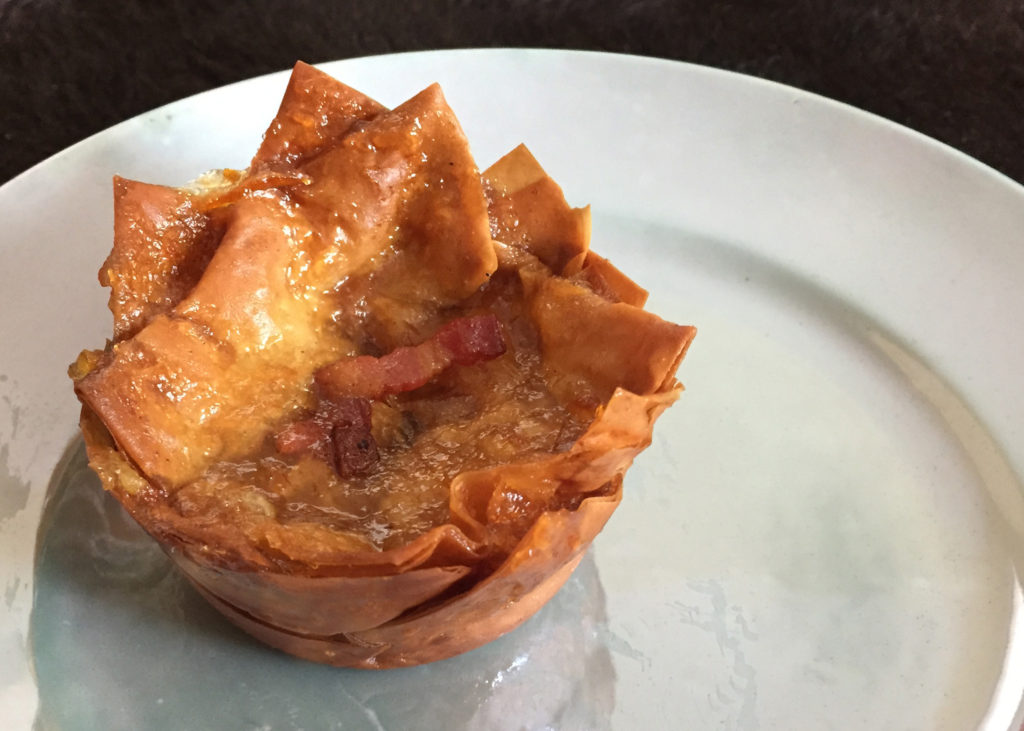
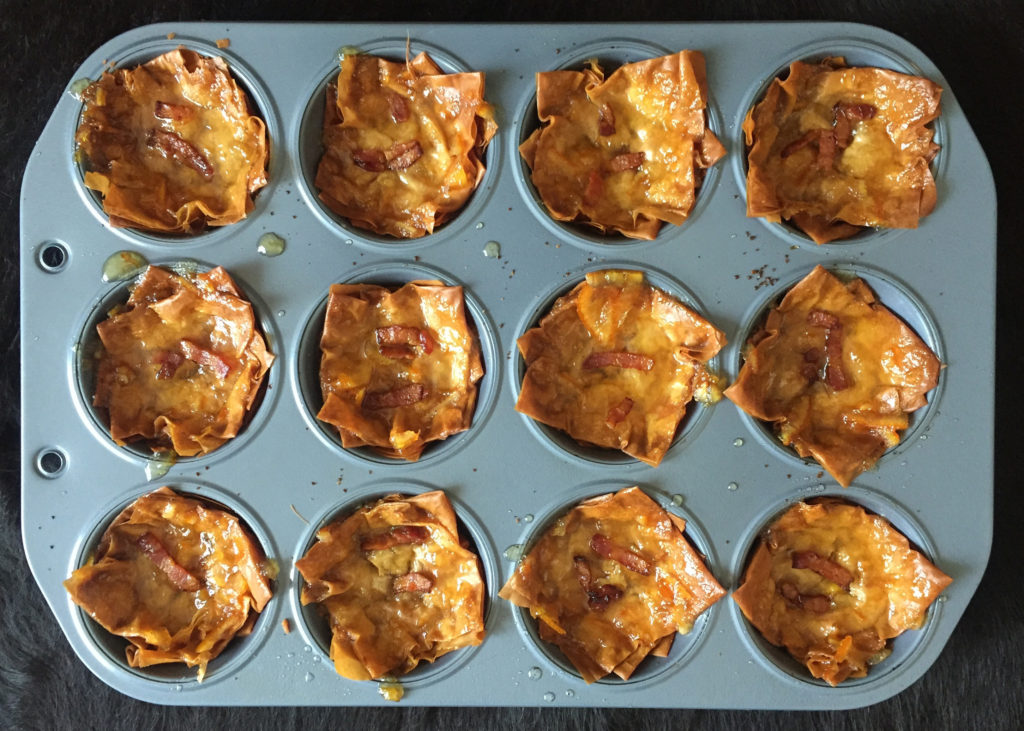
Bacon Orange Baklava Tarts

Oh yes, you read that correctly. And I’m not even going to try to convince you except…

Bacon.

Orange.

Baklava.

That is all.

1/2 cup walnuts
1/2 cup pistachio nuts
4 ounces chopped bacon
1/3 cup brown sugar (lightly packed)
1/8 tsp red chili flakes

1/3 pckg filo dough (6 sheets)
1/2 cup (4 ounces) melted butter
1/2 tsp ground cardamom
1/4 tsp ground ginger

1/4 cup orange marmalade
1/4 cup honey
1 TBS orange flavoured liqueur, such as Cointreau (optional)

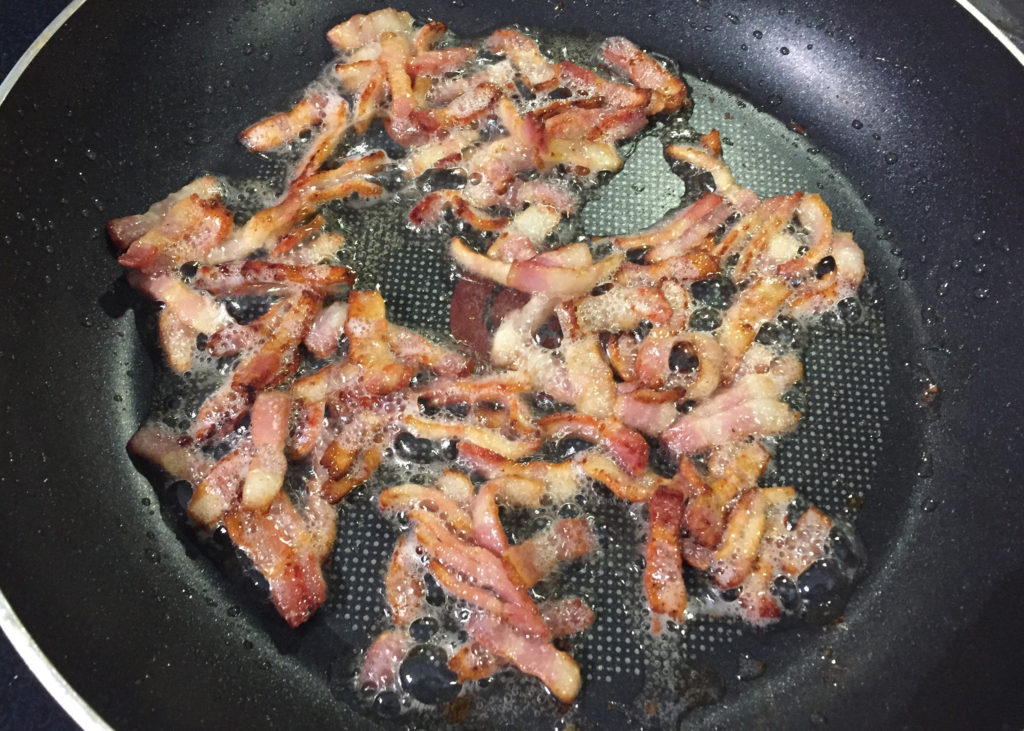
Fry bacon until crisp. Drain and let cool. Set aside a small handful to decorate the top of your tarts, the main portion will be added to the nut mixture below.

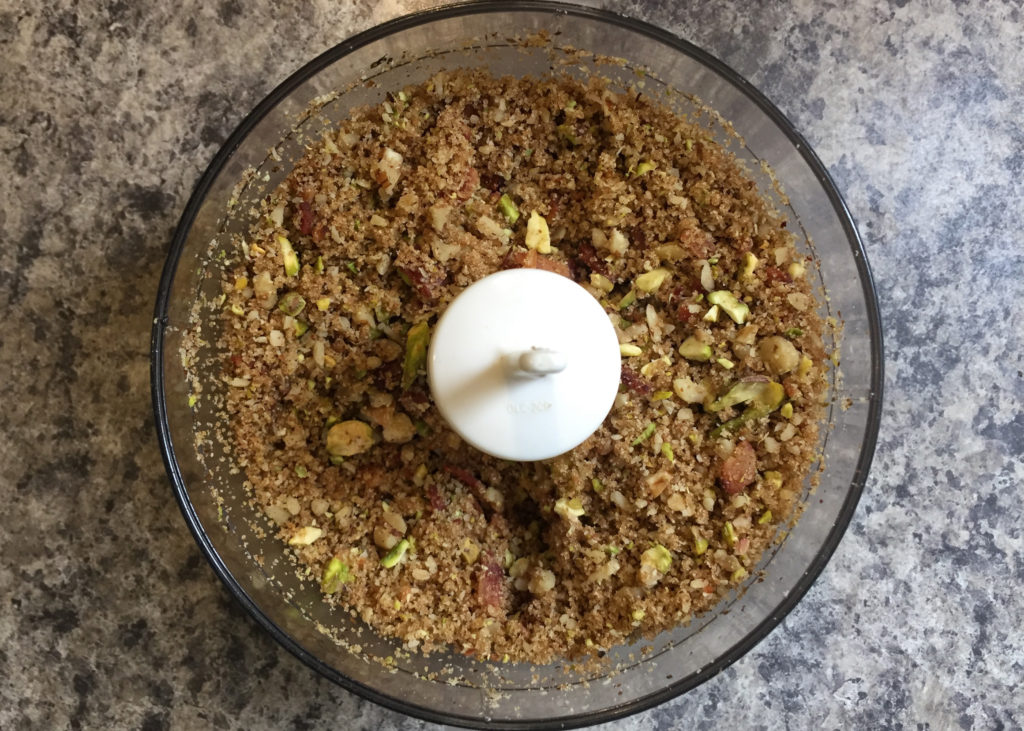
In a food processor pulse the nuts until they are broken up, but not turned into meal. Add the larger portion of bacon, brown sugar, and chili flakes and pulse a few more times until the nut mixture is finely chopped and evenly blended.

Preheat oven to 350F.
Butter or oil muffin tins (I used the fat leftover from frying the bacon… ooops ;) ).

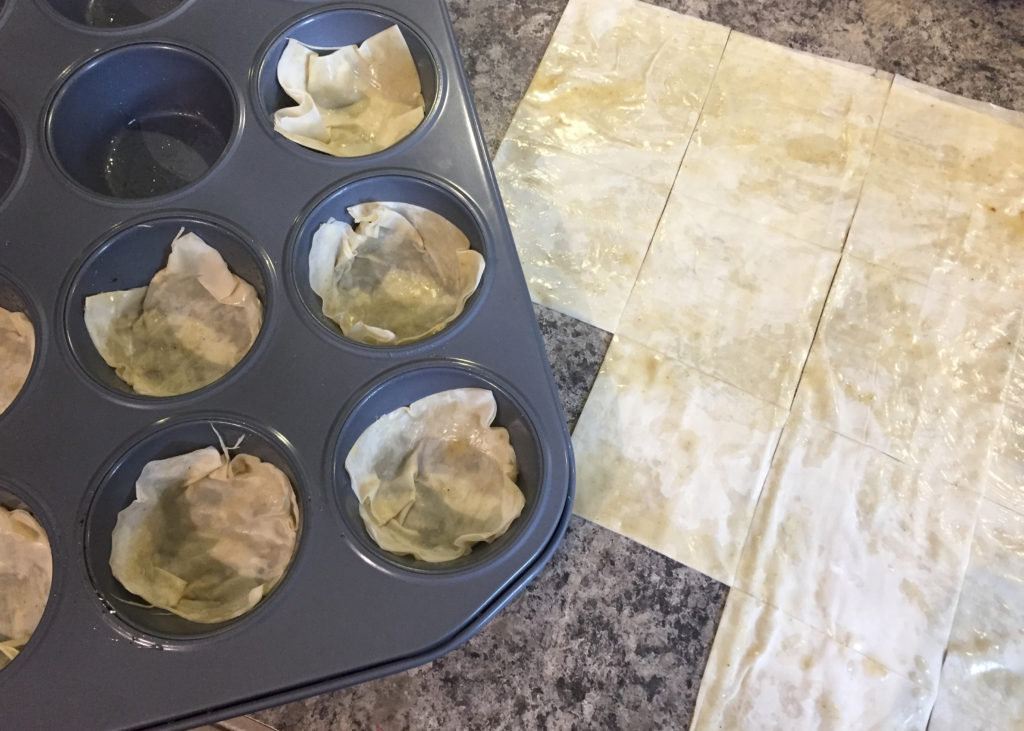
Melt butter and whisk in ground cardamom and ginger. Place one sheet of filo pastry on a flat surface and brush lightly with butter. Set a second sheet of filo on top of the first and brush with butter. Repeat with a third sheet. Phyllo sheets are usually about 12 inches by 18 inches so cut sheets into 3 inch squares (3 cuts along the short side and 5 cuts along the long side) to make a total of 24×3″ squares.

Press one square (3 sheets thick) of filo into each muffin cup. Top with 2 scant teaspoons of the nut mixture. Press another square of filo into each cup over the nut filling. Top with another 2 scant teaspoons of nut mixture.

Repeat. 3 more sheets of filo brushed with butter and cut into 3 inch squares. Press into muffin cups on top of your last layer of nuts. Top with the remaining nut mixture and press in your last squares of filo.

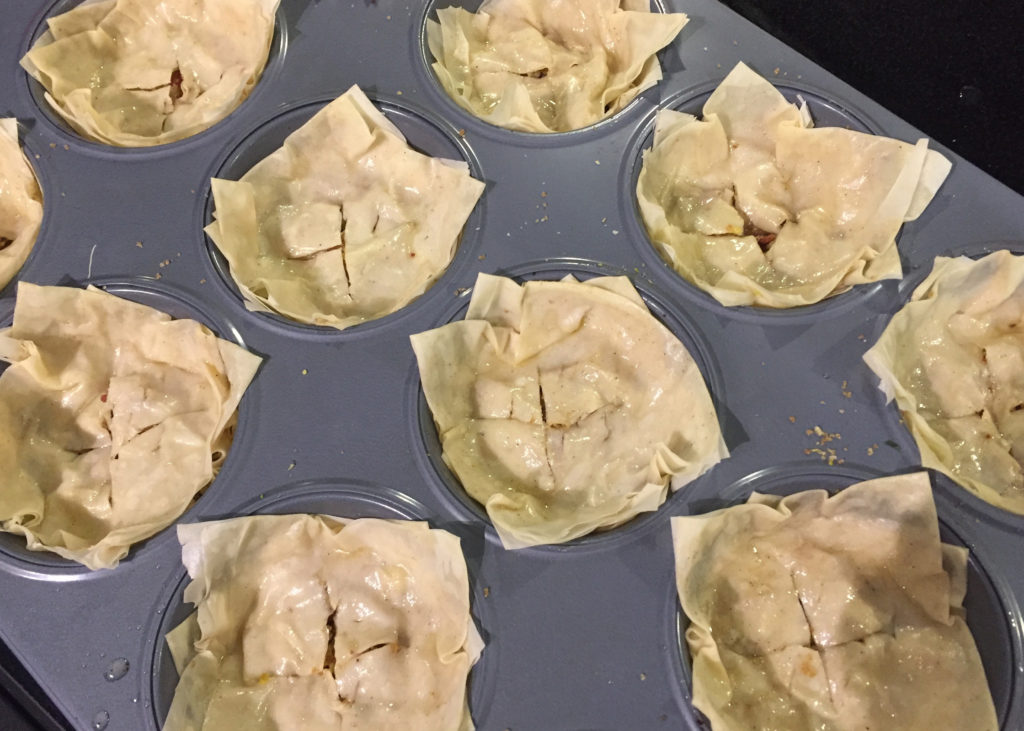
Carefully (or not) with the tip of a sharp knife cut a cross into the middle of each tart, trying not to cut through the bottom layer. This may frustrate you but it’s really no biggie. Just make some cuts so that when you pour over the syrup after the tarts have finished baking it will soak through all the layers. No matter how messy your cuts are the finished baklava will still be gorgeous… trust me.

Place in oven for 25 minutes, turning halfway through to ensure even baking. Check your tarts regularly starting at the 15 minute mark. The edges of the filo are very thin and will darken quite quickly. If they are getting too dark for your liking simply tear off a big piece of tinfoil and throw it over the entire muffin tray in the oven to deflect the direct heat.

While the baklava is baking, heat the marmalade, honey, and liqueur (if using). At about 25 minutes the baklava should be nicely dark golden and the tarts cooked through. Remove from oven and immediately spoon 2 teaspoons of warm marmalade honey sauce over each tart right to the edges. Let sit for at least an hour for the syrup to soak through.

Instant Pot Beef Stock

While prepping my ingredients for dinner yesterday I discovered that my supply of frozen homemade beef stock had disappeared (what the?!?!) so I spent some time in the afternoon making another batch. I keep telling you guys not to use that terrible canned/tetra pack stuff but have never told you how EASY it is to make your own beef stock in an Instant Pot (or other stove-top pressure cooker). It takes a few hours but most of that is hands off, and what you end up is so much more than the sum of its parts.

I save all my beef bones and scraps in the freezer, and supplement them with bones from the butcher. I think I pay around $10 for 6 pounds of organic beef bones and once I supplement with a couple pounds of bones and scraps from dinners here and there I have enough to make 2 batches of stock. Very economical considering the quality.

You may notice I don’t add any salt to my stock while making it but that’s just a personal choice. I like to wait to season the stock so I can customize it to whatever dish I’m using it in but you can season with salt at any time. Remember this when you taste the final stock from the pressure cooker. You’ll think, OMG it needs salt! Yes, yes it does! :)

4 pounds of beef bones and scraps
8 cups of water (my general rule is 2 cups per pound of bones)
1 TBS tomato paste
1 onion, unpeeled but rinsed and quartered
1 TBS apple cider vinegar
1 tsp whole peppercorns

Optional add ins:
5-6 thin slices ginger, or 1 piece star anise
1 carrot (cut into a few chunks)
1 stalk celery (cut into a few chunks)
1 bay leaf

Blanch the bones by placing in a pot and cover completely with cold water. Bring to boil and let simmer for a couple minutes. Dump the water and rinse the bones. This gets rid of any impurities and makes a cleaner final stock.

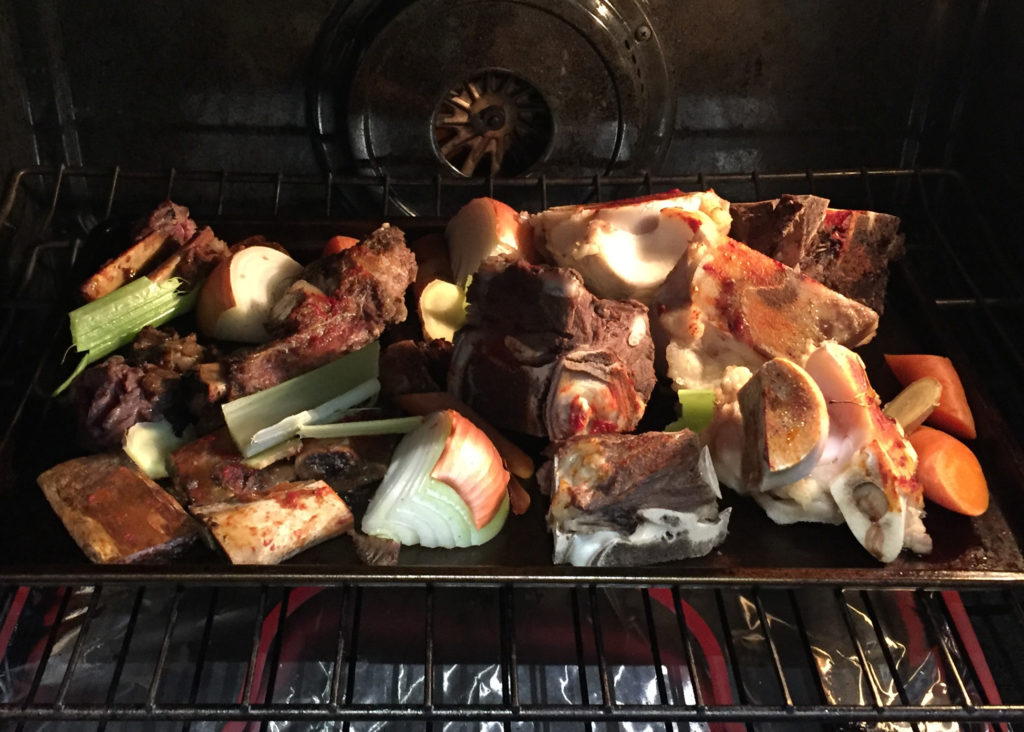
Heat oven to 400F. Place blanched bones and any meat scraps on a large cookie sheet. Brush bones with tomato paste. Add quartered onion (with peel, this helps colour the broth) and ginger, carrot and/or celery (if using) to the tray. Roast for 30 minutes.

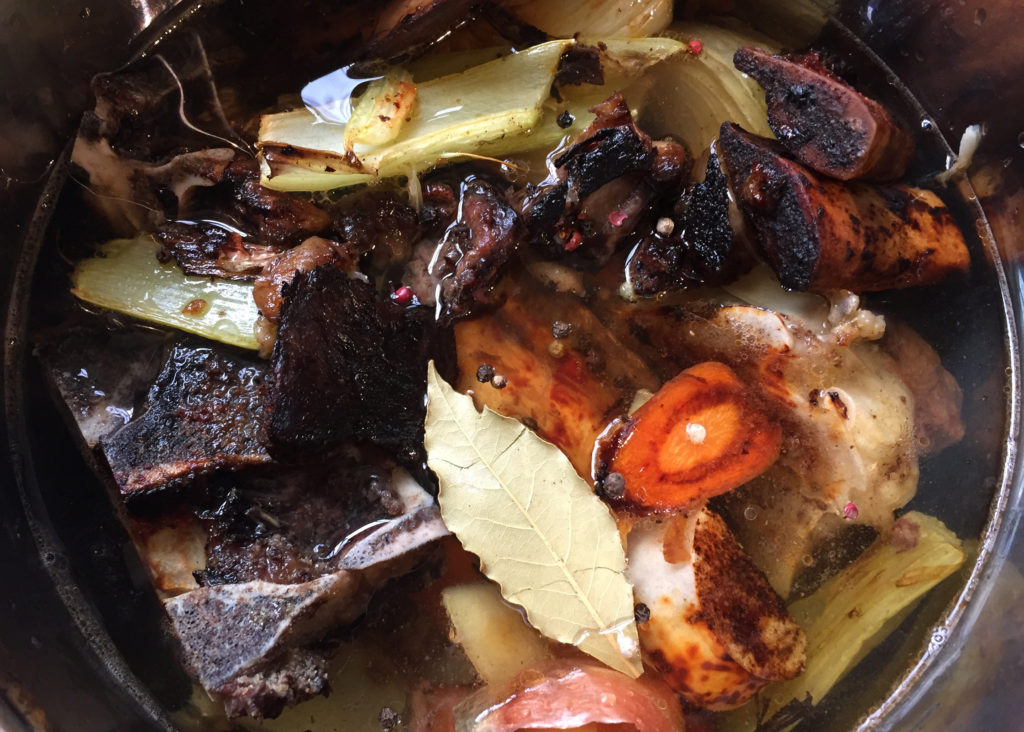
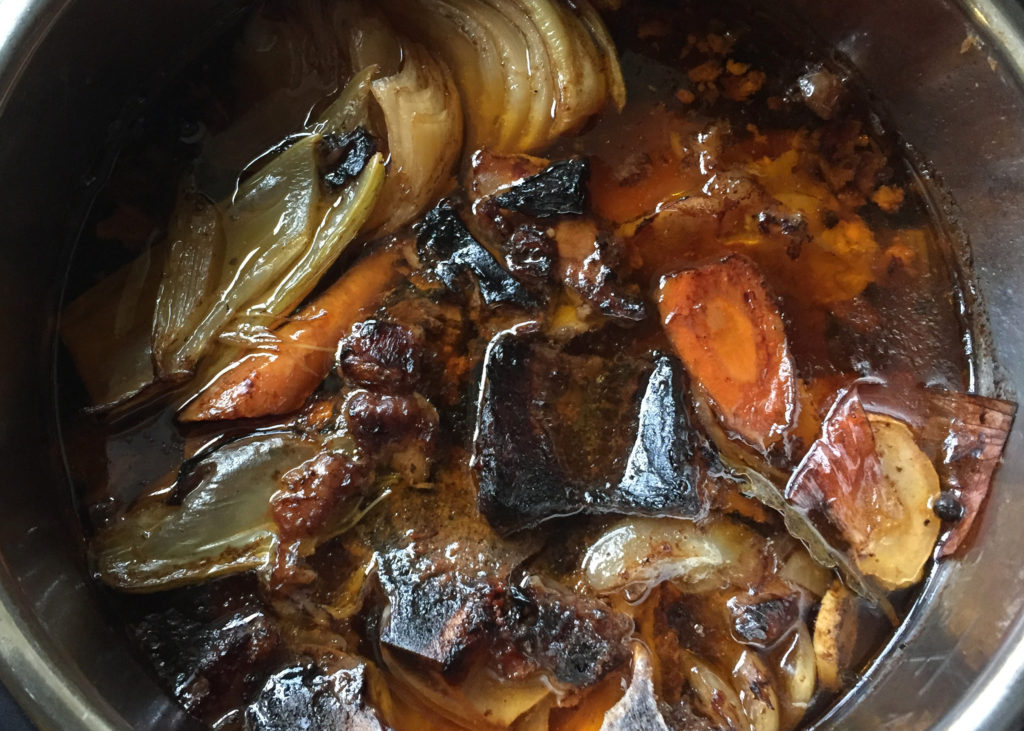
Once roasted, place the entire contents of the tray in your Instant Pot. Add apple cider vinegar and peppercorns. Pour in 8 cups of cold water. Pressure cook on high for 30 minutes and then let natural release for 20 minutes. Repeat twice more but let the pressure naturally release on the final cycle until the pin drops. Your final cooking time for the stock will be 90 minutes on high with 20 minutes of natural release between each cycle, plus about an hour at the end for the pressure to release naturally (about 3 hours altogether). Sounds weird, I know, but this cycling of the pressure makes a much more flavourful stock than just simply cooking for 90 minutes straight.

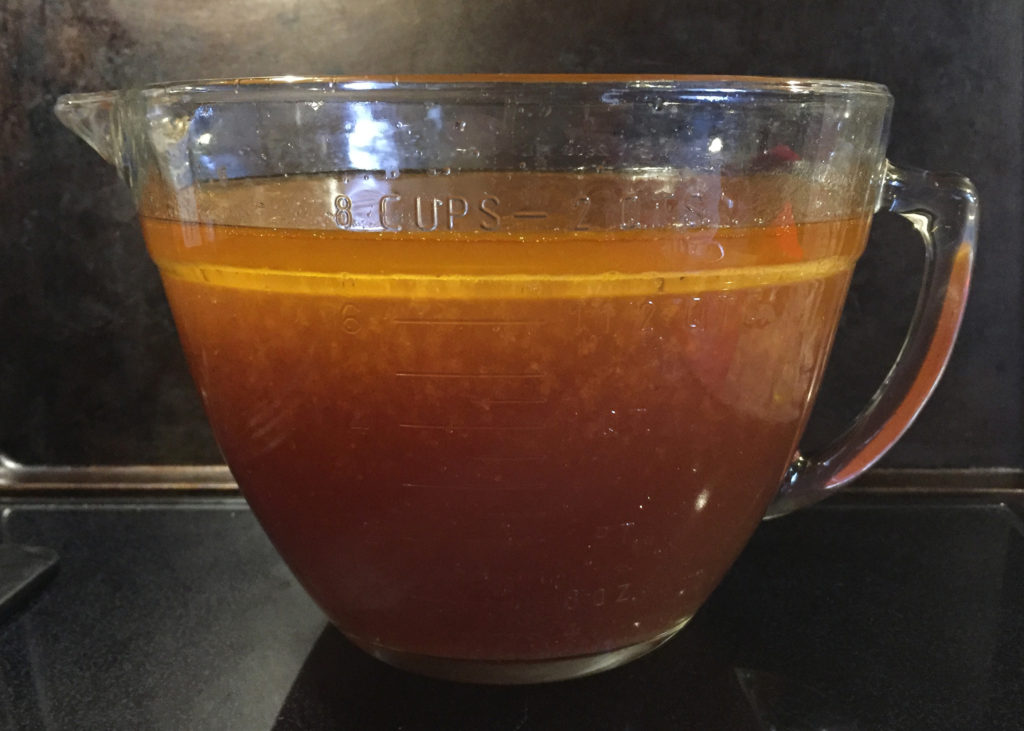
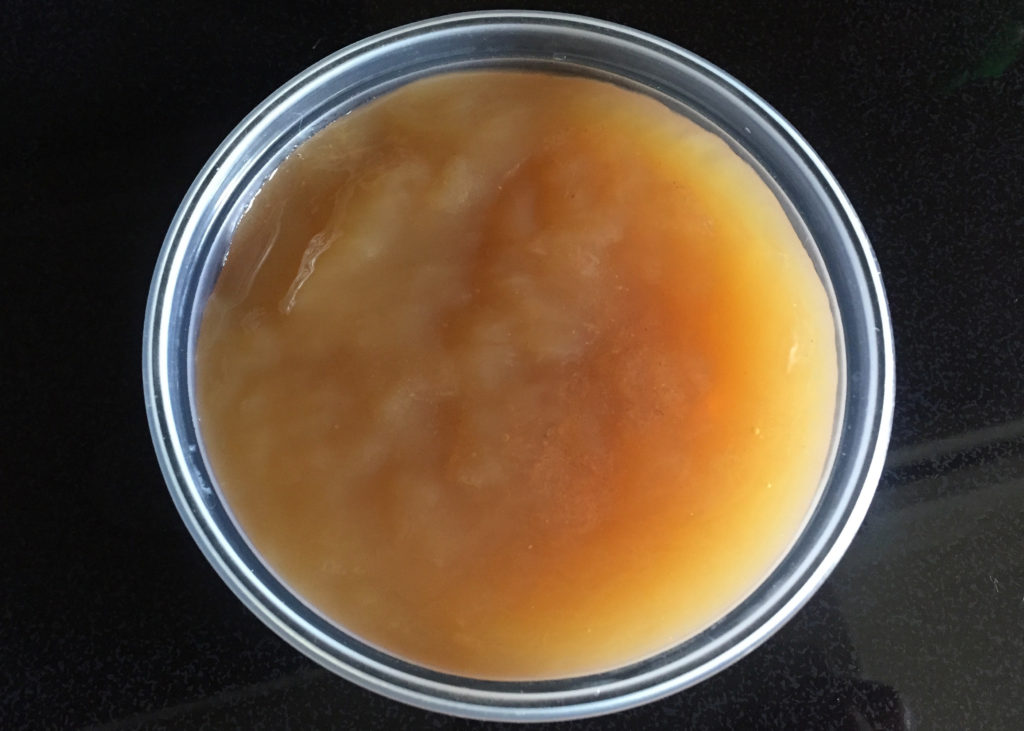
Strain stock pressing on solids to extract as much flavour as you can. You should get about 8 cups (7 cups after you have skimmed the fat). I sometimes put mine in the fridge overnight which makes it very easy to lift off the fat (remember to save that fat in your fridge for all your delicious frying needs!) If you had a good mix of bones and cooked it long enough you should have a wonderful jelly-like stock once it has cooled. The jelly means you have achieved greatness… give yourself a pat on the back. :)

I freeze the broth in 1 and 2 cup containers, plus one ice cube tray (throw the frozen cubes into a plastic freezer bag for easy storage). Those itty bitty broth cubes (standard size ice cub is 1 ounce or about 2 TBS) are great for recipes that call for a small amount of broth. You can also throw into stir fries, use to make pan sauces, or add to water when making rice or beans for another level of flavour. (You can even throw a cube into your dog’s water dish as a special treat… who, me?!?!)

Chicken and Dumplings

Have I complained enough about mentioned the rain? Here on the west coast we usually enjoy mild, albeit somewhat soggy winters but spring arrived a couple weeks ago and along with it, the beautiful clear blue sky, the sun creeping under my skin and making me feel all warm and fuzzy inside, the flowers bursting forth, the…

ummm, what? That didn’t happen?

That pitter-patter on my roof are not birds dancing in the sun? The sound of gushing water is not my washing machine? (I DID wonder how my clothes made it from the bedroom to the laundry room without me). The wet ground is not because my lovely neighbour watered my yard?

Dammit.

Ok. Well, the only way I can see to combat a late spring is to revel in the last few weeks of eating comfort foods. If I’m not warm on the outside I can be warm on the inside.

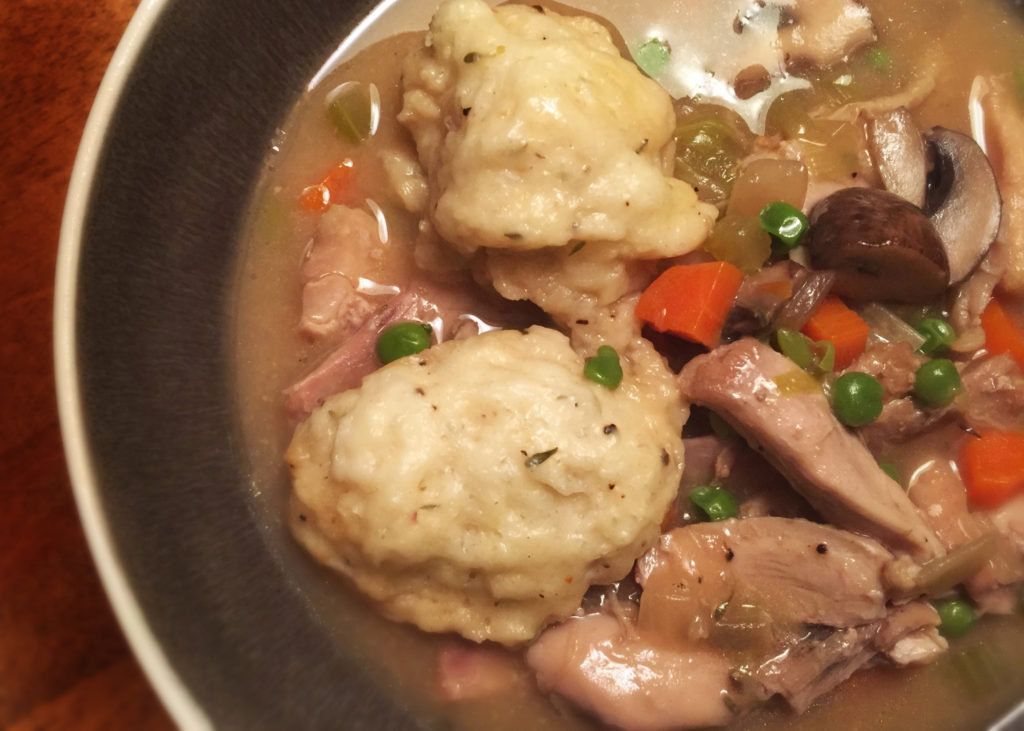
This is one of my faves and because I know much of the country is still experiencing some winter it may become a new favourite of yours as well. It is is based on my chicken pot pie but I got lazy and decided that making the pastry was waaaay too much work so I opted for dumplings. Soft, fluffy pillows of goodness.

I think we should eat this every day until the REAL spring arrives and I think we should start now!

The stew is on the thinner side (but not watery) which I like with the dumplings. The flavours and method are much like the filling for my chicken pot pie, the perfect thing to let bubble and brew on a chilly afternoon. The dumpling recipe is compliments of Joy the Baker, who uses them in her chicken soup recipe here.

Go forth and… ummmm… stay dry (insert rolling eyes here).

Stew:

Salt and freshly ground black pepper
2 1/2 – 3 pounds bone-in, skin-on chicken thighs (about 8 pieces)
couple glugs of vegetable oil

12 ounces mushrooms, cleaned and cut into bite-sized pieces

2 small or 1 large leek, white and light green parts only, cut in half lengthwise and then into 1/2-inch slices
1 large onion, diced small
1 stalk celery, diced small

1/4 cup sherry (optional)
3 cups chicken broth (you know I prefer homemade but whatever you have will be enhanced by simmering the chicken in it)
1/2 cup milk (I used skim)
1 bay leaf
couple sprigs of fresh thyme or 1/2 tsp dried thyme

3 TBS of fat (schmaltz from your fried chicken, or butter at room temperature)
4 TBS all-purpose flour (use 6 TBS if you like a thicker, more gravy-like consistency)

2 tsp soy sauce
1 tsp anchovy paste or white miso
1 cup frozen green peas
1 or 2 carrots, diced small
couple shakes of hot pepper flakes, to taste

Dumplings:

1 cup all-purpose flour
1 1/2 tsp baking powder
1/2 tsp salt
1/4 tsp dried thyme
1/4 tsp fresh ground black pepper
1 TBS butter, cold
1 large egg, beaten
1/4 cup buttermilk, cold

To make the stew:
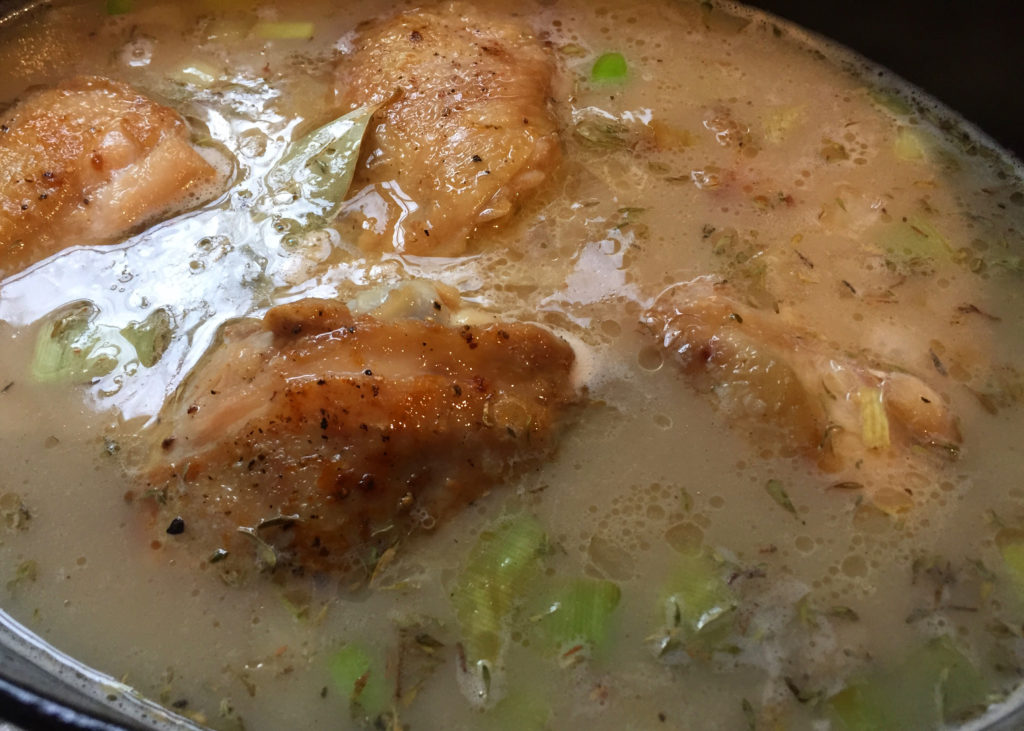
Season the chicken with salt and pepper. Heat a glug of oil over medium-high heat in the bottom of a Dutch oven or large heavy pot. Brown chicken thighs skin-side down until golden, flip and brown the other side. You will want to do this in two batches because crowding the chicken will steam it rather than fry it. Transfer to a plate and set aside.

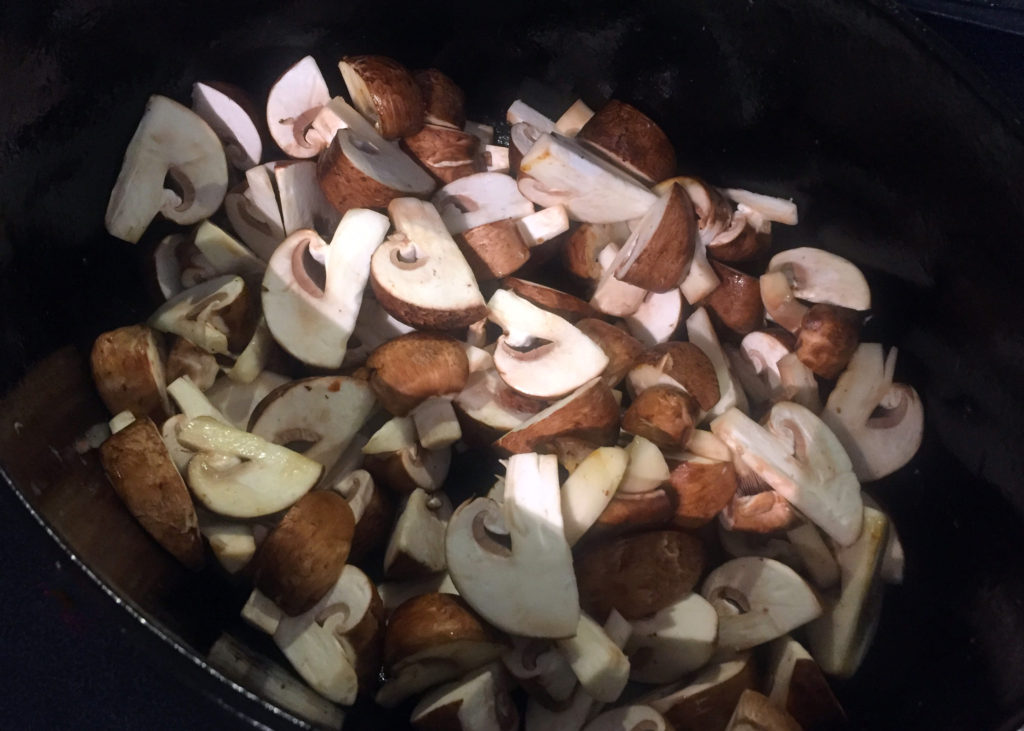
Pour off most of the fat (reserving it to use later in this recipe) leaving enough to coat the bottom of the pan. Add the mushrooms and fry until they release their liquid, it evaporates and they start to brown, about 5-6 minutes. Set aside.

Use some of the fat you poured off the chicken or heat another glug of oil in the same pot. Add onions, leeks and celery, season with salt and pepper, and saute until softened, about 7 minutes. If using, pour in the sherry and use it to scrape up any bits stuck to the bottom of the pan. Simmer until most of the sherry has cooked off and then add chicken broth, milk, thyme and bay leaf and bring to a simmer. Nestle the browned chicken and any accumulated juices into the pot. Cover and GENTLY simmer 30 minutes, after which the chicken should be fully cooked and tender.

Transfer the chicken to a cutting board to cool slightly. Discard the bay leaves and sprigs from the thyme if you used fresh. Allow the sauce to settle for a few minutes, then skim the fat from the surface using a wide spoon and set aside.

In a small bowl, using a fork, mash 3 TBS of the fat from frying the chicken and what you skimmed from the stew (replace any or all of it with butter if you prefer) with the flour into a paste. Ladle some of the warm liquid over it, and stir until smooth. Add a second ladle and stir again. Return this flour mixture to the larger pot, stir to combine. Add the diced carrots, soy sauce, anchovy or miso paste, and hot pepper flakes. Shred or dice the chicken, discarding the bones and skin and return the meat to the pot along with the reserved mushrooms. Bring back to a simmer for a few minutes to thicken. Taste and adjust seasoning.

To make the dumplings:
In a medium bowl, whisk together flour, baking powder, salt, thyme, and pepper. Add the butter and use your fingers or a pastry cutter, break it down into the flour mixture creating small flecks of butter throughout. Add the beaten egg and buttermilk and stir until just combined. Do not to over-stir or the dumplings will be tough.

Bringing it together:
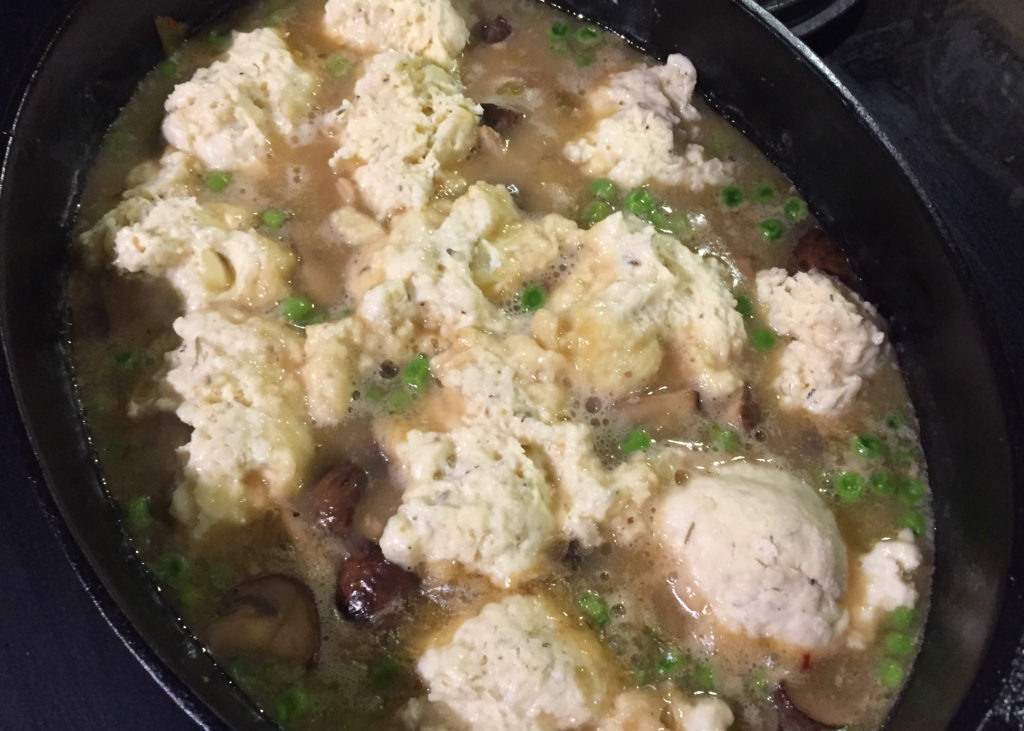
Make sure your stew is at a VERY gentle simmer. Drop generous tablespoon-sized dollops of dumpling dough on top of the stew, about a half inch apart. Cover the stew and continue to let simmer very gently for 10-12 minutes. By that time the dumplings should have risen to double their size and be completely cooked through.

Spoon into bowls and enjoy!

Dijon Mustard Stew

Well apparently Spring arrived last week but she’s sure taking her sweet time showing it. We had a couple sunny days where the crocuses and daffodils finally showed their pretty faces and I did manage to get one gardening box planted with radishes and peas but the weather had turned rainy and chilly again. Cue the comfort food. I wanted something that would warm up the house with its delicious aroma all afternoon but have a bit of pizzazz.

I’ve been eyeing this recipe for at least a month or so. Originally published in the New York Times here many years ago, it’s been written about by various food bloggers since then. It appealed to me because of the copious amount of Dijon mustard. Have you ever really tasted good Dijon? Go grab a spoon and take a taste. It’s smooth and creamy, bold and thick, a little bit salty and tart, with a subtle spicy wasabi-horseradish thing going on. It’s delicious and adds a lovely depth and warmth when braised in a stew.

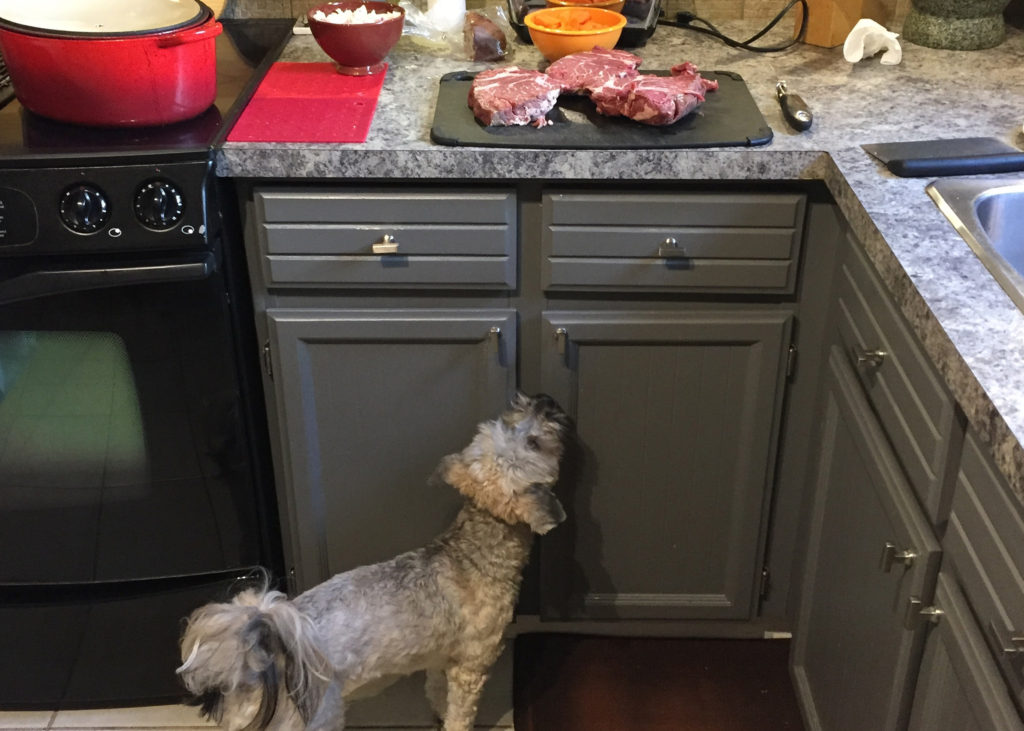
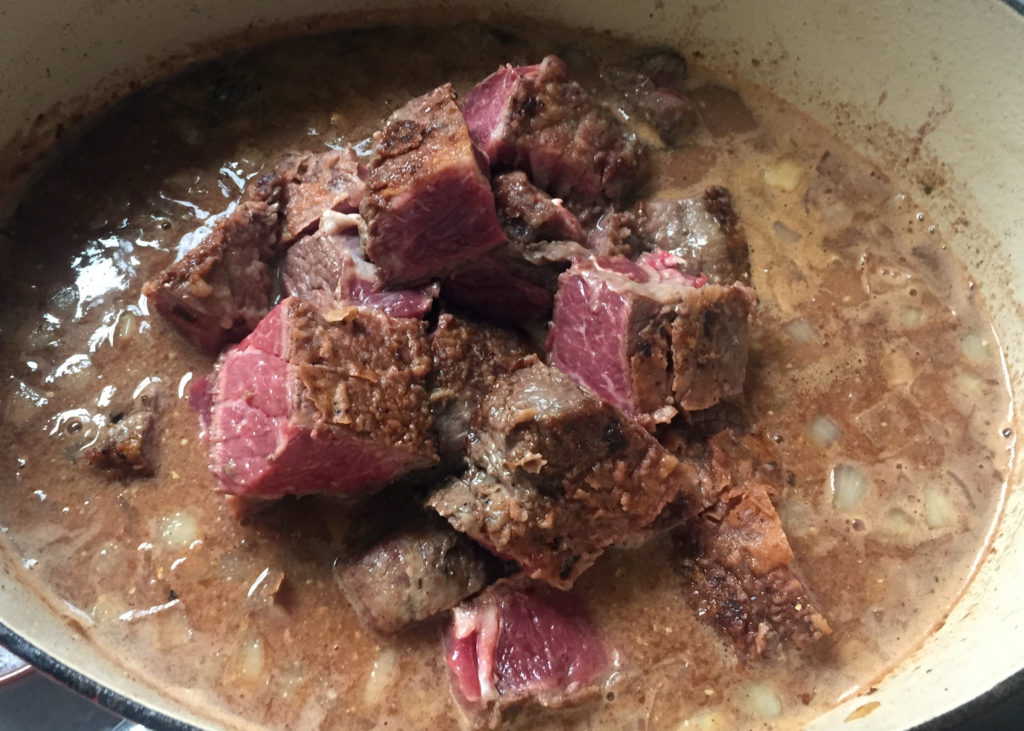
I’ve switched up the original recipe quite a bit by almost doubling the meat, adding a cup of wine to the braise (really, no red wine in a stew?), adding things like tomato paste, and finishing with fish sauce and balsamic vinegar to give more layers of flavour. I also played around with the method by braising in the oven instead of the stovetop. As well, I brown my meat by cutting a chuck roast into steaks and browning those, letting them rest, and then cutting into 1-2″ chunks. It just works better. This is why.

3-4 pounds beef chuck, cut into steaks
2 tablespoons flour (optional, your preference whether you brown steaks with flour or not)
Salt and freshly ground black pepper
1 large onion, diced
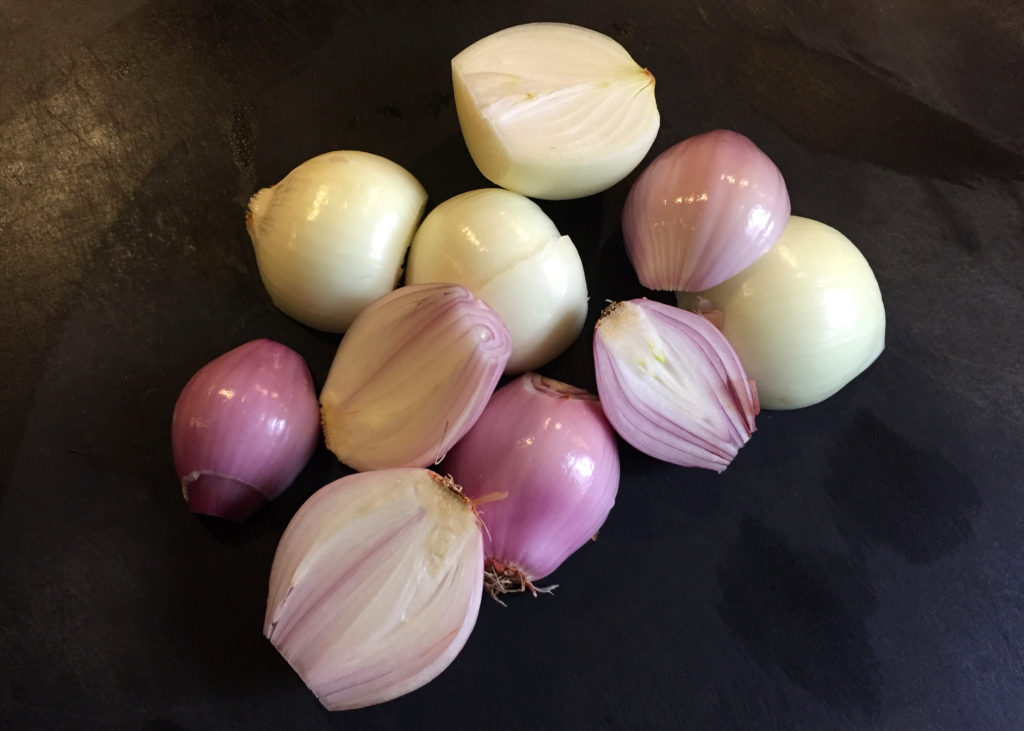
3 shallots, chopped
glug of oil (I used leftover fat from frying various meats I keep in my fridge)
1 TBS tomato paste
2 TBS flour
1/2 cup Cognac or Brandy
1 cup red wine
2 cups beef stock (preferably homemade)
1/2 cup Dijon mustard
2 TBS grainy (ancient) Dijon mustard, divided
4 carrots, peeled and cut into bite-sized chunks
1/2 – 3/4 pound mushrooms, stemmed, cleaned and quartered
2 TBS butter
1 TBS fish sauce (optional)
1 TBS balsamic vinegar (optional)

Give your steaks a light dusting of flour mixed with a bit of salt and pepper if you like. This will help a nice crust to form on the meat but isn’t necessary. Heat oil (or other fat) in dutch oven over medium-high heat. Add meat in a single layer. Let the meat brown without moving until a nice dark crust forms. Flip and brown the other side. Set aside to let let rest. You may have to do this in two or three batches.

Preheat oven to 300F.

Add onions and shallots to the pot adding a bit more fat if necessary. Turn down heat to medium and let cook until softened but not browned, about 10 minutes. The moisture from the vegetables will also help to gently scrape and lift the fond from the pot. Once the vegetables are soft, add tomato paste and sprinkle with 2 TBS flour and stir for a minute or two. Pour in the Cognac or Brandy and gently finish deglazing the pan. Add the red wine and let simmer for a couple minutes.

Add stock, Dijon mustard, and 1 TBS of grainy mustard. Stir to blend. Cut beef into 1-2″ chunks and add to the pot. Bring to a simmer and place in oven.

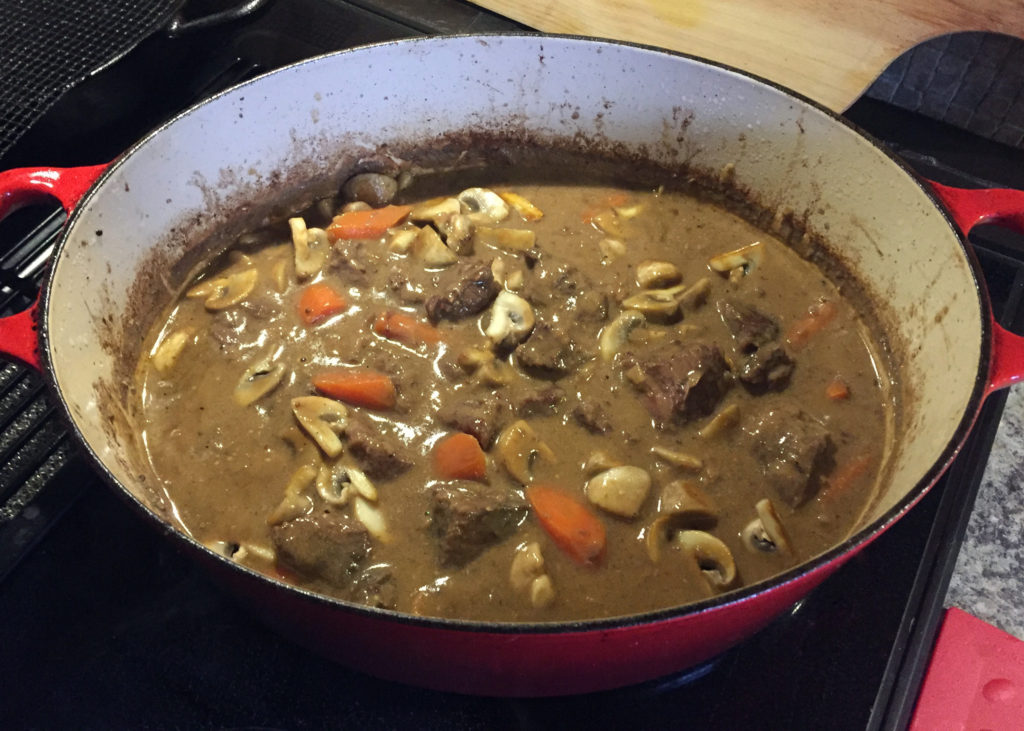
At the 2 hour mark, check the beef. If it is on it’s way to being tender, add in the carrots. If it’s still quite tough, give it another 30 minutes then add the carrots.

While the carrots are cooking, melt butter to a frying pan over medium-high heat and saute mushrooms until liquid has been released and the mushrooms are brown and tender.

At 3 hours, check to ensure the beef is tender and carrots are cooked. Stir mushrooms and last TBS of grainy mustard into the stew and taste for seasoning. At this point I add about 1 TBS of fish sauce and 1 TBS balsamic vinegar (layers of flavour!).

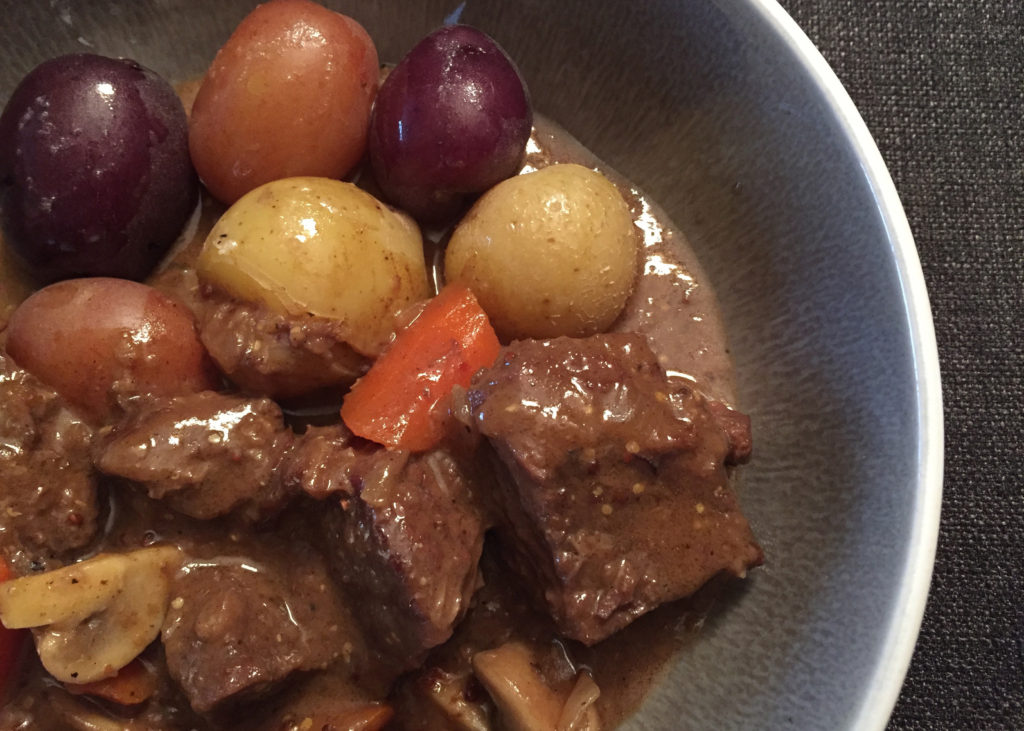
We enjoyed this with some new boiled potatoes but it’s equally as good over pasta. Enjoy!

Marinated Cheese (yes, you read that right)


Happy New Year (almost)! I have a little gift for you. Marinated cheese! Ummm, helluuuu?! MAR-I-NA-TED CHEEEEEESE! It’s like the best thing ever. Spices and aromatics steeped in silky goodness and poured over cheese? Are you with me??? YES? YAAAAAYYYYY!

You probably have the ingredients for this in your fridge right now! It takes just a couple minutes to throw together. Quick enough to include with your New Year’s appetizers tonight! Set this cheese out by itself alongside some slices of baguette, crackers or warm pita, or place on a cheese and charcuterie platter with lots of other goodies. Or, if you’re some people (ahem), it may not even make it out of the fridge before fingers are dipping into the jar. NOT ME!

Ok, me.

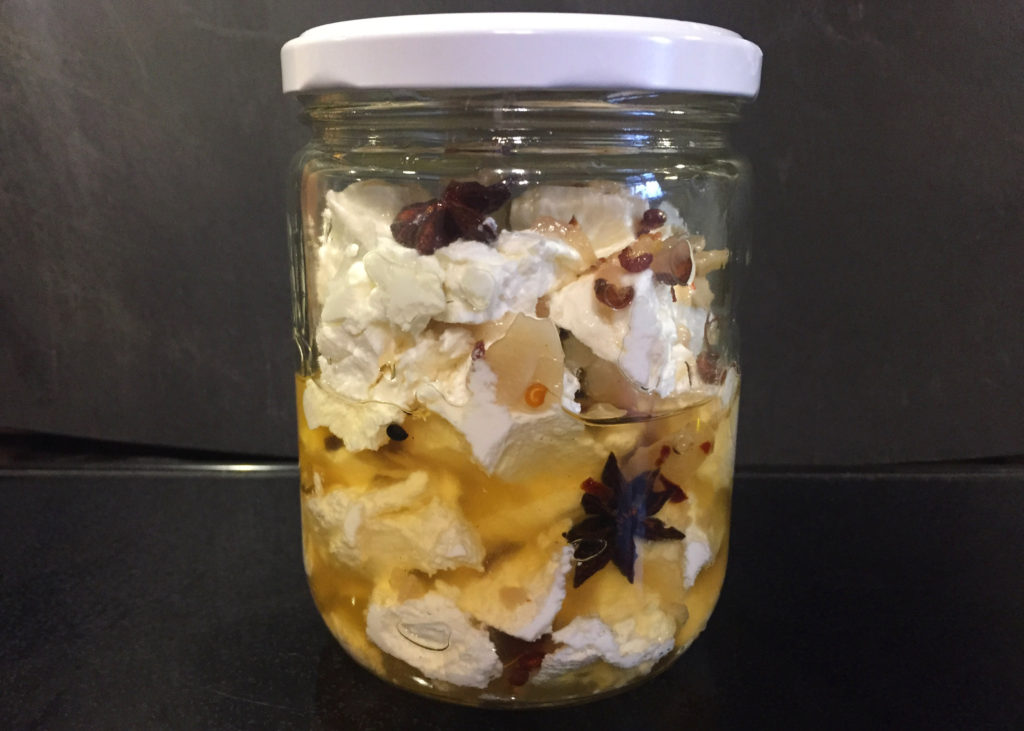
This is a great way to dress up inexpensive cheese. I used a plain old supermarket brand of soft goat cheese but I think almost any cheese would work. Something mild will let the marinade ingredients shine but I’m dying to try it with feta. I used canola oil as the base. You can use olive oil if you would like but I find the fruitiness of the olive oil clashes a bit with the Asian flavours here. However, you could do an olive oil marinade leaving out the Asian spices and instead add some sun-dried tomatoes to the jar. Oh oh OHHHH, and when you set it out sprinkle it with toasted pumpkin seeds!!! There you go, a new idea is born! Let me know how it turns out!

UPDATE: Sigh. Do you see what I did there??? While writing about my first batch of cheese I got all excited about doing an olive oil marinade and I just happen to have a big ol’ piece of pepper jack cheese in the fridge (mine is monterey jack with jalapeños but any pepper jack will work, or any other cubed cheese that you like), so I had to do a second batch of cheese. Yup. Sheesh. So, Part 1 and Part 2 below. You’re welcome. :)

PART 1

250 grams plain goat cheese

Marinade ingredients:
1/2 cup vegetable oil (I used canola)
1 tsp toasted sesame oil
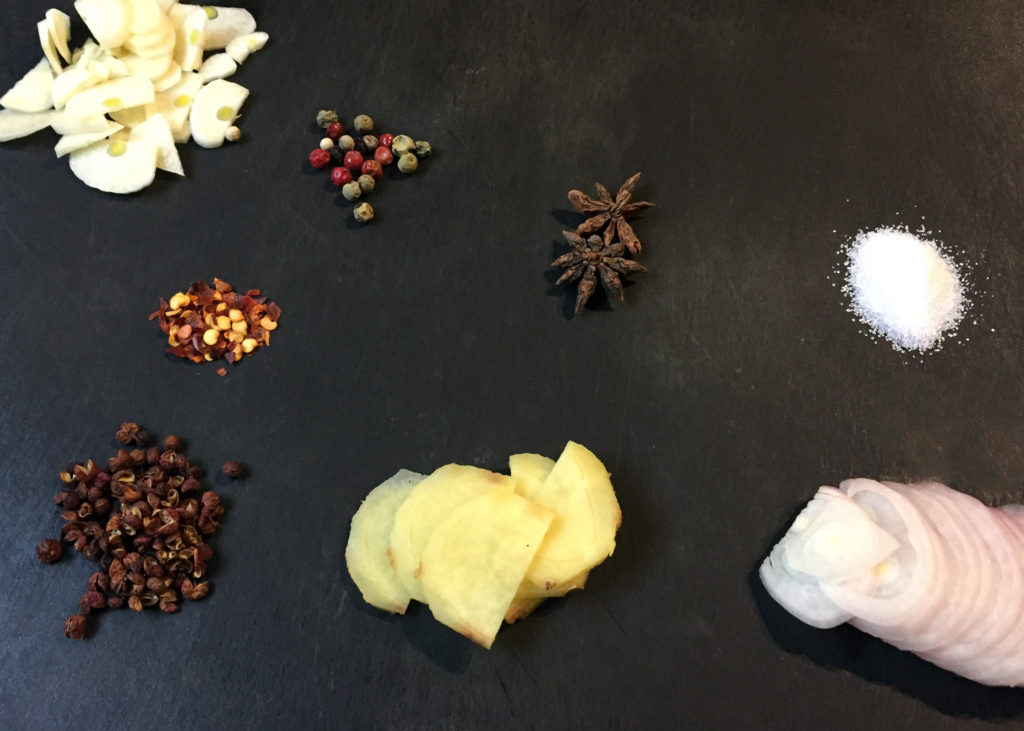
1 small shallot, thinly sliced
3 garlic cloves, thinly sliced
2 star anise pods
10-15 whole peppercorns
1/2 – 1 tsp dried red pepper flakes
couple thin slices of fresh ginger
1 tsp Sichuan peppercorns

To finish marinade:
1/2 tsp kosher salt
1/2 tsp sugar
1 tsp white wine vinegar


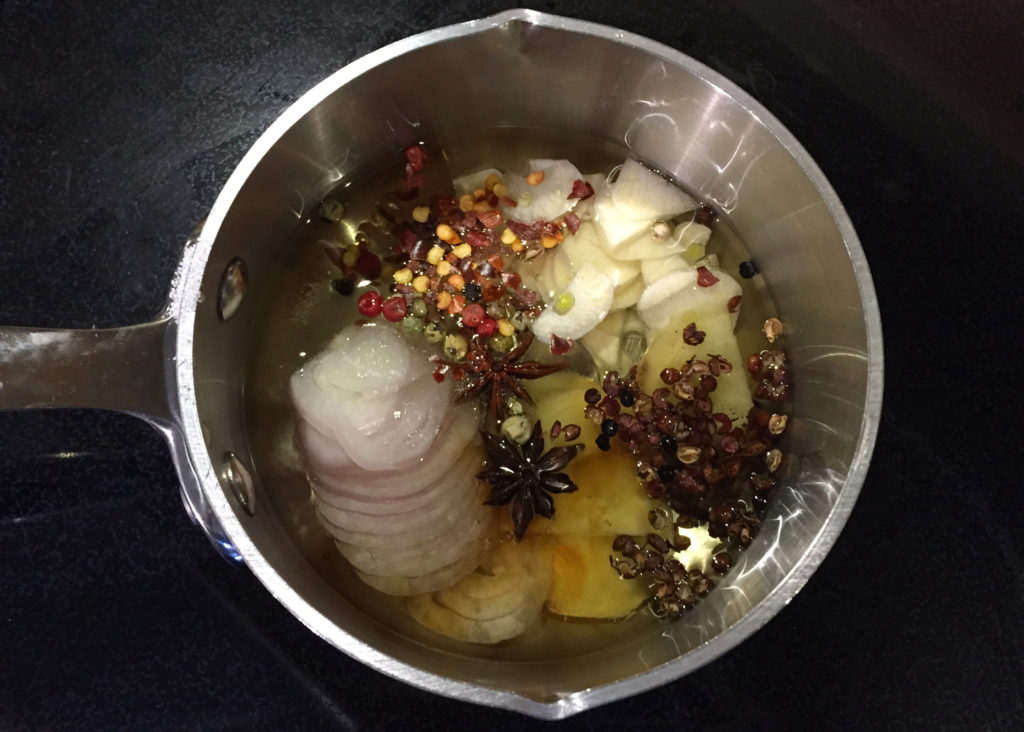
To make the marinade, add all the ingredients together in a small saucepan and bring to simmer. Turn heat down keeping a very light simmer and let cook for 20 minutes. Remove from heat and add in kosher salt, sugar, and white wine vinegar. Let cool.

When the marinade is cool, break up cheese into bite size pieces and put in jar with a tight-fitting lid. Pour over marinade, cap and let sit in the fridge at least a few hours or overnight, turning once or twice. Will keep for a week (or more!).

PART 2

250 grams pepper jack cheese (or try it with your favourite cheese)
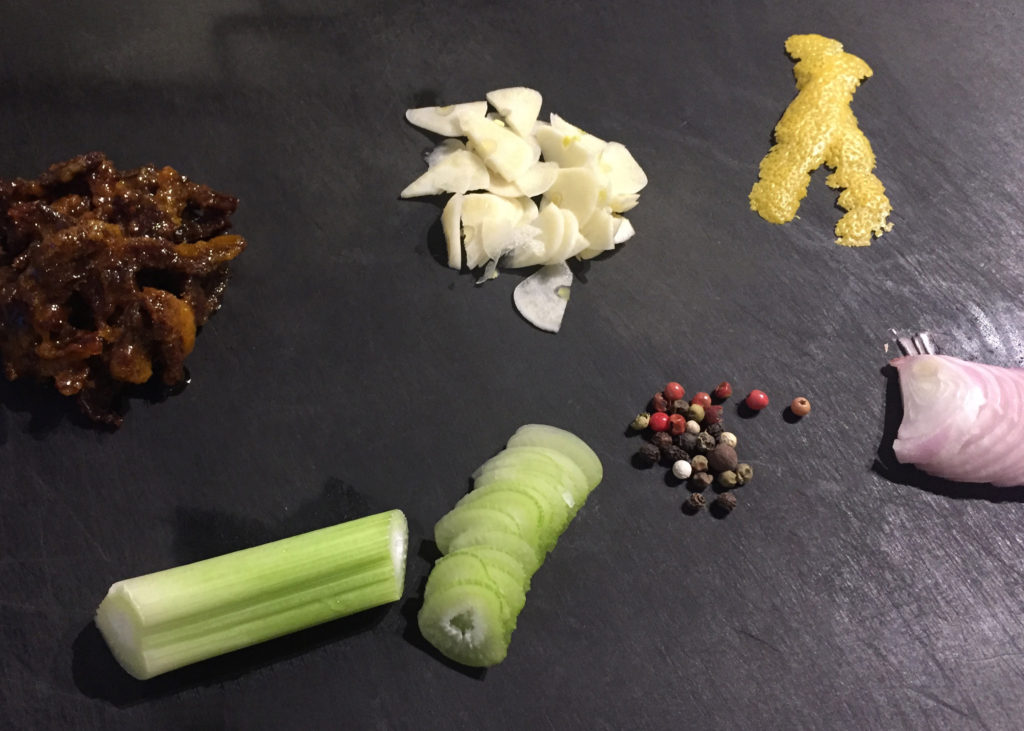
small handful sun-dried tomatoes, sliced
toasted pumpkin seeds to finish

Marinade ingredients:
1/2 cup olive oil
1 small shallot, thinly sliced
3 garlic cloves, thinly sliced
couple pieces of thinly sliced fennel
10-15 whole peppercorns
1/2 – 1 tsp dried red pepper flakes (optional, if your cheese is already spicy like mine, you can omit this)

To finish marinade:
1/2 tsp kosher salt
1/2 tsp sugar
1 tsp white wine vinegar
2 slices lemon peel (with as little pith as possible)

To make the marinade, add all the ingredients together in a small saucepan and bring to simmer. Turn heat down keeping a very light simmer and let cook for 20 minutes. Remove from heat and add in kosher salt, sugar, lemon peel and white wine vinegar. Let cool.

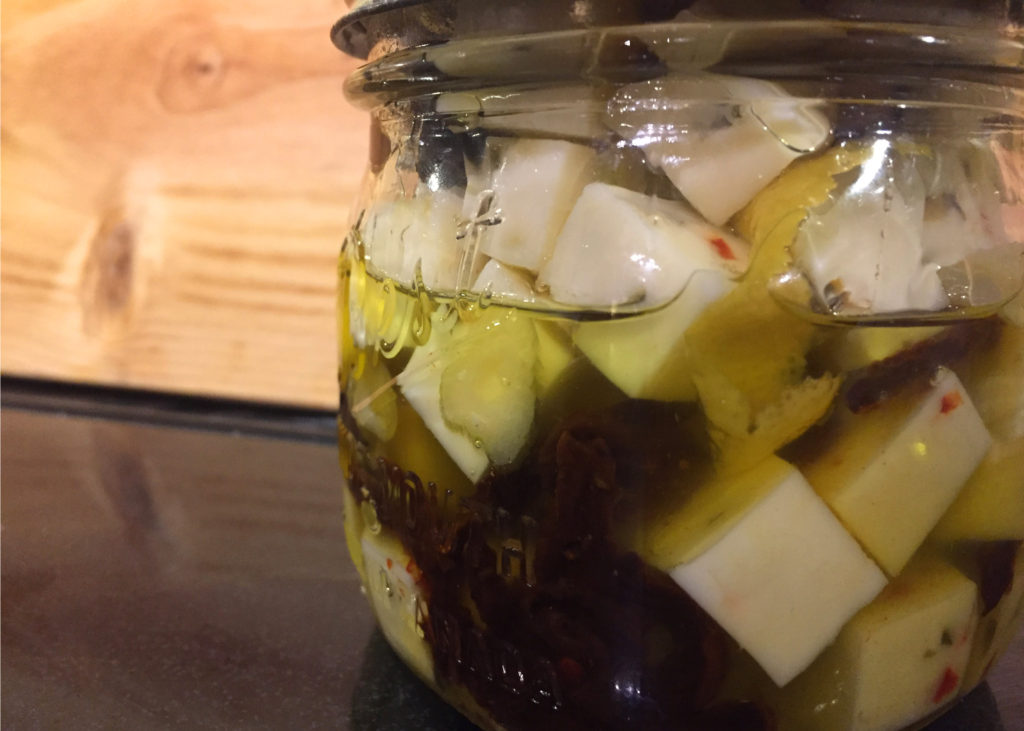
When the marinade is cool, cube cheese into bite size pieces and put in jar with a tight-fitting lid along with the sun-dried tomatoes (Ummm and wouldn’t olives be a great addition here as well???). Pour over marinade, cap and let sit in the fridge at least a few hours or overnight, turning once or twice. Will keep for a week (or more!). When you set this out a final sprinkle of toasted pumpkin seeds adds a very festive flair.

Quick & Dirty: Quick Pickled Beets


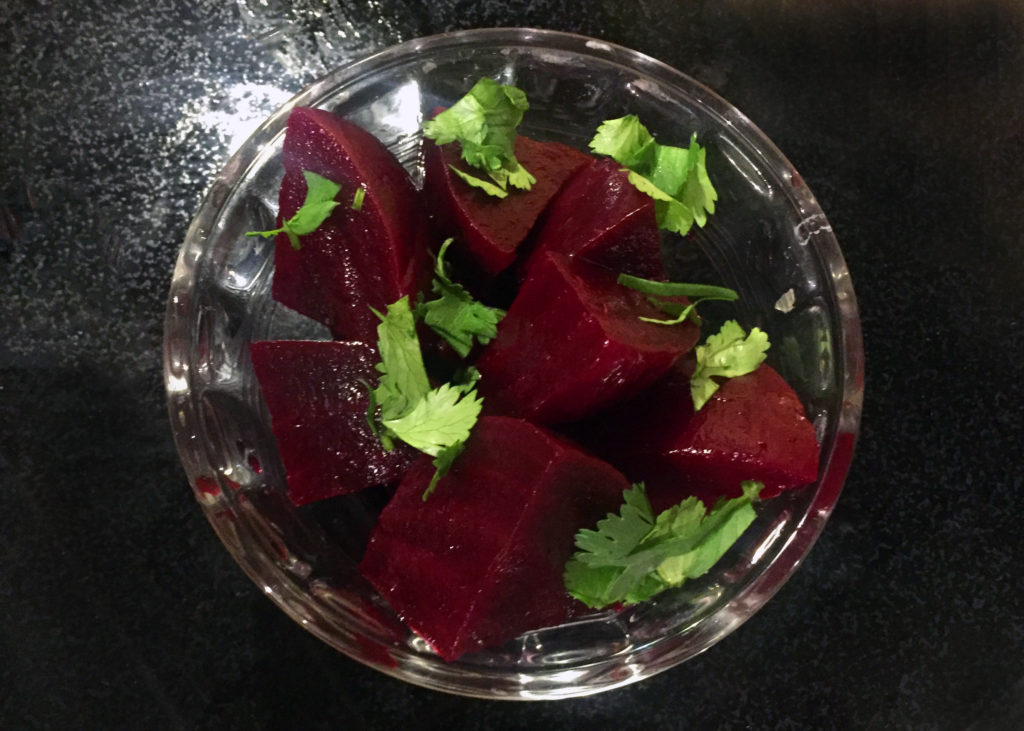
I made a lamb tagine for dinner last night and decided a zingy side dish would be the perfect finishing touch. Remember those beets from my garden that I have stored in my garage? Boom!… I whipped up a batch of pickled beets and I think it’s about time I share this easy, quick recipe with you. Isn’t that what “Quick & Dirty” is all about?! I know I just shared another beet recipe with you a couple weeks ago, but they’re just so darned tasty!

It’s the same marinade I use for my pickled rhubarb but with a touch less sugar. These pickled beets are a delicious side to almost any meat dish and are especially good alongside stews as a “sweet and sour” palate cleanser. They also add a nice punch tossed in almost any salad.

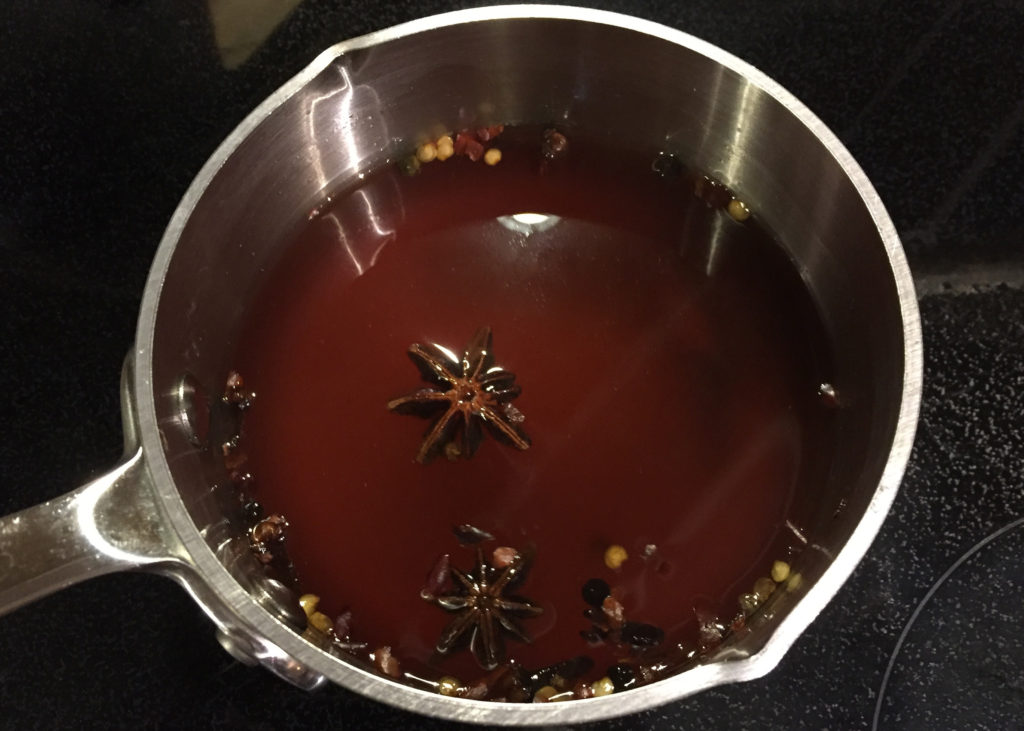
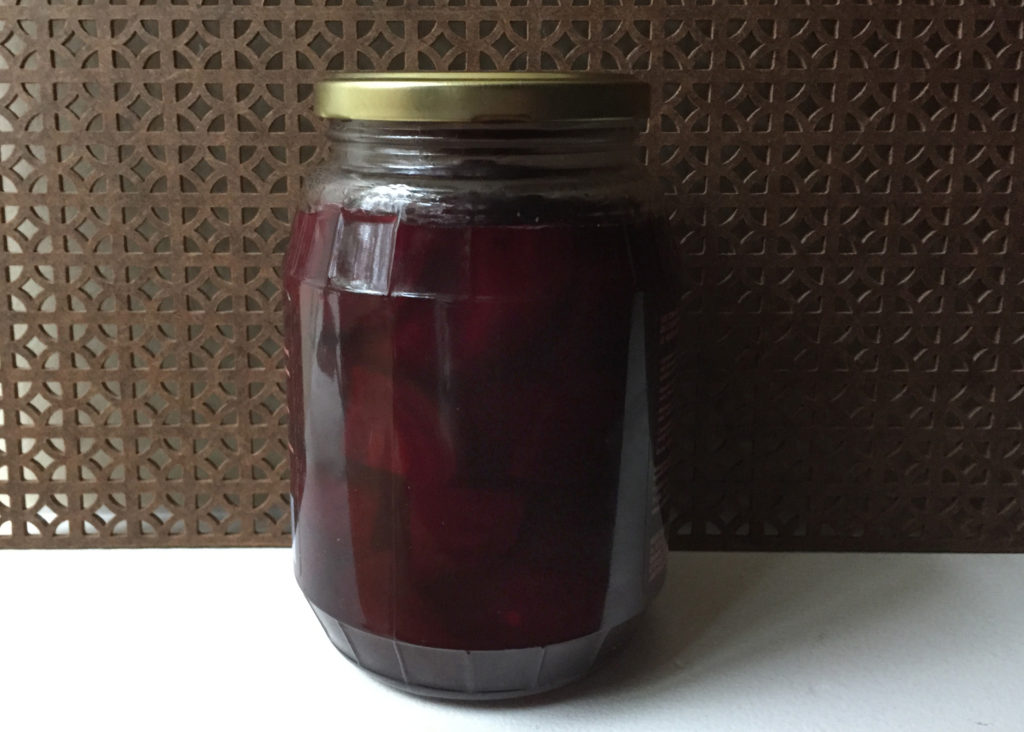
Cook the beets any way you like. I did mine for 15 minutes in my Instant Pot. You can steam, boil or roast yours. Let cool enough to handle, peel and then chop into bite-sized pieces and put them in a jar (I used an empty pickle jar). Heat marinade ingredients together in a small saucepan to a simmer. Remove from heat and let cool slightly. Pour over beets and let sit for a couple hours. Congrats!… Pickled beets! They will keep in your fridge for at least a week or so.

1 1/2 – 2 pounds beets (about 5-6 medium-large)
1/2 cup cider vinegar
1/4 cup red wine vinegar
1/2 cup sugar
2 whole star anise
5 whole cloves
10 whole peppercorns
1/2 cinnamon stick
pinch of red pepper flakes

Instant Pot Vietnamese Pork Ribs


If you’ve been following me at all you know that I have been experimenting with my Instant Pot. I have been using it for about a year to make chicken and beef stock, cooking dried beans and legumes, and for some long-cooking vegetables such as beets. But a couple months ago I wanted to branch out, see what all the fuss was about. So I tried my first “pot in pot” meal of meatloaf, mashed potatoes, and beets (good), chili (very good), beef bourguignon (excellent! Recipe coming!), and last week, pork ribs. I was planning to do them BBQ style but made the mistake of asking Husband. “Asian!” he said. Oh for Christmas sake!

So I started researching. My original plan was do to them in the traditional Vietnamese style of making a pungent caramel and braising them in it which I have done in the oven a few times but I quickly realized the caramel sauce thing doesn’t really lend itself to pressure cooking. So I checked out a bunch of other pressure cooker “Asian rib” recipes but none of them contained the flavours I was imagining… primarily soy sauce, fish sauce, ginger, garlic, and some sweetness. Then I ran across a recipe in the New York Times that had the flavours, I just needed to convert it to make in an Instant Pot.

And I’m going to reeeeeeach around and give myself a pat on the back because these ribs were delicious. I used side riblets which I can easily find at my local grocery store but if you can’t find them ask your butcher to cut side ribs in half lengthwise. I love baby back ribs for smoking but I think side ribs are better for this recipe because they are meatier (and cheaper!). Husband and I ate the entire 2 1/2 pounds of ribs in one sitting. Gluttons! Double the marinade for 4 pounds (or more!) of ribs but don’t double the amount of water (1 cup) when adding to the Instant Pot or you will be reducing the final sauce forever!

Ribs:
2-3 pounds pork side riblets (get your butcher to cut rib racks in half lengthwise if you can’t find pre-cut riblets)

Marinade:
1 medium shallot (finely diced)
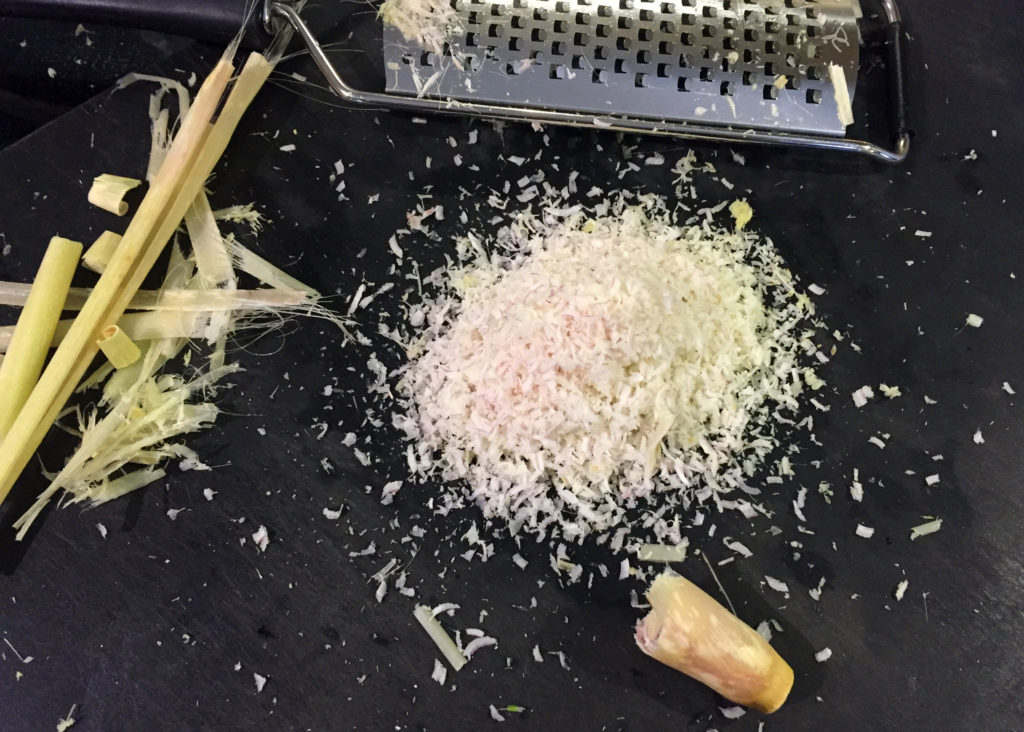
1 stalk of lemongrass, outer layer removed, finely minced or grated (I find it very easy to grate if you freeze it first)
2 TBS soy sauce
1 TBS fish sauce
1 TBS hot chili paste (I used sambal oelek)
1 tsp kosher salt
1 TBS brown sugar
1 tsp Chinese five-spice powder
3 cloves garlic, minced or grated
1 TBS fresh ginger, finely minced or grated

Garnish:
chopped fresh cilantro, mint, and green onion

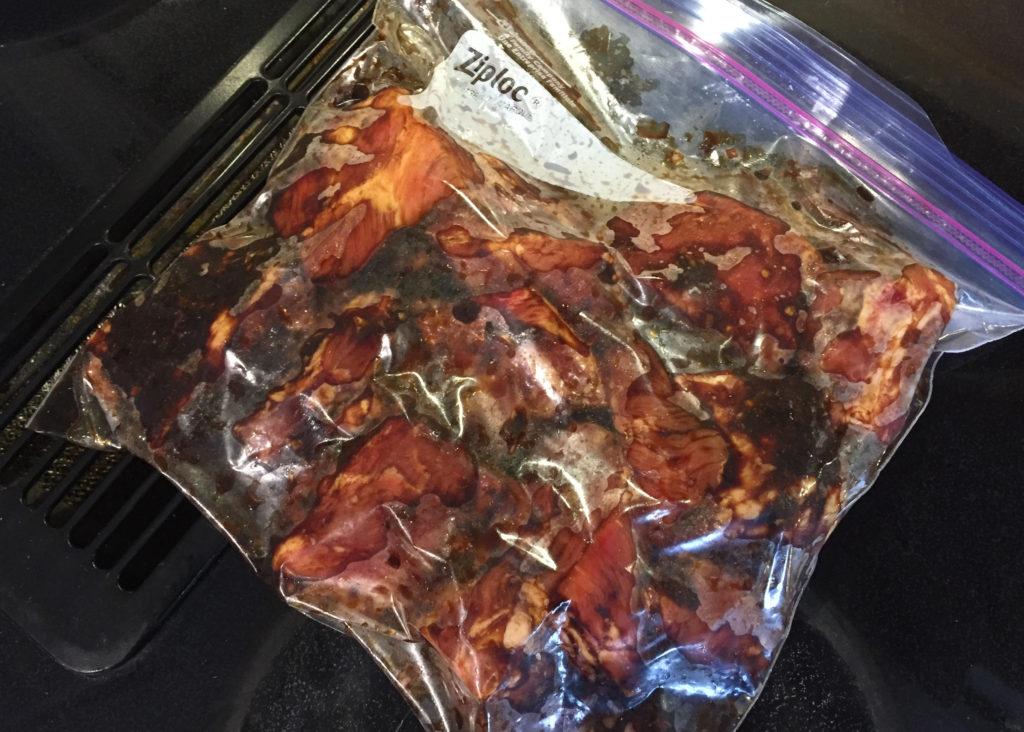
Cut riblets into 2-bone portions and place in large ziplock freezer bag. Combine all marinade ingredients in a bowl and pour over ribs. Seal the bag and marinate overnight in the fridge or at least 4 hours.

When ready to cook, empty the contents of the freezer bag (ribs and marinade) into the Instant Pot. Pour in one cup of water along the side of the pot so you don’t wash the marinade off the ribs. Seal the pot and pressure cook using the manual button on high for 25 minutes. If using baby back ribs or if you prefer a bit of chew rather than falling off the bone, 20 minutes should be fine. When finished, let the pressure naturally release (this should take about 15 minutes).

Preheat oven to 400F.
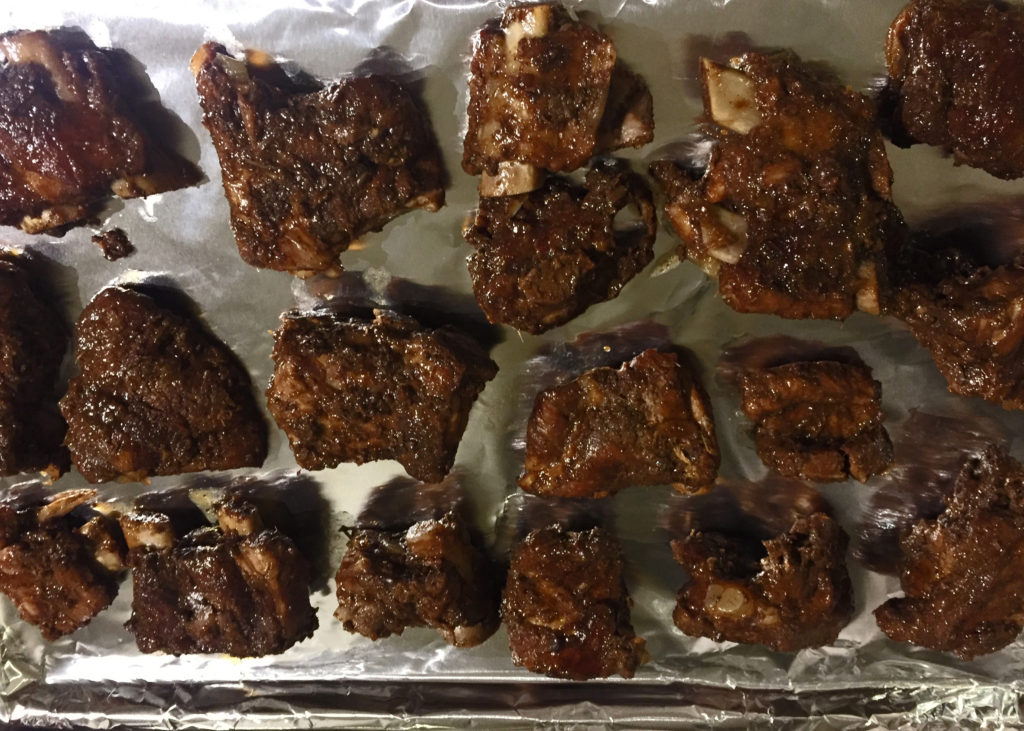
Once the pressure has been released, open pot and use tongs to remove ribs to cookie sheet lined with tinfoil. Cover to keep warm. At this point I like to pour the marinade and pork drippings into a large measuring cup and let sit for a few minutes so I can skim off most of the fat. Return liquid to Instant Pot and turn on saute. Heat to a vigorous simmer to reduce liquid to approximately half the volume. I had 2 cups of drippings and it took about 15 minutes to reduce to 3/4 of a cup. Using a pastry brush, generously brush ribs with reduced marinade. Place in hot oven, uncovered, until nicely browned and caramelized, about 15 minutes.

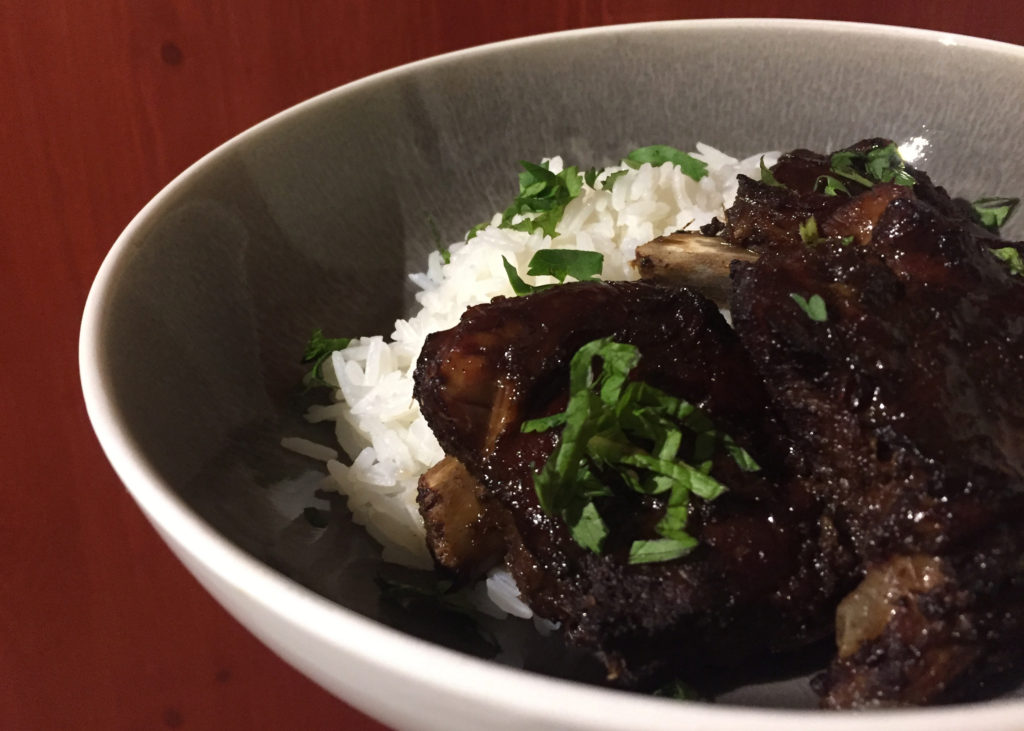
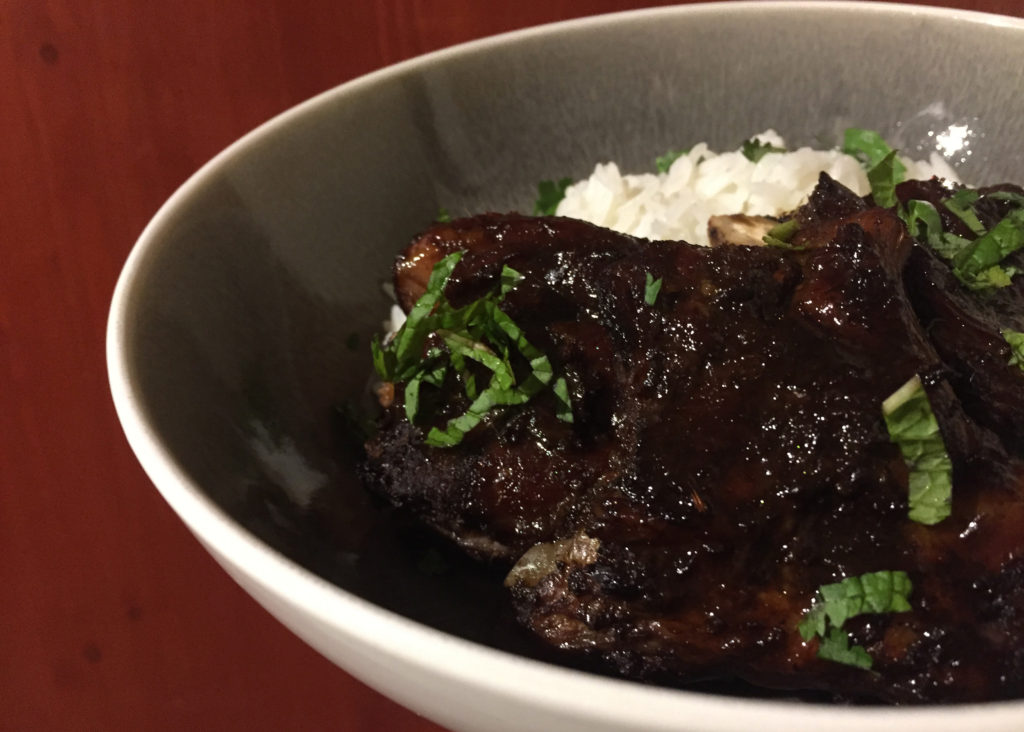
Drizzle with remaining sauce and garnish with chopped herbs. I served with Jasmine rice.

Quick & Dirty: Beets with Creamy Vietnamese Dressing


It’s beet season at my house. I finished my garden clean-up a couple weeks ago except for those leeks again this year. I usually use a lot of them in chicken pot pie but this year I want to try a chicken stew and dumplings, heavy with leeks, obviously. Coming soon (maybe ;) ).

Aaaaanyway, I pulled up the last of my carrots and beets and put them in a couple sacks in the garage. I do love beets but rarely cooked them until last year when I got my Instant Pot. It’s just so fast and easy now. Give them a rinse, throw them in for 7-15 minutes (depending on size), let sit in cold water for a couple minutes, slide the peel right off. Easy peasy.

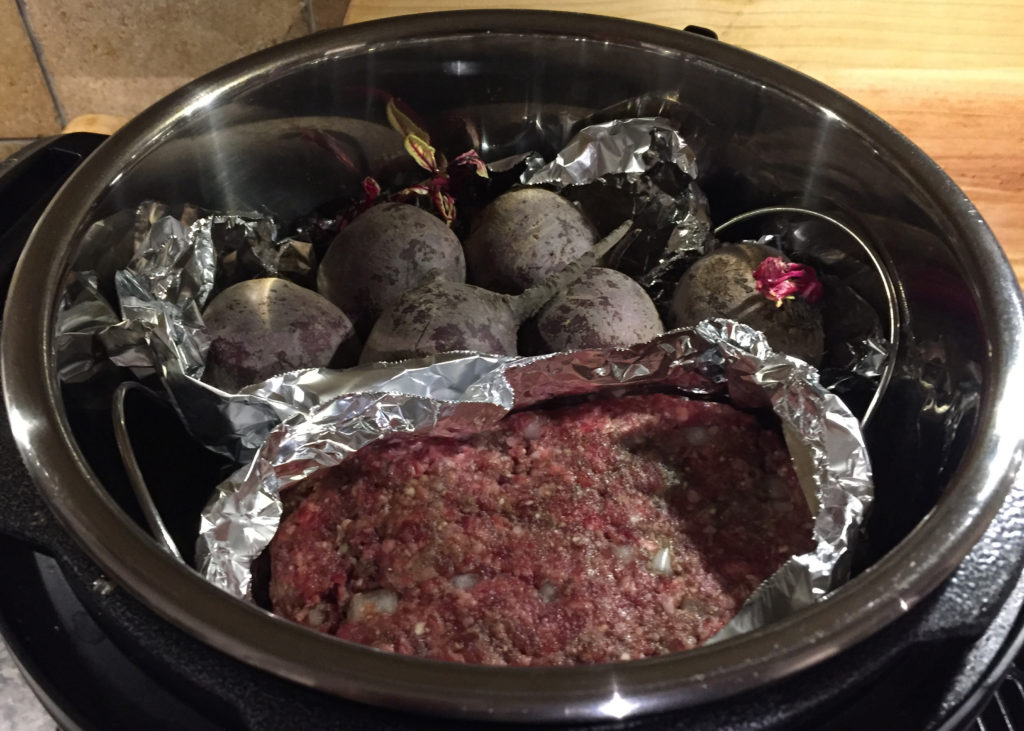
I am enjoying experimenting with my Instant Pot. The other night I tried a “pot in pot” dinner where you cook everything at the same time. Ummm, what?! I made mashed potatoes, meatloaf, and beets in the same pot. The only thing I made separate was the mushroom sauce. It was surprisingly good. Perhaps not something I would do all the time as I hate to give up control over exact timing and temperature (Yes, I am a bit of a perfectionist when it comes to cooking). And if you want some texture to your food you still have to utilize the stove or oven (I put my meatloaf under the broiler for a few minutes to caramelize the top) but I can certainly see why working families adore the Instant Pot.

(Pot in pot. The potatoes are under the meatloaf and beets. Cool, hey?)

So those beets. When they were finished cooking I let them cool a bit, chunked them up, and covered them in a easy Vietnamese dressing. I had about a pound of beets for Husband and I. You can make as many as you want and double or triple the dressing as required. Cook the beets however you want. My mom boils them, I used to bake them (it took foooooreeeeeeverrrrr), and now I use my Instant Pot pressure cooker. 7 minutes on high for smallish beets, 10-15 minutes for medium to large.
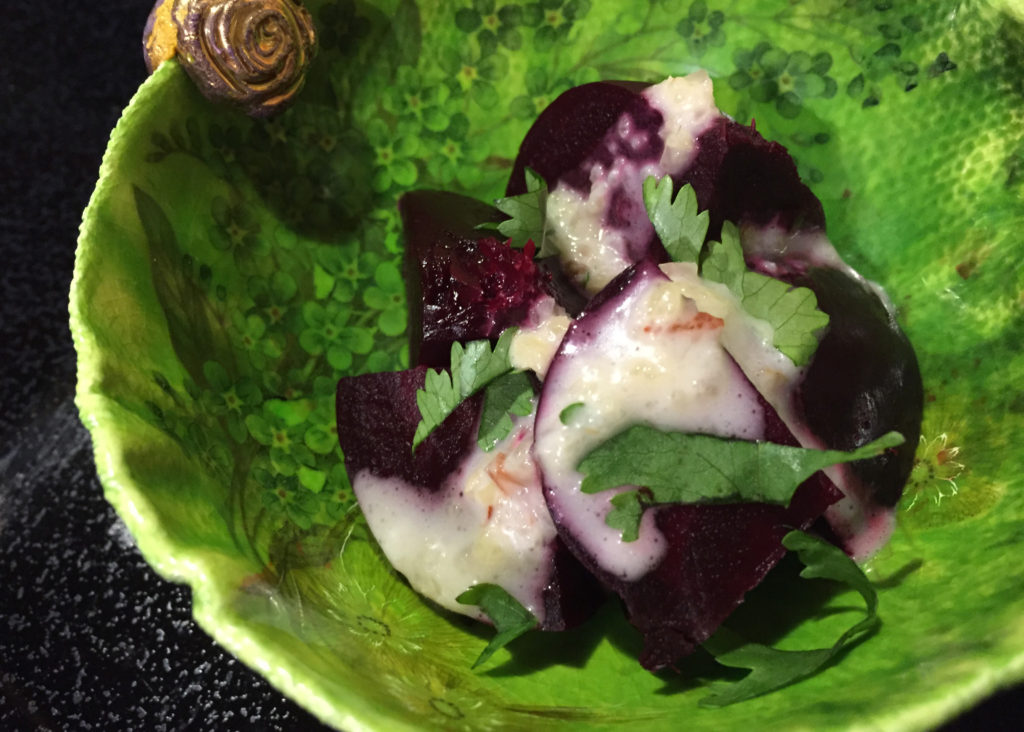
The dressing amounts below make a small batch of dressing and can easily be doubled or tripled. Try it over roasted carrots as well, or spread onto a sandwich.

Cook beets (about 1/2 pound per person). Cover with dressing. Eat.

Dressing:

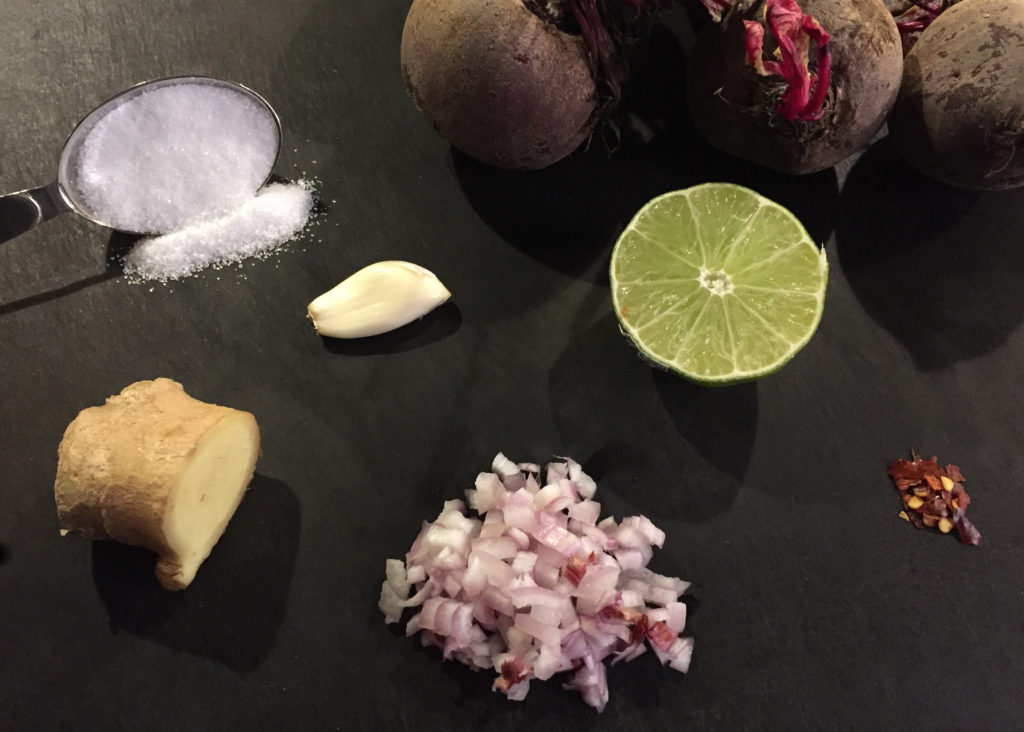
1/2 small shallot, diced
1 TBS fresh ginger, peeled, sliced then cut into matchsticks
1 garlic clove, thinly sliced
1/4 tsp red chili flakes
1 TBS fish sauce
1 TBS sugar
1 TBS fresh lime juice
1 TBS mayonnaise
2 TBS vegetable oil
salt to taste

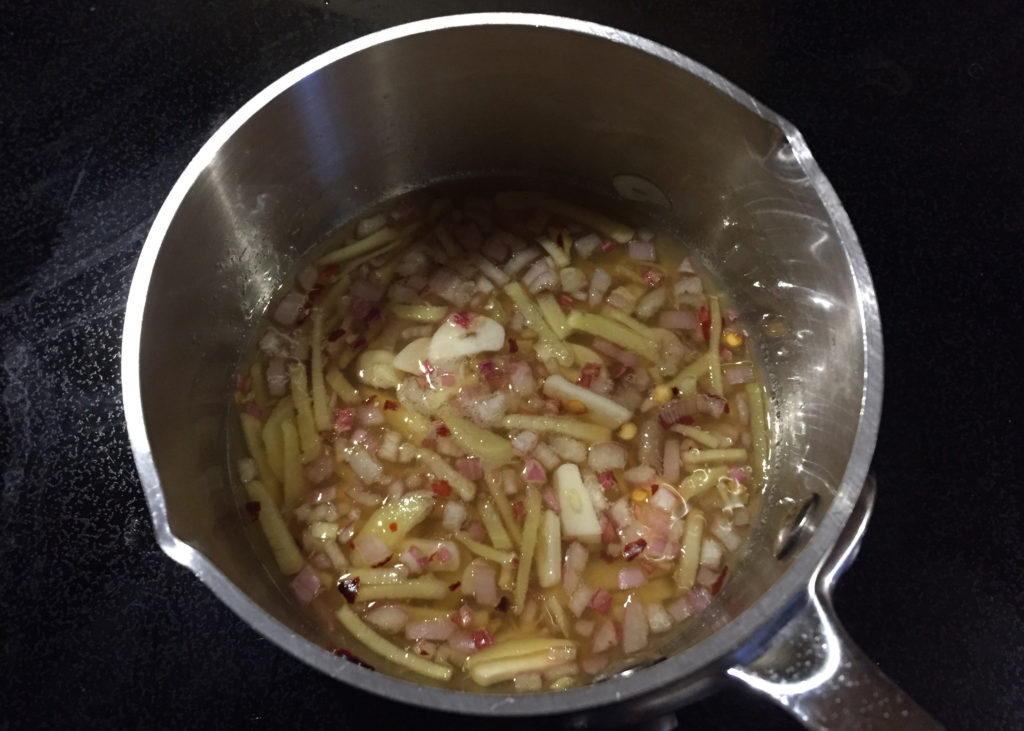
Add shallot, ginger, garlic, chili flakes, fish sauce and sugar along with 2 tablespoons of water to small saucepan and gently simmer until half the liquid has evaporated and aromatics are soft, 7-10 minutes.

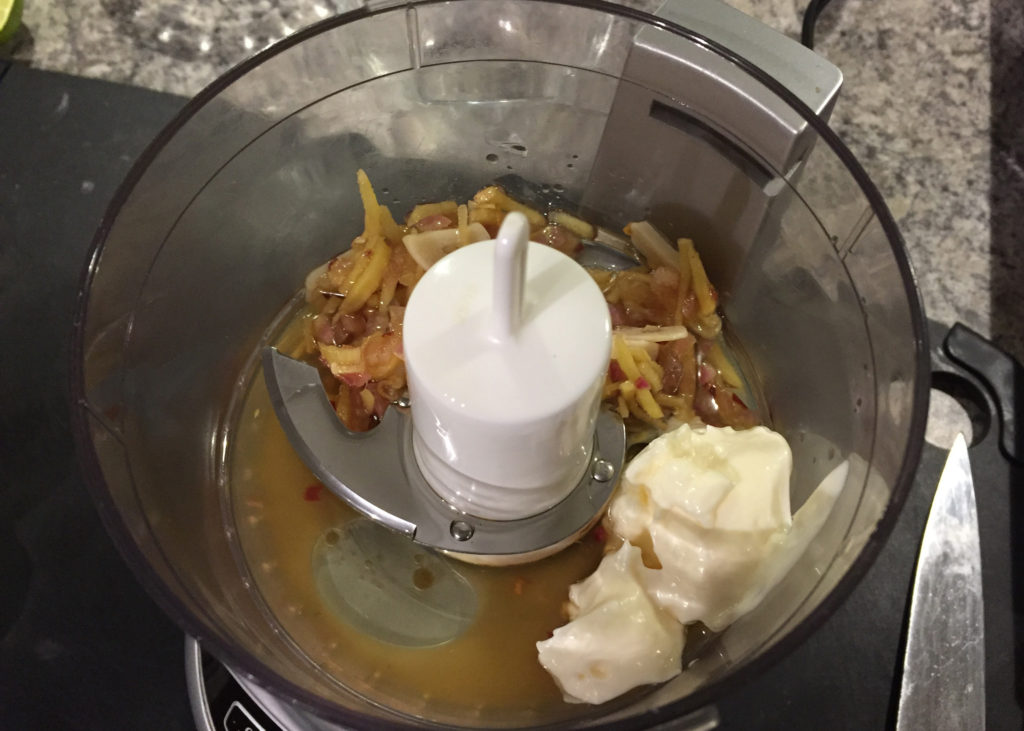
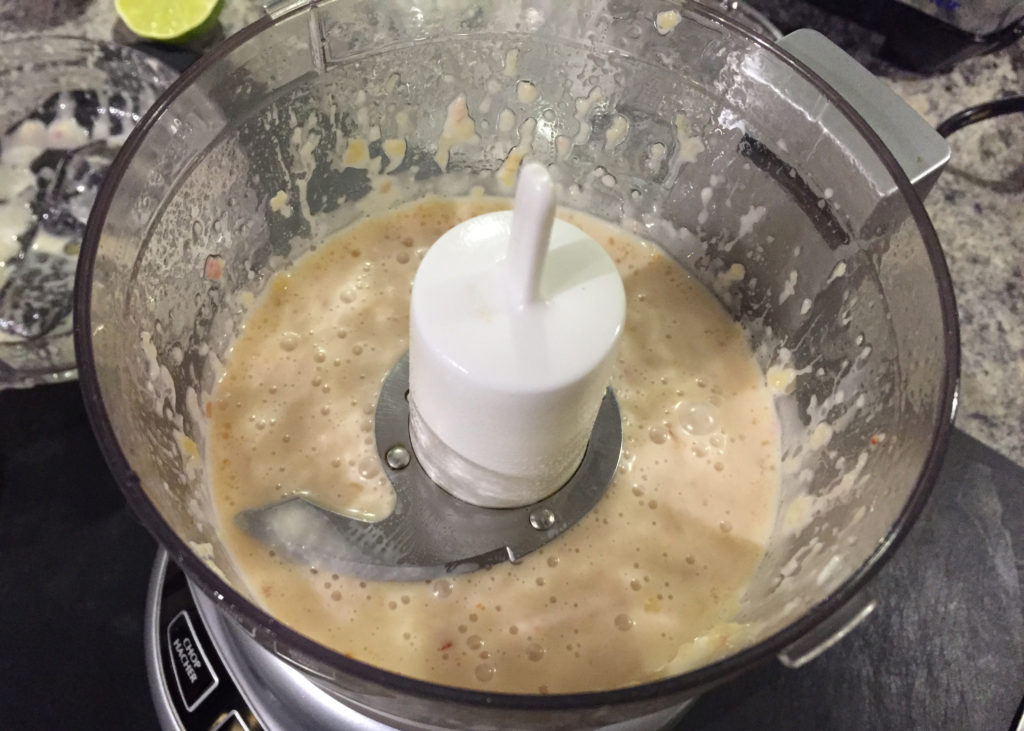
Turn into small food processor or blender and add lime juice, mayonnaise and vegetable oil. Blend until emulsified. Taste and season with salt. Drizzle over beets. Can be served warm, room temperature, or chilled!