Category: Dessert

Quick & Dirty: Roasted Grapes and Goat Cheese

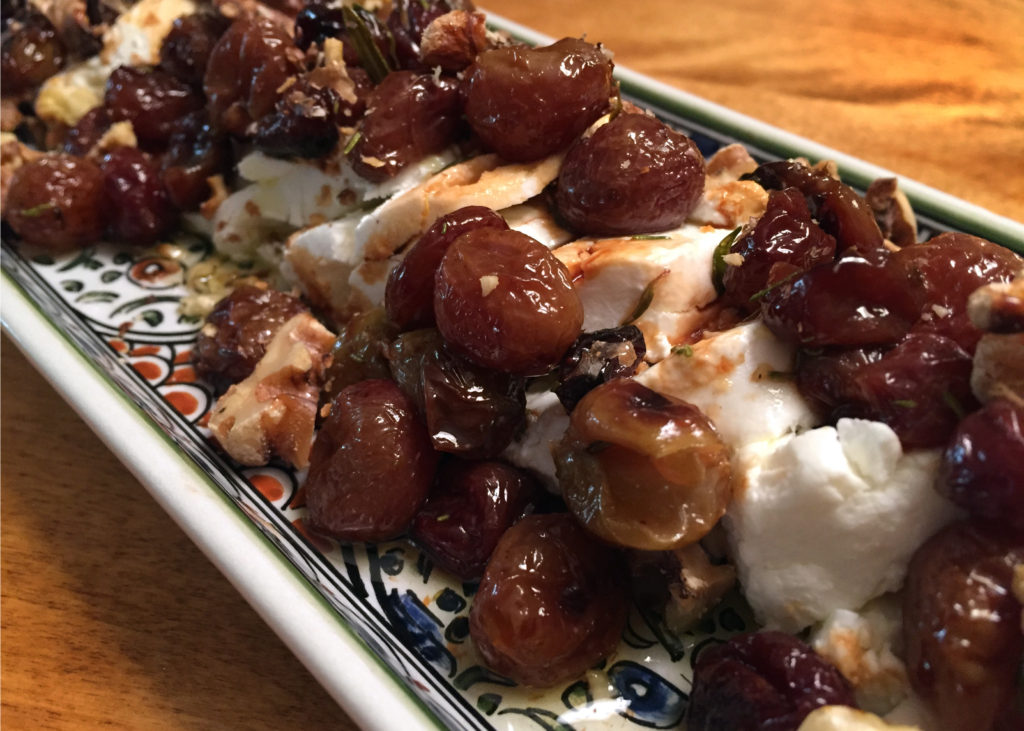
Hey, remember that time I invited people over for drinks and all I had to eat in the fridge were some old grapes and goat cheese?…

Well, it turns out you can make a mighty fine appetizer with almost nothing. The first time I made this I used pepitas instead of walnuts (one of the guests had an allergy) and the second time I used the walnuts plus added in some fresh rosemary. Both times were delicious. I have also cut down on the oil from the original recipe significantly. And for the drizzling olive oil over the goat cheese, feel free to use flavoured oil if you have it. I used Persian lime olive oil and it was delicious. Next time I’m thinking a pinch of hot chili flakes would not go amiss. Happy appy!

1/2 cup toasted, chopped walnuts (or other nut)
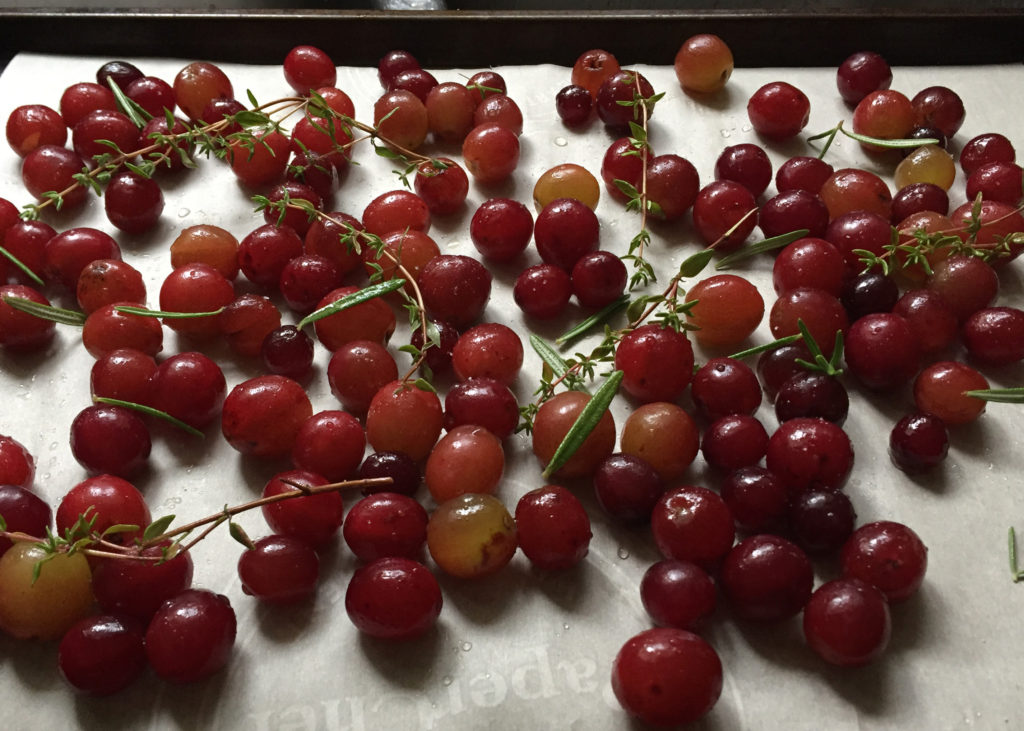
3 cups red seedless grapes
2 tsp plus 2 TBS good, fruity olive oil (divided)
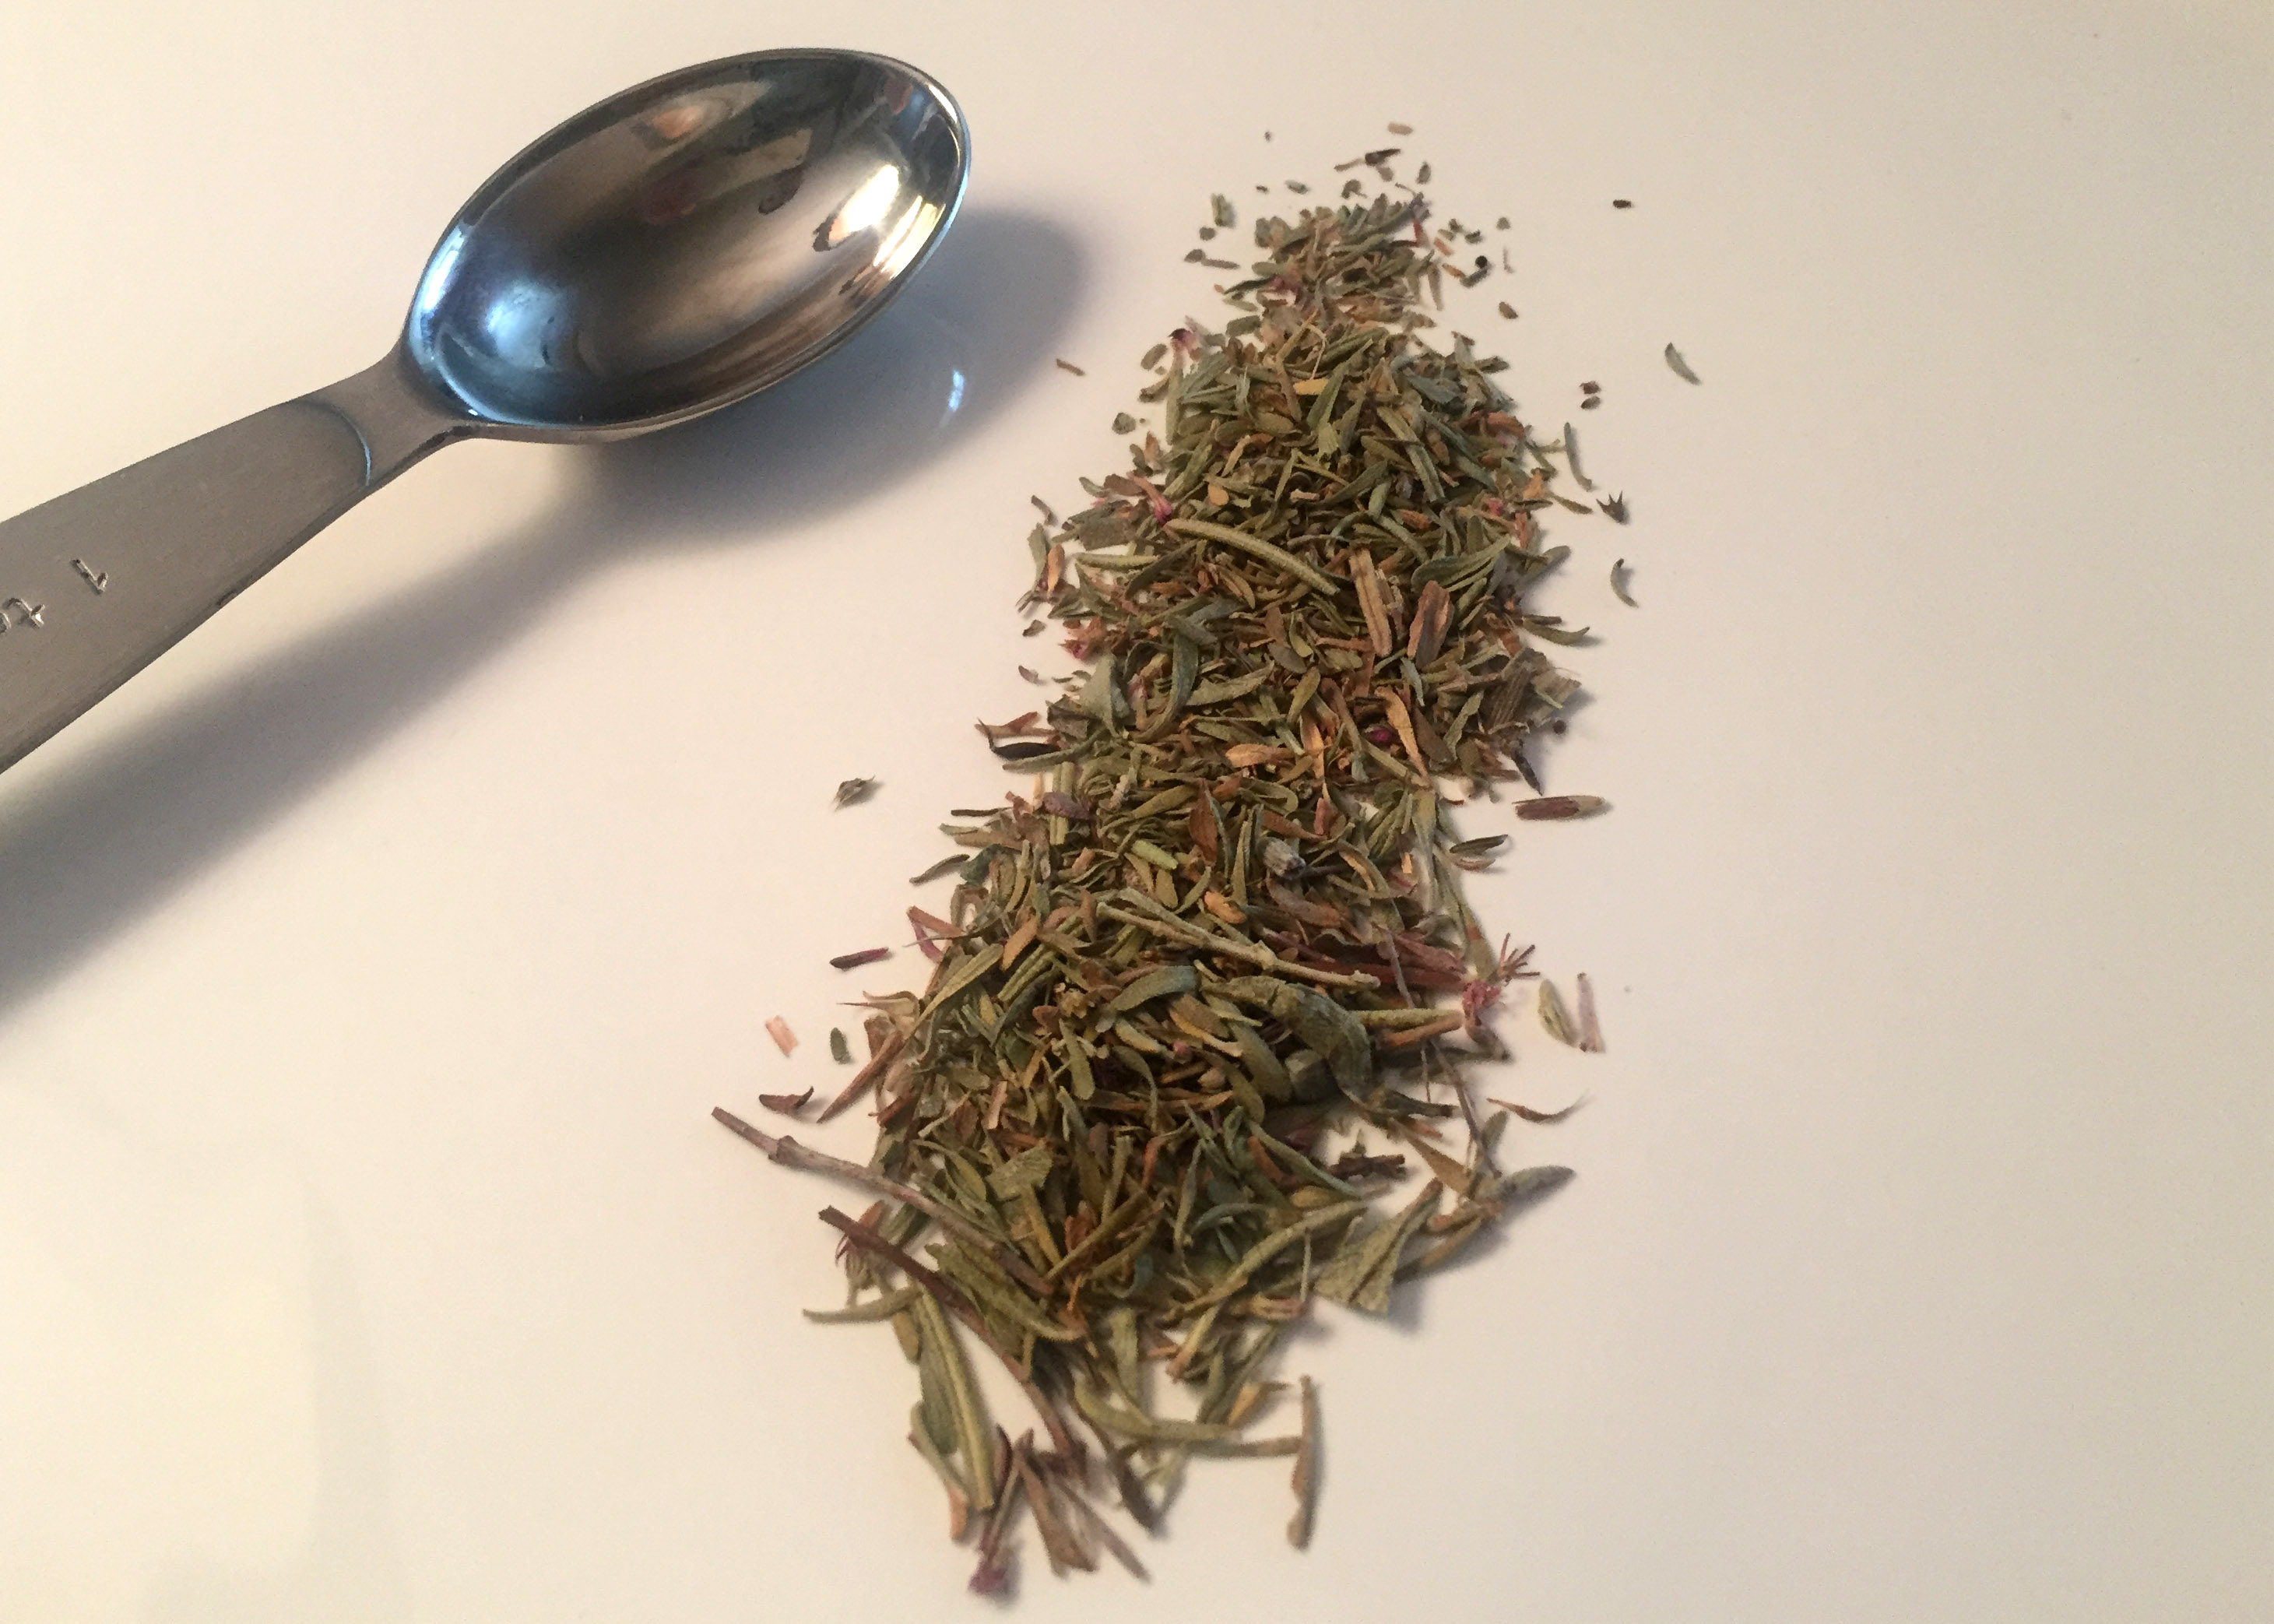
4 sprigs fresh thyme
1 sprig fresh rosemary (about 3″), leaves removed
1/2 tsp sea salt (divided)
1 log fresh goat cheese (250-300 grams or 8-10 ounces)

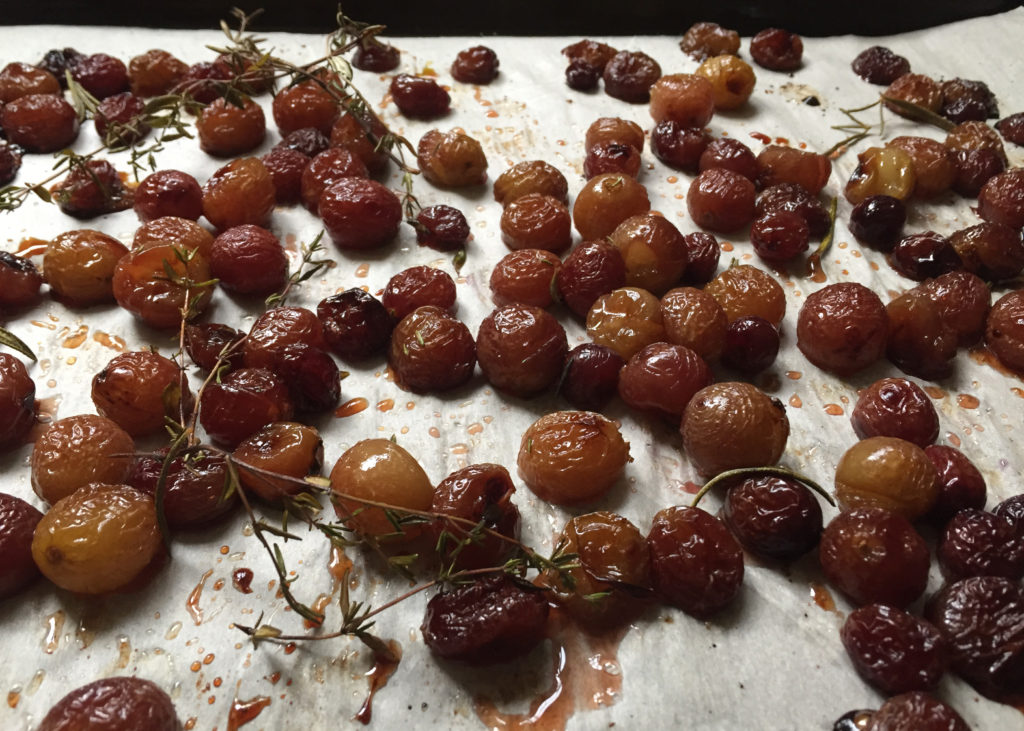
Preheat oven to 350F. Toss grapes, thyme sprigs and rosemary leaves with 2 tsp olive oil. Place on parchment covered baking sheet. Sprinkle with 1/4 tsp salt. Place in oven and roast for 45-55 minutes until grapes are soft and skins are bursting. This can be done a few hours ahead of time.

While grapes are roasting (or 45 minutes before serving), slice goat cheese in 1/4 inch rounds and arrange on serving dish. Drizzle with 2 TBS olive oil (flavoured if you wish).

When grapes are finished roasting, let sit until no longer hot (can be room temperature). Spoon over goat cheese and scatter with toasted, chopped walnuts. Sprinkle on remaining 1/4 tsp salt. I served this with crackers but you can also use a sliced baguette.

Bacon Orange Baklava Tarts

Oh yes, you read that correctly. And I’m not even going to try to convince you except…

Bacon.

Orange.

Baklava.

That is all.

1/2 cup walnuts
1/2 cup pistachio nuts
4 ounces chopped bacon
1/3 cup brown sugar (lightly packed)
1/8 tsp red chili flakes

1/3 pckg filo dough (6 sheets)
1/2 cup (4 ounces) melted butter
1/2 tsp ground cardamom
1/4 tsp ground ginger

1/4 cup orange marmalade
1/4 cup honey
1 TBS orange flavoured liqueur, such as Cointreau (optional)

Fry bacon until crisp. Drain and let cool. Set aside a small handful to decorate the top of your tarts, the main portion will be added to the nut mixture below.

In a food processor pulse the nuts until they are broken up, but not turned into meal. Add the larger portion of bacon, brown sugar, and chili flakes and pulse a few more times until the nut mixture is finely chopped and evenly blended.

Preheat oven to 350F.
Butter or oil muffin tins (I used the fat leftover from frying the bacon… ooops ;) ).

Melt butter and whisk in ground cardamom and ginger. Place one sheet of filo pastry on a flat surface and brush lightly with butter. Set a second sheet of filo on top of the first and brush with butter. Repeat with a third sheet. Phyllo sheets are usually about 12 inches by 18 inches so cut sheets into 3 inch squares (3 cuts along the short side and 5 cuts along the long side) to make a total of 24×3″ squares.

Press one square (3 sheets thick) of filo into each muffin cup. Top with 2 scant teaspoons of the nut mixture. Press another square of filo into each cup over the nut filling. Top with another 2 scant teaspoons of nut mixture.

Repeat. 3 more sheets of filo brushed with butter and cut into 3 inch squares. Press into muffin cups on top of your last layer of nuts. Top with the remaining nut mixture and press in your last squares of filo.

Carefully (or not) with the tip of a sharp knife cut a cross into the middle of each tart, trying not to cut through the bottom layer. This may frustrate you but it’s really no biggie. Just make some cuts so that when you pour over the syrup after the tarts have finished baking it will soak through all the layers. No matter how messy your cuts are the finished baklava will still be gorgeous… trust me.

Place in oven for 25 minutes, turning halfway through to ensure even baking. Check your tarts regularly starting at the 15 minute mark. The edges of the filo are very thin and will darken quite quickly. If they are getting too dark for your liking simply tear off a big piece of tinfoil and throw it over the entire muffin tray in the oven to deflect the direct heat.

While the baklava is baking, heat the marmalade, honey, and liqueur (if using). At about 25 minutes the baklava should be nicely dark golden and the tarts cooked through. Remove from oven and immediately spoon 2 teaspoons of warm marmalade honey sauce over each tart right to the edges. Let sit for at least an hour for the syrup to soak through.

Rhubarb Raspberry Galette

I have a boatload of rhubarb.

No, make that two boatloads.

Ummm, nope… make it three.

Yes, I have THREE boatloads of rhubarb! Want some? Come and get it! Got your own? I can’t help you.

Actually, yes. Yes I can help you.

I have been trying to get rid of testing rhubarb recipes for a few weeks. Rhubarb muffins, rhubarb cake, rhubarb crisp, and all of them were good (if you know me, you can hear me say “goooood?” with a sort of question mark at the end) but didn’t “wow” me. Yesterday I was “WOWED”. I’m not sure if it was the pastry, the addition of raspberries instead of the usual strawberries, how gorgeous it looked, or that it paired beautifully with a piece of cheese (yes!). But I have found it. Rhubarb Raspberry Galette… I love you.

A couple of things to note. My rhubarb was fresh from my garden but the raspberries were frozen from last year and worked just fine. I suspect frozen rhubarb would work as well. Also, I loved the addition of ginger to this recipe but I had another thought as I slipped this galette into the oven… rosemary! I think a couple teaspoons of fresh chopped rosemary instead of the ginger would be awesome. oh! OH! And what if you also worked some of that chopped rosemary into the pastry?!?! Holy crap. I could hug myself right now. Back to the kitchen…

For the dough:

10 oz (2 1/4 cups) flour
1 tsp sugar
1/4 tsp salt
6 oz (12 TBS) butter, chilled and cut into small pieces
1/2 cup ice water

For the filling:

1 1/4 lb rhubarb, trimmed and sliced into 1/2 inch pieces
1 cup raspberries (fresh or frozen)
1 TBS fresh grated ginger
1 tsp lemon juice
4 TBS flour
1 scant cup sugar (I used about 7/8 cup as my rhubarb was beautifully ripe but use a full cup if yours is not)
Melted butter or egg white beaten with a fork, for brushing the pastry edges
Sugar for sprinkling

Combine the flour, sugar, and salt. Cut in the cold butter until the mixture resembles coarse crumbs. Add the ice water and gently stir just until the mixture holds together. Be careful not to overmix. Press the dough into a round disk, wrap in plastic wrap, and refrigerate at least 30 minutes.

Combine rhubarb pieces, raspberries, grated ginger and lemon juice in a large bowl. Mix the flour with the sugar and sprinkle over fruit. Gently toss until the fruit is coated and let sit for 10 minutes while you roll out your dough.

Preheat oven to 400F.

Place a piece of parchment (bit enough to cover the bottom of a sheet pan) on a large flat surface and lightly flour. Place the dough on the floured parchment and roll out to an approximate 13-14″ circle about 1/8″ or slightly thicker. Don’t worry if it cracks while rolling, just press the broken pieces together. Gently spoon the fruit mixture into the centre of the dough leaving a 2″ rim clean. Fold up the rim (to win!) gently pressing the folds to stay. Slide the piece of parchment (with galette) onto a sheet pan.

Brush the dough with melted butter or an egg white beaten with a fork and sprinkle with sugar. Bake until the fruit is bubbling and the crust is golden, 45-50 minutes.

Place on a cooling rack and let rest for at least 10 minutes before serving. I enjoyed this with a soft, mild cow’s milk cheese. Husband liked it with ice cream.

Pear, Ginger and Olive Oil Cake

I know. For someone who claims not to eat sweets this is the second sweet recipe in a row. I wouldn’t believe me either!

When I do indulge, I prefer a savoury element to my dessert. Despite its popularity I had never tried an olive oil cake and I have to say, I’m sold. The end result is tender and moist and has a lovely fruity grassy flavour from the olive oil that you just don’t get putting regular oil into a cake. I like extra-virgin olive oil for a more pronounced flavour but you can use regular olive oil for a milder cake. In this recipe (which hails from this tiny beloved restaurant in London) the ginger adds a spicy element and the pear is a perfect match with the cheese you should serve with this cake. Yes… cheese! Something sharp and tangy like a Spanish aged sheeps’ milk (Manchego!), or a creamy French blue (St. Agur!) or a runny, slightly salty, bloomy, buttery, somewhat pungent French triple cream (Delice de Bourgogne!). And I’m not even going to mention the amazing crispy crackly caramelized top which comes from a generous sprinkling of demerara sugar… nope, not saying a word.

The original recipe asks for a 2 kg loaf pan which I do not have so I used a 7” springform pan and it took an extra 25 minutes to fully cook the cake in the centre but the top did not overcook so don’t be afraid to leave it in as long as necessary. If the top starts to get too brown for your liking you can cover it with a piece of tinfoil until the cake is done. It will take closer to the recommended time if you use a loaf pan or a larger springform pan.

As well, I highly recommend using a weigh scale to measure the sugar and flour, but I have converted the measurements into volume amounts if you prefer.

3 medium pears, 2 peeled and diced and one skin on, cut into wedges
1 TBS lemon juice
Zest of 1 lemon
200g (scant 1 cup) sugar
160ml (2/3 cup) good quality olive oil (I prefer extra-virgin for a more pronounced flavour)
2 eggs
50g (1/3rd cup) crystallized ginger, finely chopped
350g (2 1/2 cups) all-purpose flour
1 tsp ground ginger
1 tsp baking soda
1 tsp baking powder
½ tsp table salt

To garnish:
pear wedges from the third pear mentioned above, skin on and cut in thin wedges
1 TBS demerara sugar

Preheat oven to 350F. Line a 7” or 8″ springform pan or a 2 kg loaf pan with parchment paper.

Mix the peeled, diced pears in a bowl with the lemon juice and zest and set aside.

Put sugar and oil in a large bowl and whisk until combined. Whisk in the eggs one at a time until the batter is thick and smooth. Add the diced pear mixture along with the chopped ginger and fold to combine.

In a separate bowl, combine the flour, ground ginger, baking soda, baking powder, and salt. Stir so the ingredients are evenly distributed. Add flour mixture into the bowl with the wet ingredients and gently fold until just combined. Do not overwork or your cake will be tough!

Transfer the batter to the lined springform pan. Top with the pear wedges and demerara sugar. Place in oven and bake for 40 minutes. Turn the pan and bake for another 25 minutes. At this point you can start checking to see if the cake is cooked through by sliding a toothpick or sharp knife into the centre. If there is wet batter, bake for another 10 minutes and check again. Mine had to bake for an additional 25 minutes because I used a smaller sized springform pan.

Remove cake from oven and place tin on a baking rack to cool. The cake will store at room temperature for a couple days in the fridge for 5 days. Serve at room temperature… with cheese!!! Or vanilla ice cream. :)

Love Cookies (Herbs de Provence and Orange)

Oh Valentine’s Day, you are testing me. I am more than happy to cook a nice dinner but… baking?!?! Sweet pink stuff?!?! No… um no. It’s just not me.

Yet every year I wrack my brain for weeks preceding Valentine’s Day. What am I going to do to make it special? What kind of dessert can I make that isn’t sickeningly sweet (in both taste and, you know, that lovey-gunky stuff)?

I nailed it on the not-so-sweet-tasting point but the lovey-gunky stuff… I AM part of the problem. Ugh. Sorry.

I used rubber letter stamps (originally bought for card-making and scrapbooking) to imprint the cookies. I also used mason jar lids to cut circle shapes and then hand-cut the heart shape from there because, duh, where did I put that cookie-cutter?!?! It took a bit of time but you will be much smarter than I was and have everything you need on hand, I know you will.

1 teaspoon dried herbs de provence
3 cups (325 grams) all purpose flour
1 1/2 tsp baking powder

1 cup sugar
2 sticks (8 oz or 226 grams) butter (I let mine sit out for about 20 minutes to soften slightly, but it should still be cool)
1 egg
1/2 tsp orange oil or 1 tsp orange extract

Grind the herbs de Provence with a mortar and pestle or coffee grinder. You don’t want a powder, just enough to break up the bigger pieces of herb. Combine with the flour and baking powder and set aside.

Cream the butter and sugar in a stand mixer until it is fully mixed and somewhat fluffy, a couple minutes. Add the egg and orange oil or extract and cream until combined. Add the dry ingredients and mix on the lowest setting until just combined. Using your hands, form the dough into two or three balls and cover and put in fridge until ready to use.

Preheat the oven to 350F.

Using a rolling pin on a lightly floured surface, roll one ball at a time (leaving the remaining dough in the fridge to stay cold) to about 1/4 inch thickness and use a cookie cutter to cut shapes. Place on baking pad or parchment paper on cookie sheet and freeze for about 5 minutes before baking.

Once the cookies are good and cold, place the cold baking sheet into the preheated oven for 8-12 minutes (depending on how thick your cookies are). Remove to cooling rack when you can see the bottom edges starting to brown (some of mine stayed in a bit too long but they were still delicious).

I had planned to pipe some white chocolate (dyed pink) hearts onto the cookies as well but in the end I thought it would be too much. I liked the simplicity of just the lettering. If you make these cookies without imprinting them, I think some piping of chocolate would be lovely.

Ghost Cookies

ghost finishedBOOOOO!

A day late and a dollar short. But I don’t think you’ll mind when you get a taste of these treats. My website is almost a year old (yay me) and this is the FIRST sweet recipe I have posted. I’m much more of a “cheese for dessert” kind of gal. Do you have cheese in your refrigerator? Invite me over… you’ll see.

(That’s a weird word, isn’t it? Refrigerator? Where did THAT come from? Does it come from the word “frigid”? What does the “re” mean… are you making something cold AGAIN? And why didn’t it stay cold in the first place?)

I also make a mean fruit galette, but I eat it with cheese. See?, now you know me. :)

Aaaaaanyway, I have been looking for an excuse to try these ever since I received the most recent issue of Food & Wine magazine in the mail and yesterday it hit me… ghost cookies! I mean, seriously, GHOST COOKIES! I just… I can’t even… holyfrightwhatcouldbemoreperfect?!?! And these cookies aren’t just for looks. While they are fluffy and pretty, they are also chock full of delicious dried sour cherries, luscious dark chocolate and toasty pecans.

Food & Wine actually calls these “forgotten cookies” and I can take absolutely no credit for this recipe. I didn’t even tweak it a bit because baking is science and I was never any good at science. That said, for Christmas I might try making them with dried cranberries and chopped walnuts. Hmmmm *imagination running away with me*… dried mango, toasted pumpkin seeds, lime zest, and the dashiest-dash of hot chili flakes? WHOA LADY! I think there may be a number of ghosts in my future.

ghost ingredients

2 large egg whites
1/2 tsp cream of tartar
3/4 cut of sugar
1/2 tsp vanilla bean paste (I made my own using vanilla bean pods but you can use vanilla extract)
1/4 tsp ground cardamom
3/4 cup bittersweet chocolate chips (I chopped up a large 85% cocoa dark chocolate bar)
3/4 cup chopped toasted pecans
1/4 cup dried cherries (I was very generous with the amount here and also used sour cherries!)
coarse sea salt

Preheat oven to 350F. In a stand mixer fitted with a whisk, beat the egg whites with the cream of tartar at medium speed until soft peaks form, 1 to 2 minutes. With the machine on, gradually add the sugar. Add the vanilla bean paste and the cardamom and beat at high speed until stiff peaks form, about 3 minutes. Using a spatula, scrape down the sides and bottom of the bowl and fold in the chocolate chips, pecans and cherries.

ghost drops

Drop spoonfuls of the meringue mixture (approximately 2 inch balls) onto a large foil-lined baking sheet. Sprinkle the cookies sparingly with sea salt and bake for 5 minutes. Turn the oven off and without opening the oven door, leave the cookies in for at least 8 hours or overnight before serving.

ghost insides

You’re welcome. :)