Author: rradiuk

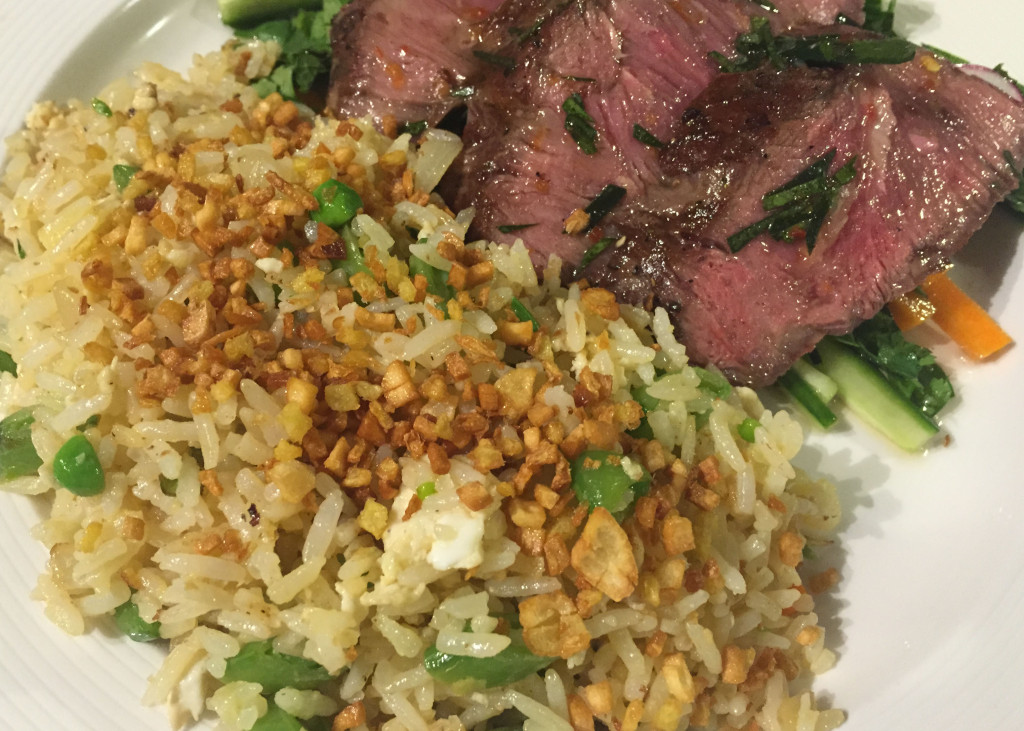
Ginger Fried Rice

ginger fried rice finalWell, THAT never happens.

Seriously. As any cook will confirm, you never get it perfect on the first try. You could always add a touch more of this, cook this a little longer, add that at a different time.

It. Is. Never. Perfect.

I have achieved the impossible.

:)

Sorry. Sorry. Perhaps I’m blowing my horn a little too loudly. It’s just that I was imagining a side dish that was subtle, yet not bland (oh, Lordy… there’s that word again), simple and focused, a side dish that didn’t need to overwhelm but simply showed off the ingredients in the best way possible, and I nailed it the first time.

Dinner last night was a Vietnamese beef salad which I do plan to share with you in the future but, case in point, it needs a few more tweaks to make it perfect. I wanted a side dish not just as a filler, but to compliment the salad. Since I was making Vietnamese, rice of course was the perfect choice, but my usual fried rice is Chinese-style with lots of vegetables and flavoured with soy sauce… nope. I searched the internet for a Vietnamese or Thai fried rice but the recipes I found weren’t any different from Chinese-style fried rice. So, a different tact, I searched ginger fried rice. Cha-ching badda-bing, up came what looked like a beautiful fried rice by Jean-Georges Vongerichten, as interpreted by Mark Bittman http://www.nytimes.com/2010/01/27/dining/27mini.html?ref=dining&_r=0.

The Vongerichten recipe looks lovely as a main dish with a runny yolk fried egg on top and one of these days, that will be dinner, but I took the idea (especially the topping of fried minced ginger and garlic… holy!) and made it my own.

To begin, I made the rice my usual way by first sauteing it in a bit of butter to coat the grains and added a tablespoon of coconut cream powder (basically, dehydrated coconut), while cooking the rice. This doesn’t make the rice taste like coconut, I think it simply boosts the flavour of jasmine rice when making Thai or Vietnamese dishes. If you skip this step it likely won’t make much of a difference in the end. I also used the trick of a friend (thank you, Jay) who makes the best Chinese fried rice; when preparing the eggs, separate the yolks from the whites, mix the yolks in with the pre-cooked rice so each grain gets a lovely yolky coating before stir-frying, and fry the egg whites in the wok beside the veggies. Adding the yolks to the rice elevates the flavour of the rice, and the entire dish.

Then, with the recipe as a general guide, I replaced the leeks with onion, added fresh ginger to give even more flavour the rice while stir-frying, added thinly sliced snap peas for colour, texture and sweetness, and replaced the soy sauce at the end with fish sauce to make it less Chinese, more Vietnamese.

Finally, it IS best if you cook the rice the day before and store it in the fridge, but I cooked mine in the morning and let it cool for an hour before putting it in the fridge for about 6 hours and it worked fine.

It sounds like a lot of steps for fried rice, and it is. But it’s worth it. If you try it, please let me know what you think!

For the rice:
a couple pats of butter
1 cup uncooked jasmine rice (to make 3 cups cooked rice)
1 TBS coconut cream powder (optional)
1 1/4 cups of water
1/4 tsp salt

For the topping:
3 TBS minced ginger
3 TBS minced garlic
3 TBS peanut oil
salt

For the veggies:
1 cup diced onion
1 cup snow or snap peas, cut into 1/4″ pieces on the diagonal
1 TBS minced ginger
2 eggs, yolks and whites separated (yolks will be mixed with the rice before frying)
peanut oil

For the sauce:
1 TBS (or more) fish sauce
1 tsp sesame oil

Rinse rice. Melt butter in pot until foamy. Add rice and stir to coat the grains with butter. Add water, salt, and coconut powder (if using) and simmer until the water has been absorbed. Remove from heat and let cool. Store in the fridge overnight. When cooking any white rice, I always saute in a bit of butter first and use 1:1 rice to water ratio, plus 1/4 cup for the pot. It always turns out perfectly.

About 1/2 hour before you start dinner, remove the rice from the fridge. Separate the egg whites and yolks. Add the yolks to the rice and gently fold until all the grains are coated. Set aside.

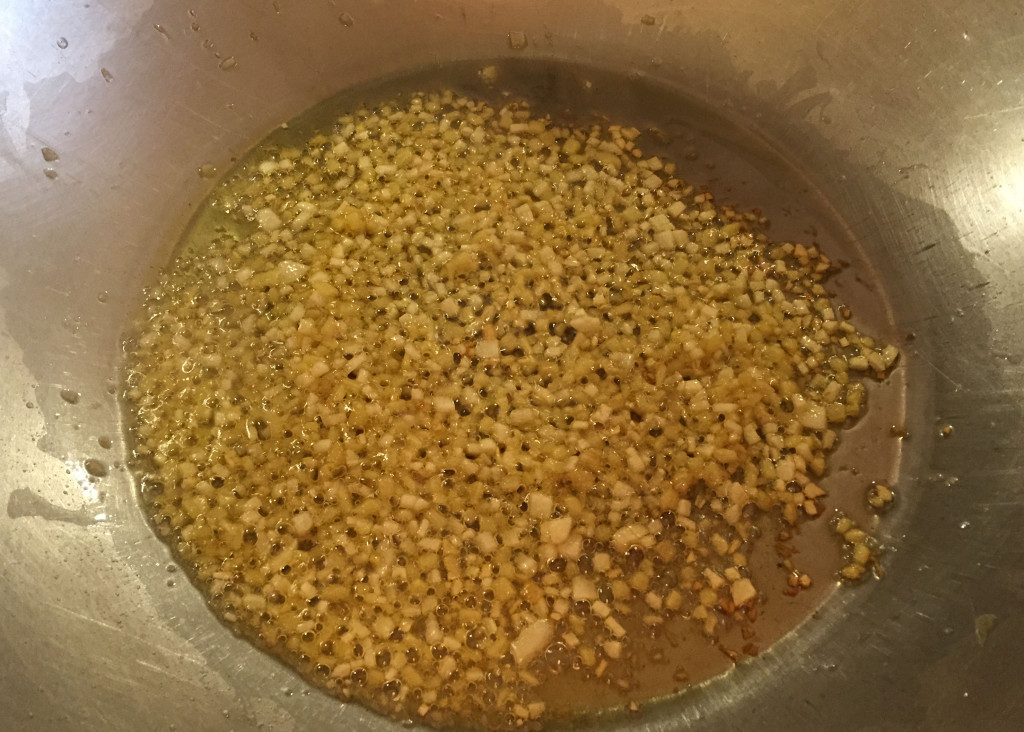
In a wok or large heavy-bottomed skillet, heat 3 TBS peanut oil over medium heat. Add garlic and ginger and fry, stirring occasionally, until brown and just starting to crisp. With a slotted spoon, transfer the ginger and garlic to paper towels and salt lightly.

ginger fried rice topping

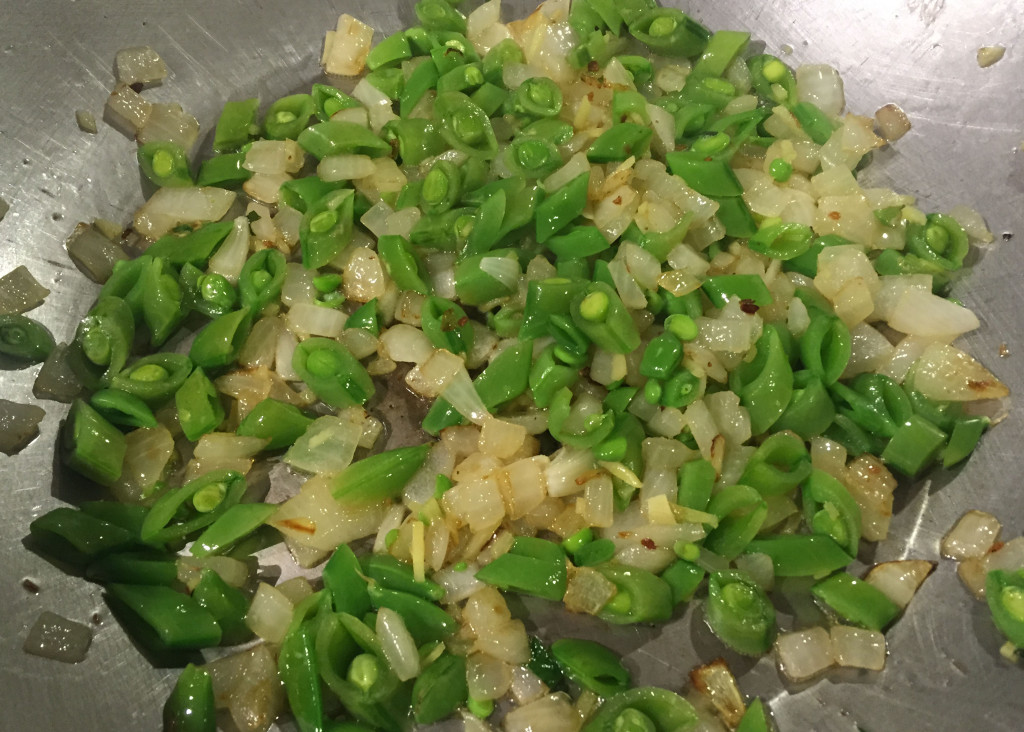
Using the oil left in the wok which has now been flavoured with garlic and ginger, turn the heat up to medium-high and add the onions frying until just starting to turn golden, about 5-6 minutes. Add the peas and minced ginger. Continue to fry until the peas are tender-crisp, about 3 more minutes.

ginger fried rice veggies

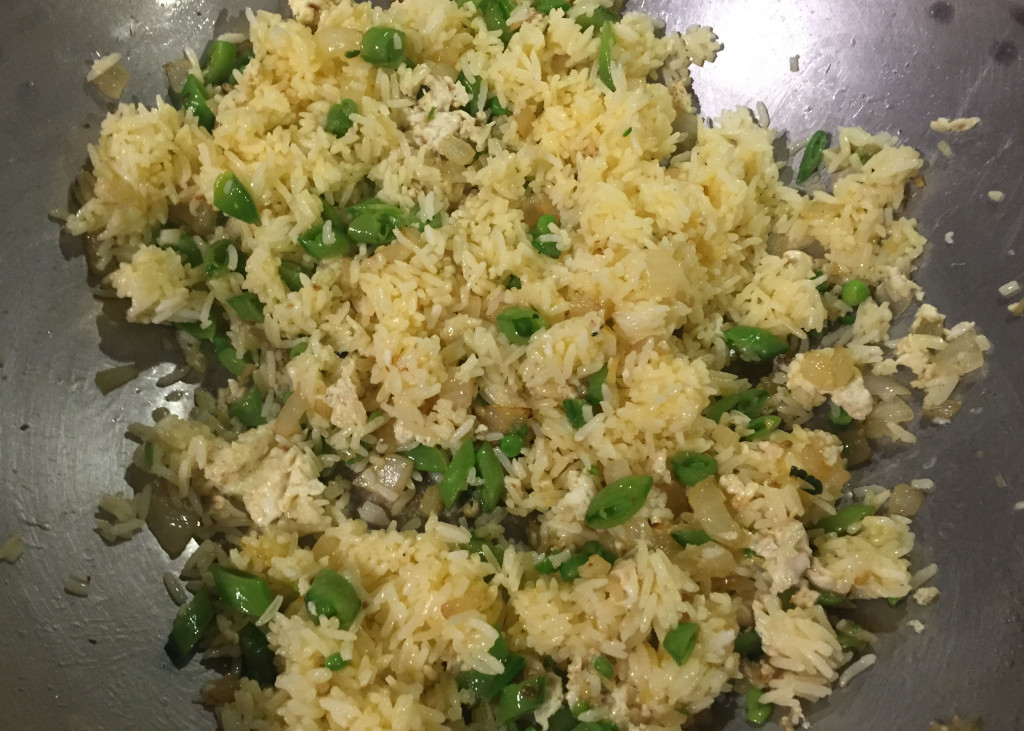
Add more oil to the wok if necessary, push the veggies to the side and add the egg whites, stirring until almost set. Stir the veggies and egg together. Add the rice to the wok, and quickly stir-fry until the rice is hot and starting to pick up some colour. Mix fish sauce and sesame oil together. Drizzle over rice and toss to distribute the flavour. Taste and add more fish sauce to your liking. Sprinkle with fried garlic and ginger.

If you are so inclined, you could fry an egg until the whites are set but the yolk is still runny, and place on top of the rice. That’s dinner… maybe tomorrow. :)
ginger fried rice fry

White Bean Soup

bean soup finishI’m baaaaack! I had an amazing time in Paris with my best friend and then in Venice and Rome with Husband. I saw my favourite painting again (I will never tire of sitting in front of it), found the third Statue of Liberty, explored two new (to us) cities, and walked until we thought our feet would fall off. We had some incredible food (that minted pea soup in Paris… I will never be the same), and ate in a 3-star Michelin restaurant. I have tons of new recipe ideas but, today, I am seeking comfort food. Fall somehow arrived while we were away… how did that happen?!?! I need a food hug to help get over the jetlag, my disappointment that summer is over (wahhh), and the fact that I have to go back to work (blechh).

I’m not using a recipe… just winging it with some basics picked up on our 7:00am trip to the grocery store (one thing about jetlag, it does make you efficient) and what I have at home.

This is your chance to use whatever herbs you have growing in your garden as well as that parmesan rind you have sitting in the freezer. If you don’t have a parmesan rind, you can substitute 2 TBS of finely grated parmesan into the soup at the end (but, Lordy, please not the stuff in the green can).

1 pound dry cannellini beans
12 cups water
1 meaty smoked ham hock (mine was so big, 3 pounds, I had the butcher cut it in half, but you can use a 1-2 pounder)
Fresh herbs to taste (I used several small sprigs of thyme, 3-4 sage leaves and a small handful of oregano. Use whatever you have in the garden. Fresh Italian parsley would also be good.)
2 medium carrots, medium dice
2 medium stalks of celery (I like to peel mine to get rid of the strings), medium dice
1 medium union, medium dice
4 cloves garlic, peeled and crushed
1-2 bay leaves
1 parmesan rind or 2 TBS finely grated parmesan cheese (optional)
1 tsp sea salt, plus more as needed
pepper
1/4 tsp hot pepper flakes (optional)
juice from 1/2 lemon to finish

Place the beans in a large bowl and cover with cold water. Allow to soak overnight. Alternatively, you can boil a pot of water, remove from heat, add the beans and allow to soak 1 hour. Drain and set aside.

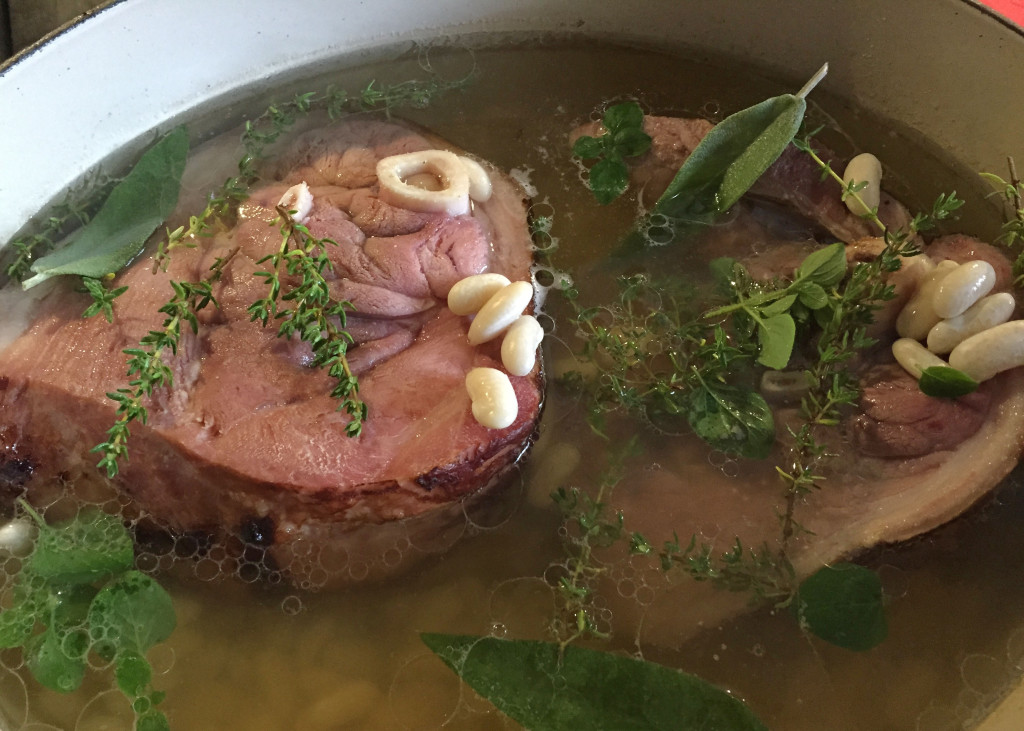
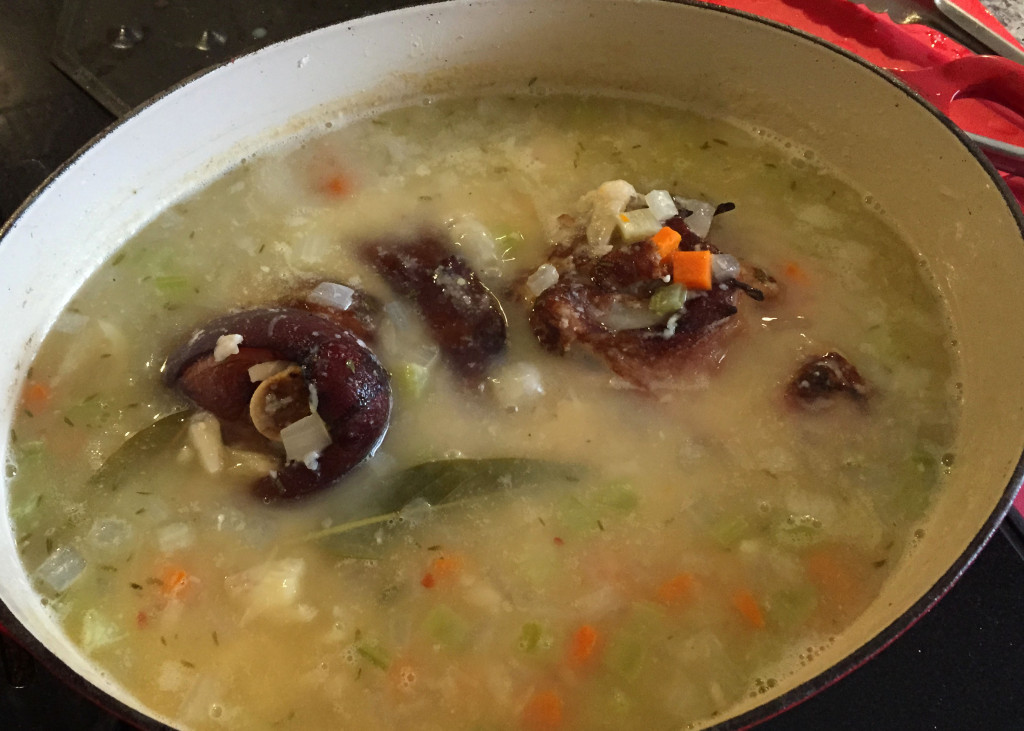
Put ham hock and 12 cups of water in a large, heavy-bottomed pot on high heat. Bring to a slow boil and reduce heat to simmer gently for 1 hour.

After 1 hour, add the soaked beans, the fresh herbs and bay leaf to the pot. Continue to simmer until the beans are almost tender (they will cook more later), approximately 45 minutes. During this time, skim the surface with a spoon if any scum forms.

bean soup simmer

Add diced carrots, celery, onion, garlic, red pepper flakes, and salt to the pot (add the parmesan rind here as well, if using). If it looks like too much water has evaporated, feel free to add another cup to the pot at this point. Continue to cook, stirring occasionally, until the beans and vegetables are tender and the meat is falling off the bone. Approximately another 30 minutes. Remove from heat.

bean soup simmer2

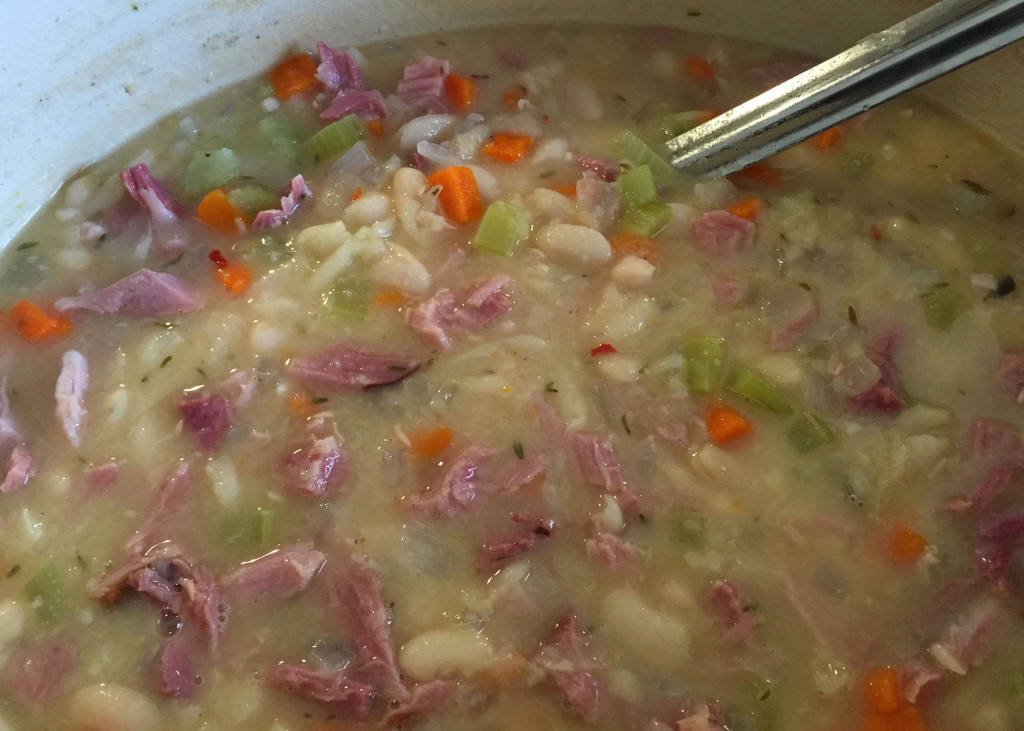
Remove the ham hock to a cutting board and let sit until cool enough to remove and dice the meat from the bones. Discard the skin and bones. Remove the thyme stems, bay and other leafy greens, and parmesan rind from the soup. If you didn’t use a parmesan rind and want that wonderful, deep umami flavour, add a couple tablespoons of finely ground parmesan cheese at this point.

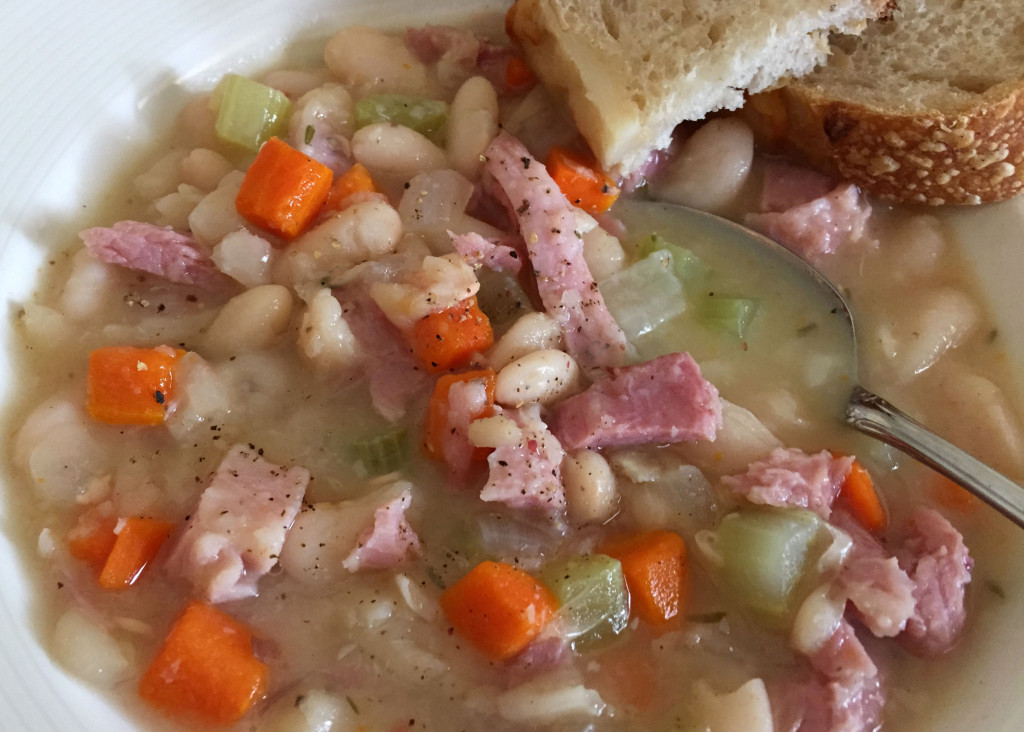
Using a potato masher, lightly mash some of the beans and vegetables to thicken the soup to the consistency you want. Stir in the diced pork. Squeeze in juice from 1/2 lemon. Taste and re-season with salt and pepper.

bean soup with meat

Not Authentic Slow Cooker Indonesian Beef Rendang

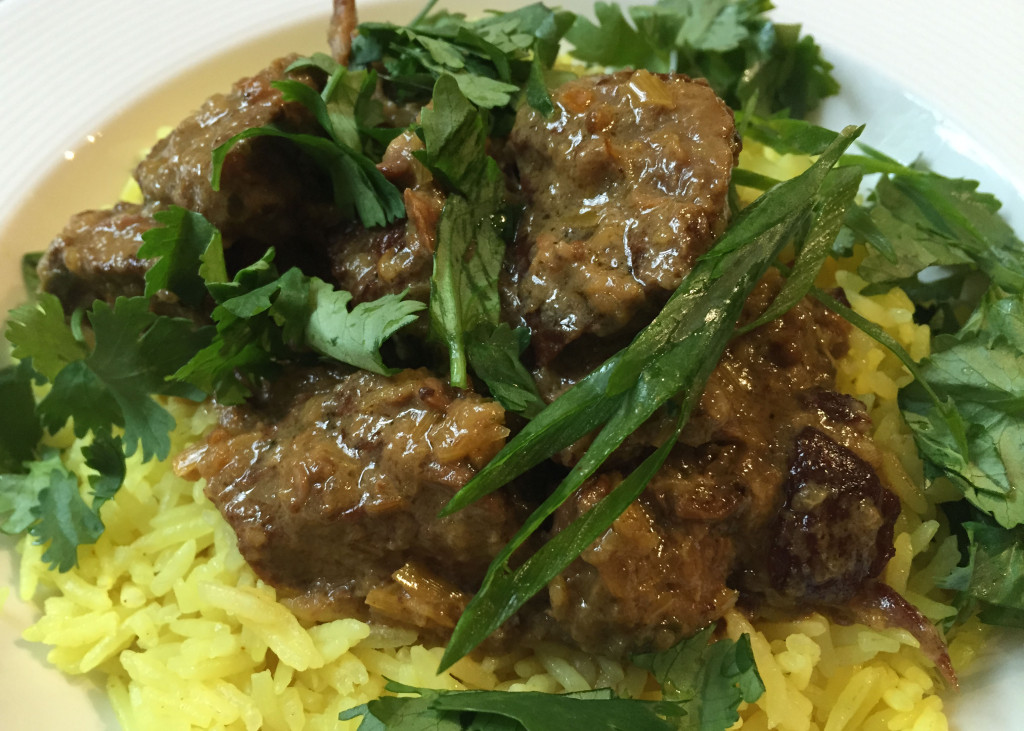
rendang finishedI have been DYING to try a rendang (essentially a fragrant, spicy beef stew) for a while but it’s just been too darned hot to turn on the oven or stand over a burner for several hours. Then a miracle happened (really, really). A rendang recipe https://sortedfood.com/recipe/6297 appeared in my “in box” on the exact day the temperature dropped 10 degrees and it used a slow cooker to boot! No oven or hot stovetop! See???… a miracle! And guess what, the results were even better than I had hoped. I am still smarting after Husband’s remark last week about “bland”. Well, things were far from bland tonight, buddy! Cha-Ching!

I don’t know about you, but I keep frozen lemongrass and lime leaves in my freezer (a habit from the “olden days” when these ingredients weren’t so easy to find) so I had most of the ingredients on hand except fresh red chillies for which I substituted red chilli flakes, and red onion for which I substituted white. I cut back dramatically on the salt and added fish sauce for an additional umami, funky sort of flavour.

I’m calling this recipe “not authentic” because, slow cooker. For any traditional nay-sayers out there, I’m sorry you have to wait until winter for your rendang fix. That said, I DO think the inspiration recipe ends too soon. Traditional beef rendang is quite dry and for anyone who has ever used a slow cooker, you know the longer you cook, the saucier it seems to get. So after about 5 hours when the meat was falling apart tender, I removed it to a separate bowl, skimmed the fat, and cooked down the sauce on the stovetop to about half its original volume. I then adjusted the seasoning by adding a touch of brown sugar, another splash of fish sauce, and a tipple of sambal oelek for some instant heat. Easy peasy and Husband loved it. The original recipe says it serves 4… not in our house. I know this recipe will be going into my regular rotation.

Paste:
2 red onions
1-2 TBS fresh ginger, minced
4 cloves of garlic
2 red chillies (or 1 tsp hot red chilli flakes)
2 sticks of lemongrass (cut into 1/2 inch pieces)
6 kaffir lime leaves
1 tbsp cumin seeds
1 tbsp coriander seeds
1 tbsp palm (or brown) sugar
1 tsp salt
1 tsp ground turmeric

Curry:
a glug of vegetable oil
2 – 2 1/2 pounds stewing beef (shin, shank, chuck or shortrib) cubed
1 can (400 ml) full fat coconut milk
1 TBS fish sauce
1 cinnamon stick

To finish:
2 TBS tamarind paste

Additional adjustments I made once sauce was reduced (taste sauce and adjust to your liking):
~1 tsp brown sugar
~1 tsp fish sauce
~1/2-1 tsp sambal oelek

Serving:
handful of cilantro, leaves picked and chopped
2 spring onions, thinly sliced on the diagonal
lime wedges
Jasmine or Basmati Rice (I added a pinch of turmeric, a few cardamom pods, and a star anise while cooking)

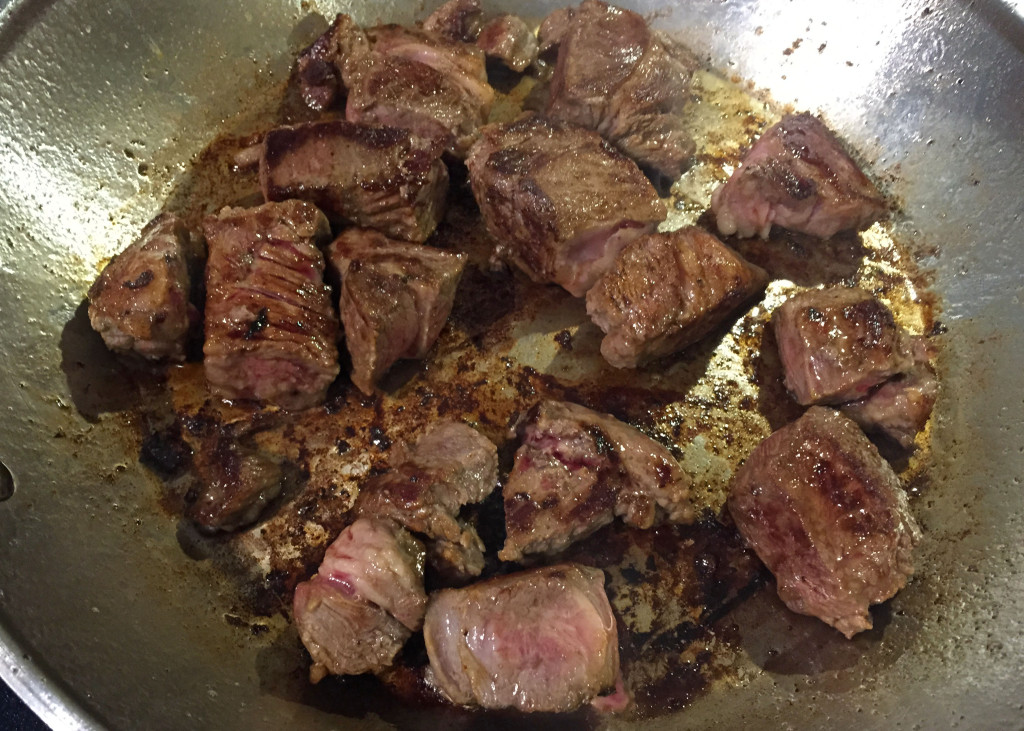
Cut the beef into bite-sized pieces, heat vegetable oil in a pan and sear in batches until the outside of the beef is a lovely dark brown. Transfer the beef to a slow cooker as it’s done. Do not wipe the pan clean. You will be pulling up all that beautiful caramelized flavour in the next step.

rendang beef

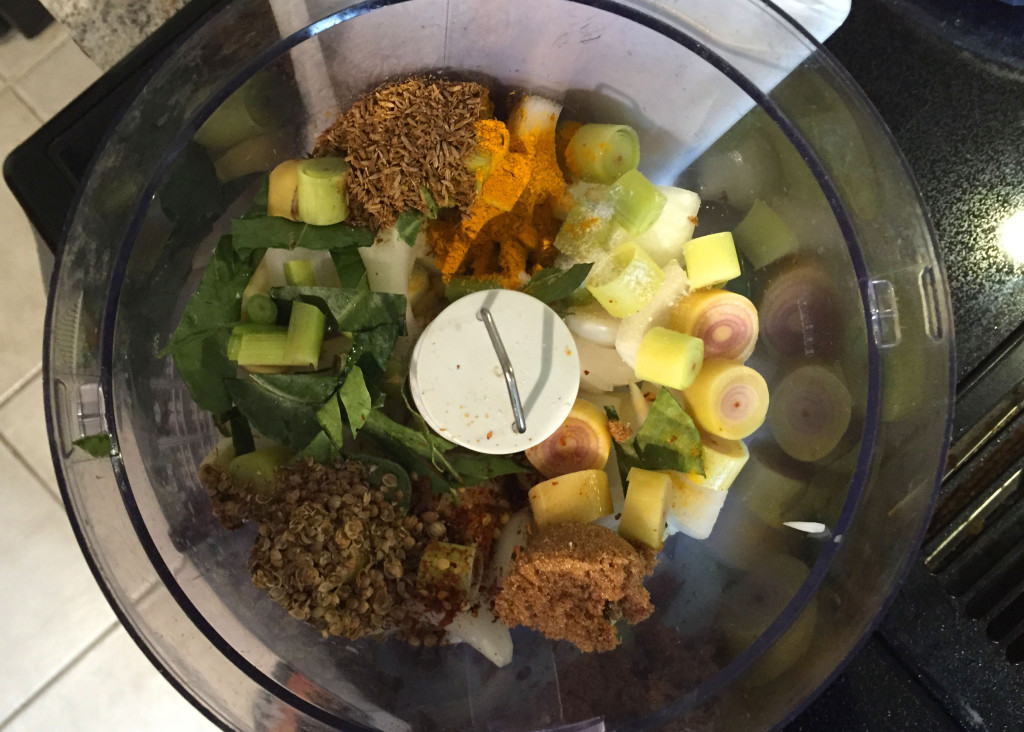
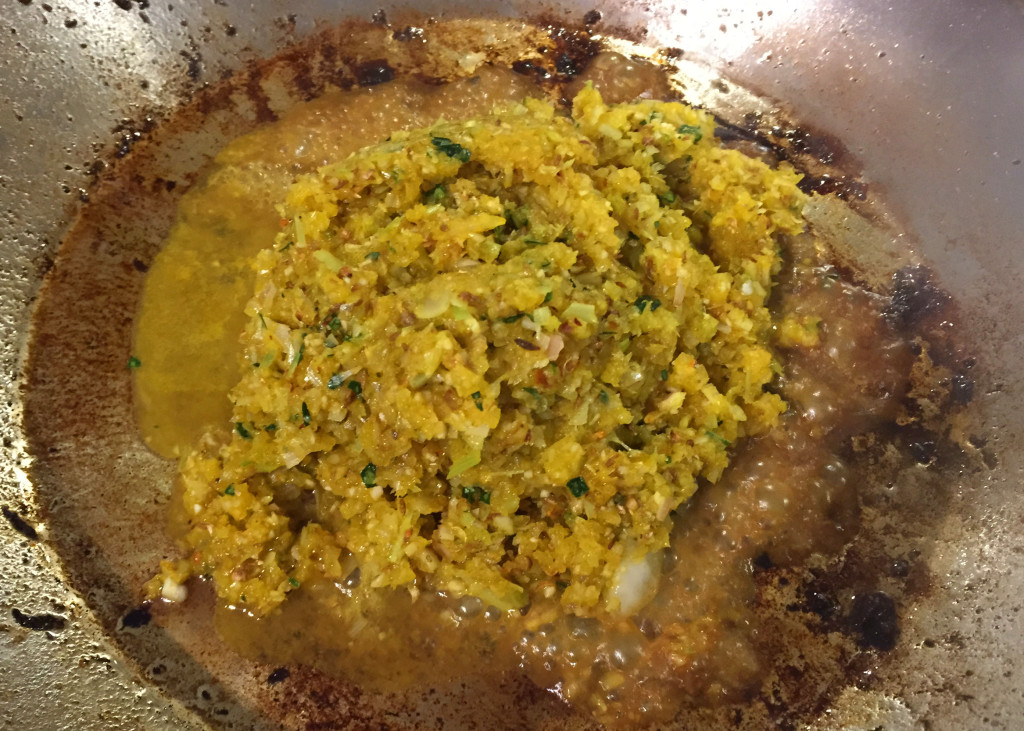
Peel and roughly chop the onion, garlic, ginger, lemongrass and chillies (or chilli flakes). Throw them all into the food processor with the kaffir lime leaves, spices and palm or brown sugar. Blitz to a paste. Add another glug of oil to the pan you used to brown the beef and add spice paste, frying for 2-3 minutes. Add the coconut milk, fish sauce and cinnamon stick and gently scrape up all the goodness at the bottom of the pan.

rendang paste

rendang fry paste

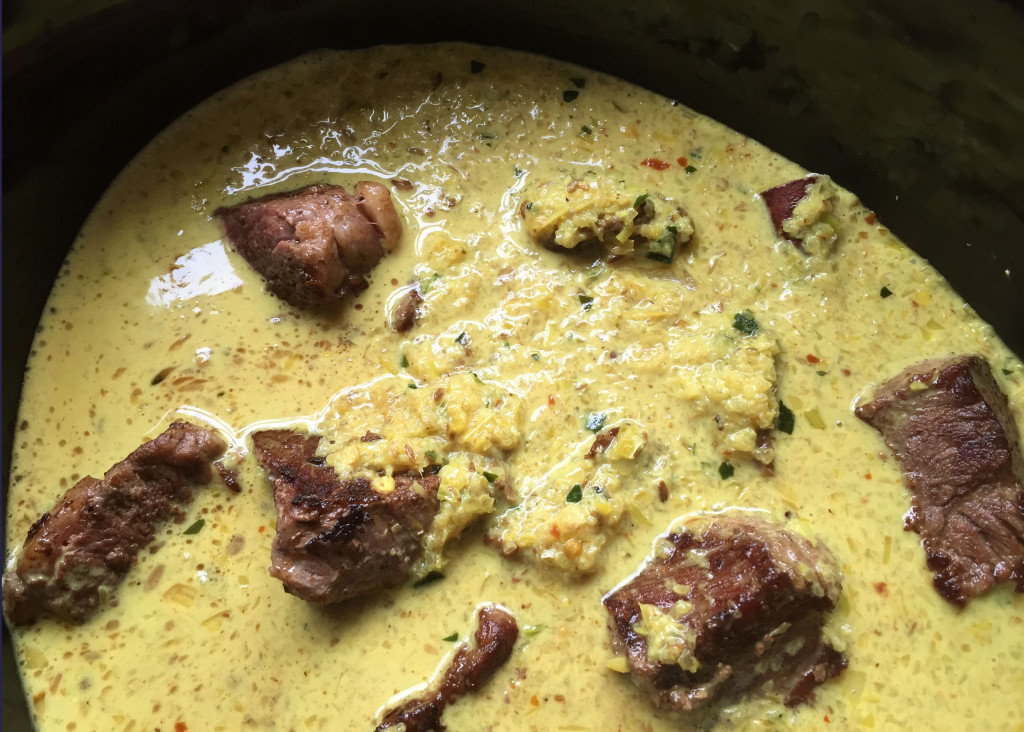
Add the paste/coconut milk mixture into the slow-cooker with the beef and cook on a low heat for 5-6 hours until the meat is really tender.

rendang slow cooker

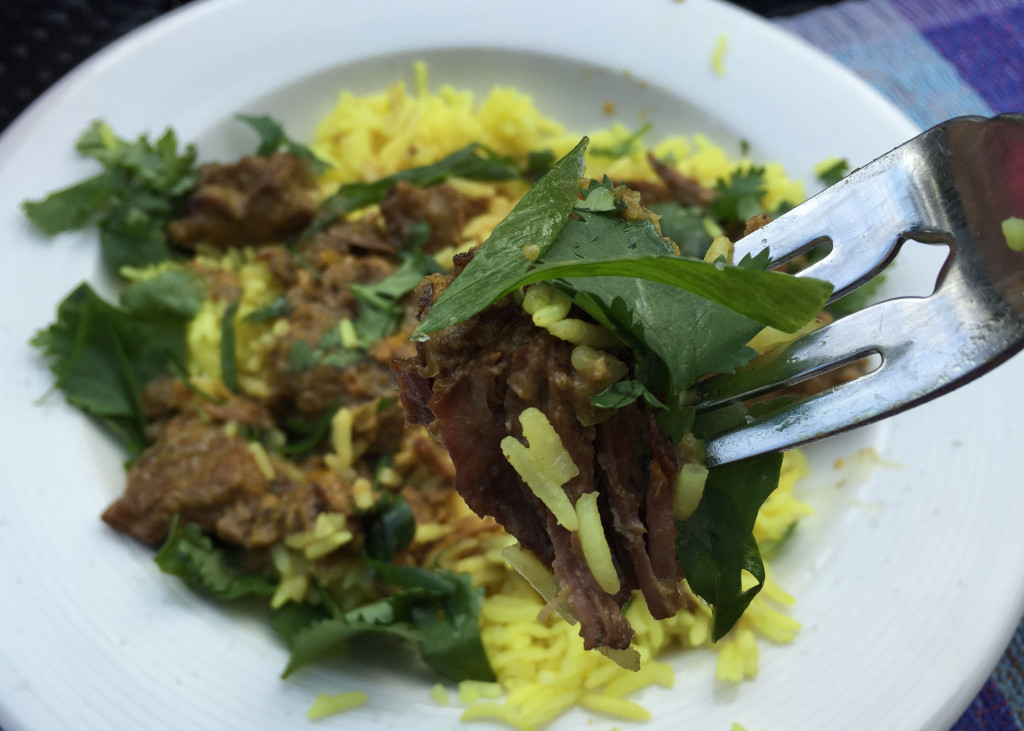
Remove the beef to a separate bowl and pour the remaining sauce from the slow cooker into a sauce pan on your stovetop (skimming the fat if you wish). I had about 4 cups of sauce. Add the tamarind paste, bring to a slow boil and reduce to approximately 2 cups of sauce, ensure you are stirring every few minutes so the bottom doesn’t burn. Taste and re-season if necessary. Add the cooked beef back into the sauce and heat through. Serve with aromatic rice (I used basmati and added a pinch of turmeric, a few cardamom pods, and a star anise). Garnish with chopped cilantro, finely sliced green onion, and a wedge of lime.

rendang fork

Italian Chopped Salad

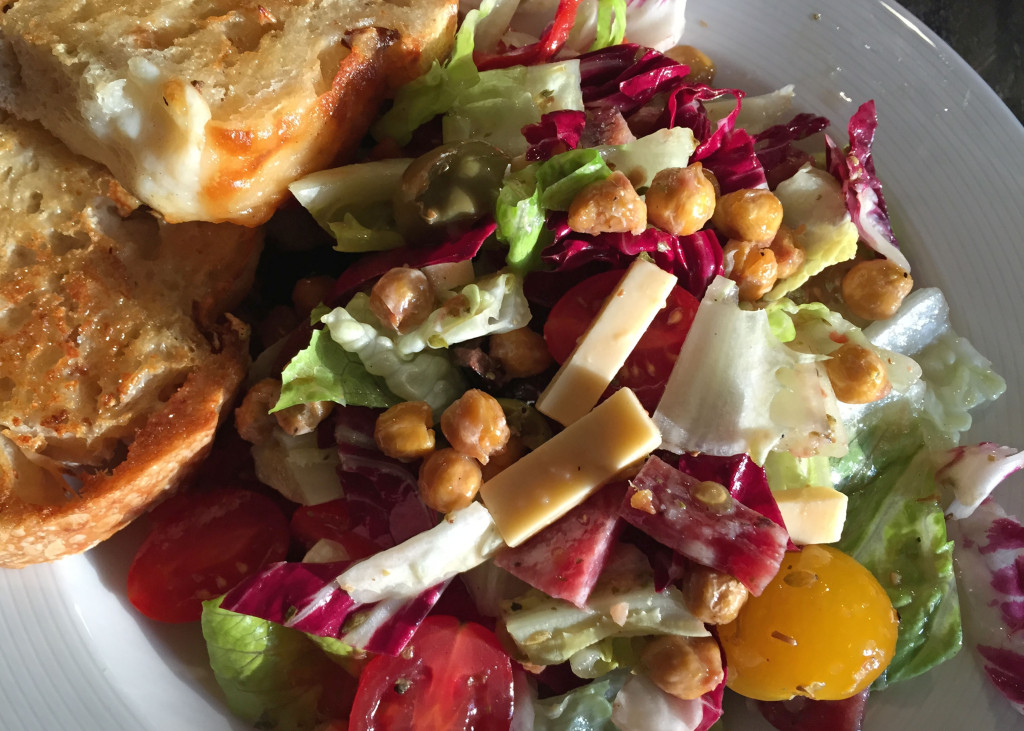
chop saladI thought I had a real winner last night. A summer pasta dish based on one of my favourite summer salads. It was simple but had lovely ingredients, corn charred on the BBQ, tossed with the first summer tomatoes, fresh basil from my garden, and feta. Husband said it was…

“bland”.

Wait, what?!?!

This is a man who, on one of our first dates 20 years ago, took me to an Indian restaurant (granted, my choice) and had beads of sweat running down his forehead and off the tip of his nose… and it wasn’t even spicy! “Bland”?!?! I thought it was light and tasty… a perfect way to eat pasta on a hot summer evening. Admittedly, a much softer-flavoured dish than my usual but… “bland”?!?! Ugh.

I still think the idea has promise. I’m going to try it again, next time adding garlic and perhaps charring some jalapeno peppers on the BBQ with the corn and tossing them, chopped, into the pasta. In the meantime, I will share with you a salad recipe that has some real kick. A crunchy, texture-filled, one-dish meal with with deli meat and cheese, all tossed with a vinegary, garlicky dressing. So there!

This recipe is based on a Smitten Kitchen recipe here http://smittenkitchen.com/blog/2014/06/nancys-chopped-salad/ but I have made a few changes, one being to roast the chickpeas. I prefer the more meaty, slightly crunchy texture of roasted chickpeas in this salad. And you shouldn’t feel hemmed in by the instructions as to the exact amounts and what size to cut the ingredients. It’s a chop salad so the pieces should be smallish but, other than that, feel free to adjust the size and amount to suit your taste. This serves 2 as a main for dinner.

Oregano dressing
2-3 cloves garlic, minced
2 TBS dried oregano
1 tsp kosher salt
Freshly ground black pepper
2 TBS lemon juice, or juice of 1 lemon
1 tsp Dijon mustard
1/4 cup red wine vinegar
1/4 cup good, fruity olive oil

Salad and assembly
1 (15-ounce) can chickpeas or 1 3/4 cups cooked chickpeas, drained
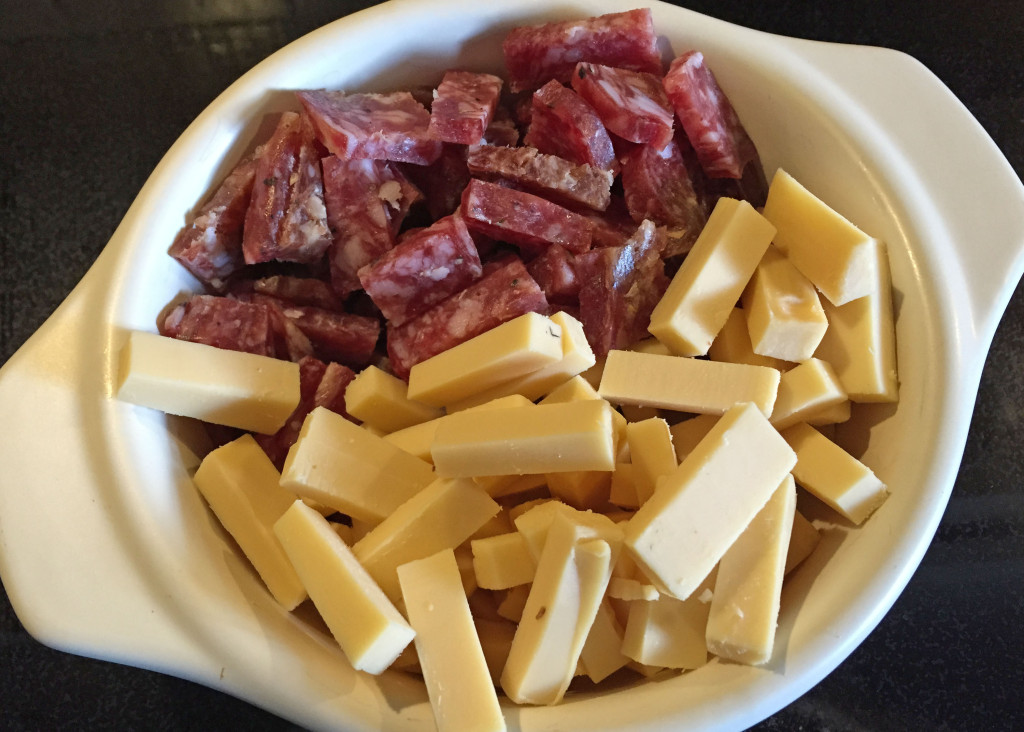
4 oz smoked gouda or provolone, sliced into bite-sized batons
4 oz salami, peeled, sliced into bite-sized batons
4 medium or 8 small pickled pepperoncini, sliced into rings
8-12 ounces cherry tomatoes, halved, or large tomatoes diced into bit-size pieces
1/2 cup of your favourite olives, pitted or not, your preference
1 small or 1/2 large head romaine lettuce, halved, leaves cut crosswise in 1/2-inch ribbons
1 small or 1/2 large head radicchio, halved, cored and leaves cut crosswise in 1/4-inch ribbons
Optional – thinly sliced red onion

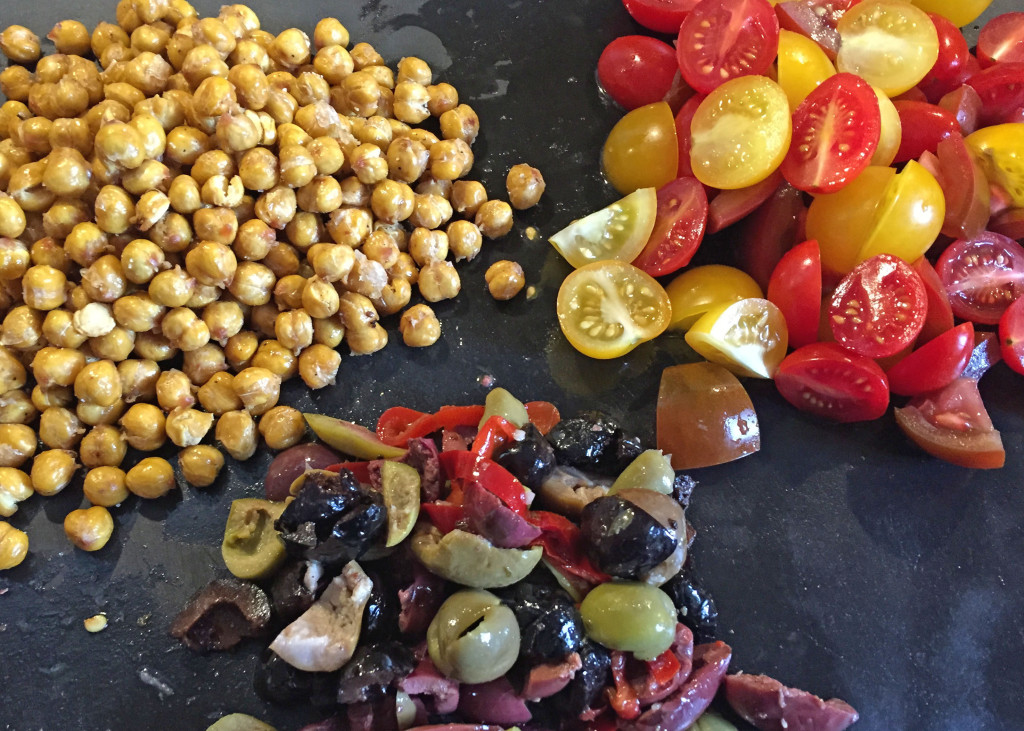
Rinse chickpeas well and let sit in strainer to dry. Heat oven to 400F. Toss chickpeas in a bowl with a glug of olive oil and sprinkle with salt and pepper. Pour onto baking sheet and bake in oven for about 20 minutes, tossing occasionally, until starting to crisp. Remove from oven and let cool.

chop salad ingred

chop salad deli

Make the dressing: Add all ingredients into a bowl except olive oil. Mix well. Drizzle in olive oil and whisk until well combined. Dressing will be a bit watery… that’s ok!

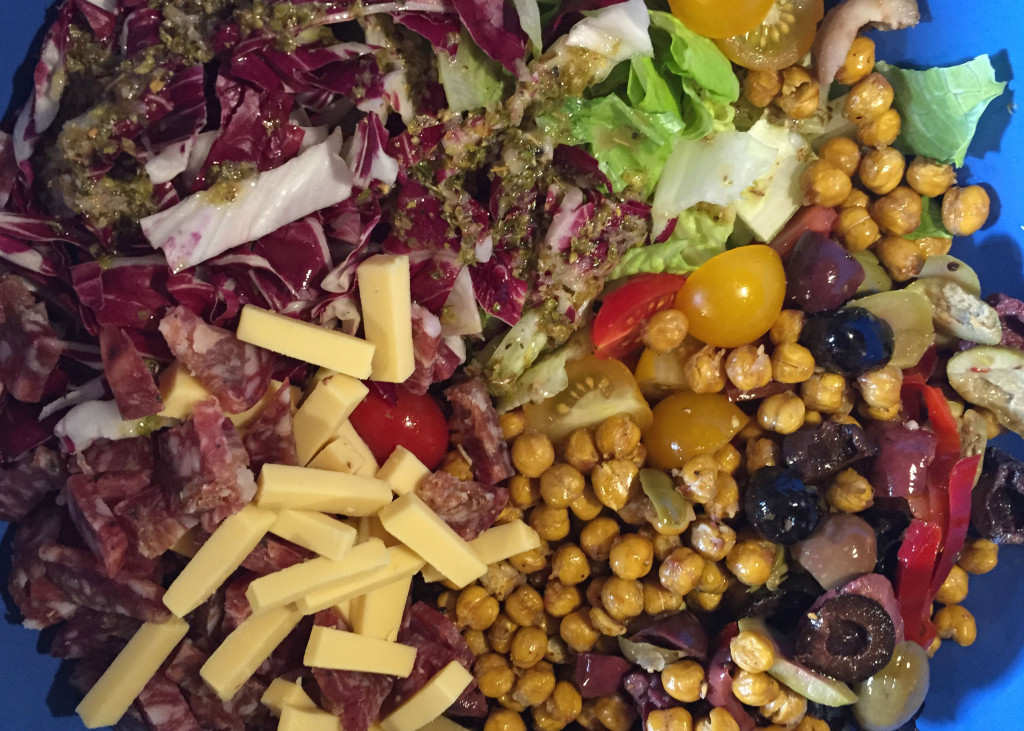
Put all salad ingredients into a bowl. Add half the dressing and gently fold. Taste for seasoning and add more dressing to your taste (I used it all!). Happy eating!

chop salad bowl

Grilled Carrots with Carrot-Top Pesto

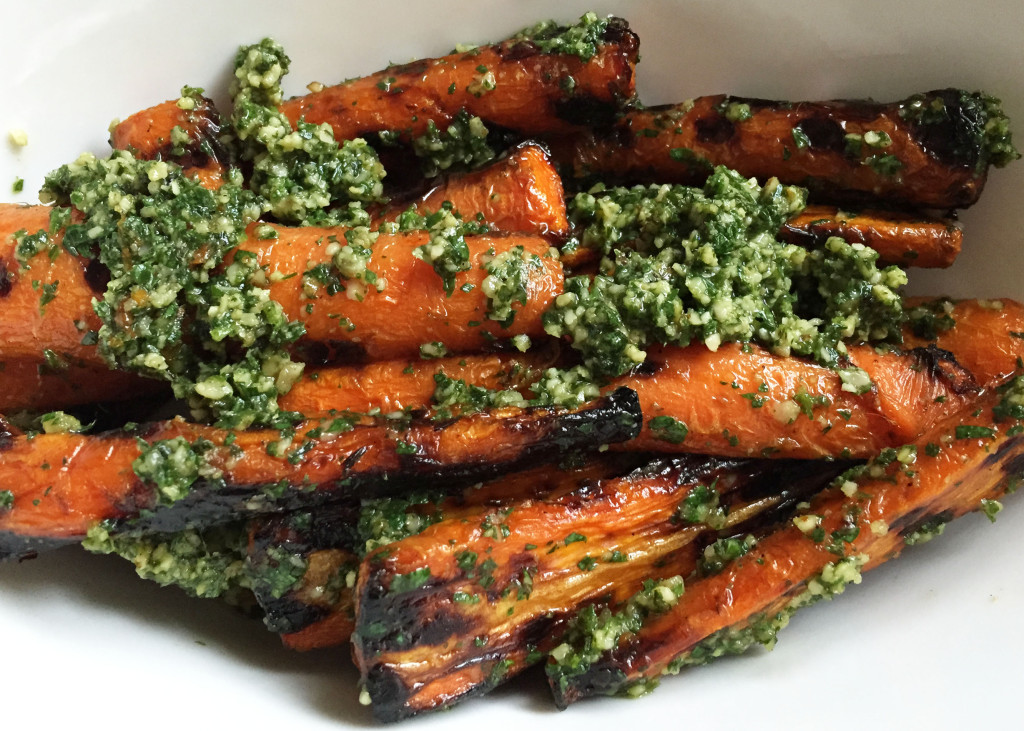
carrot pestoEvery Saturday morning, May through September, an amazing farmers’ market pops up a 3 minute walk outside my back door. When we were house-hunting just over 5 years ago, we never imagined moving to the area of the city in which we now live, but one look at the massive park (with a lake!) just outside the back gate sold us. And with each passing year we fall more and more in love with our neighbourhood, including all the wonderful festivals and special events that happen in and around our park, one of which is our farmers’ market.

Right now the market is filled with fresh peas, baby carrots, spring greens, zucchini blossoms, and the first strawberries, blueberries, and cherries of the season. Soon there will be peppers, zucchini, and new potatoes, which will eventually lead us into the fall crop of crisp apples and sweet corn. But right now, it’s about the first gatherings of spring and last week my eyes fell on a beautiful bunch of new carrots and I knew I had to try a recipe from Food 52 (if you love to cook and you’re not following Food 52, you’re missing out).

This recipe was a revelation for me. I never imagined using carrot tops to make pesto (and I am now waiting anxiously for enough radish greens in my garden to try making pesto with those, because, why not?!). I haven’t changed the recipe ingredients at all, but I did grill my carrots on the BBQ rather than roasting them in the oven… it IS spring after all. As well, I did not top the carrots with burrata as per the original recipe because I didn’t have it on hand, but I’m sure it would be delicious. The recipe says it serves 4-6 people, but as per usual, we polished off the entire dish. Apparently, the leftover pesto freezes very well… mine didn’t last long enough to test this claim.

For the carrot top pesto:

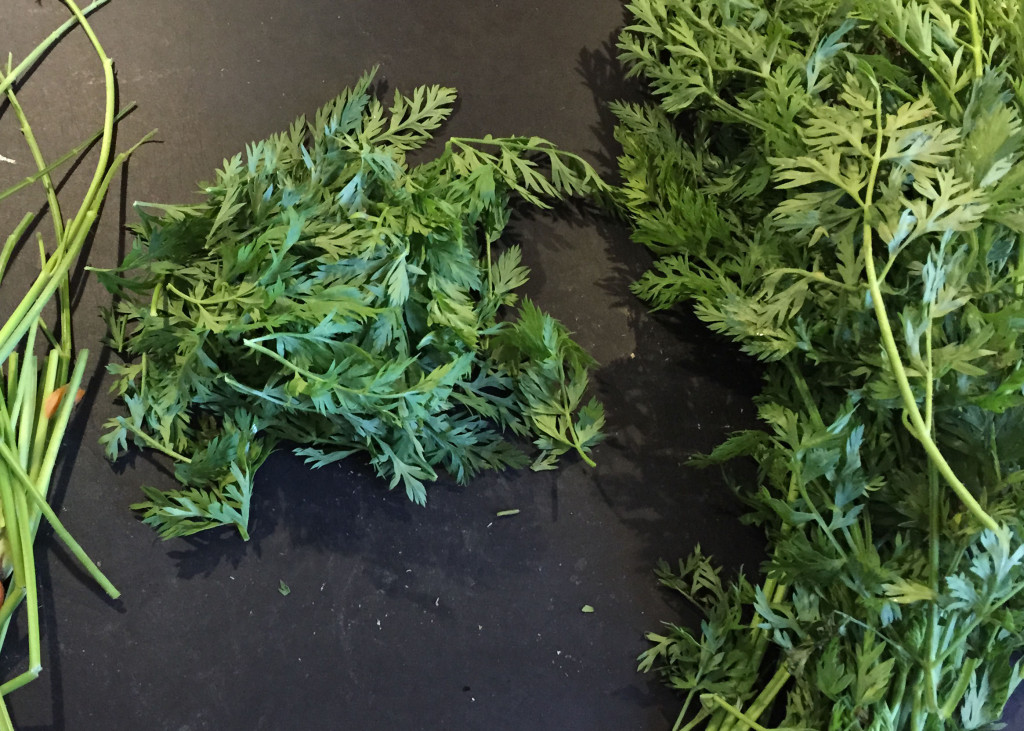
4 cups lightly packed washed carrot tops, stems discarded, roughly chopped
a small handful basil leaves
1/2 cup walnuts, toasted
1 ounce grated Parmesan cheese
1 medium garlic clove, roughly chopped
1 teaspoon Maldon or other flaky sea salt
1/2 cup extra-virgin olive oil

carrot pesto tops

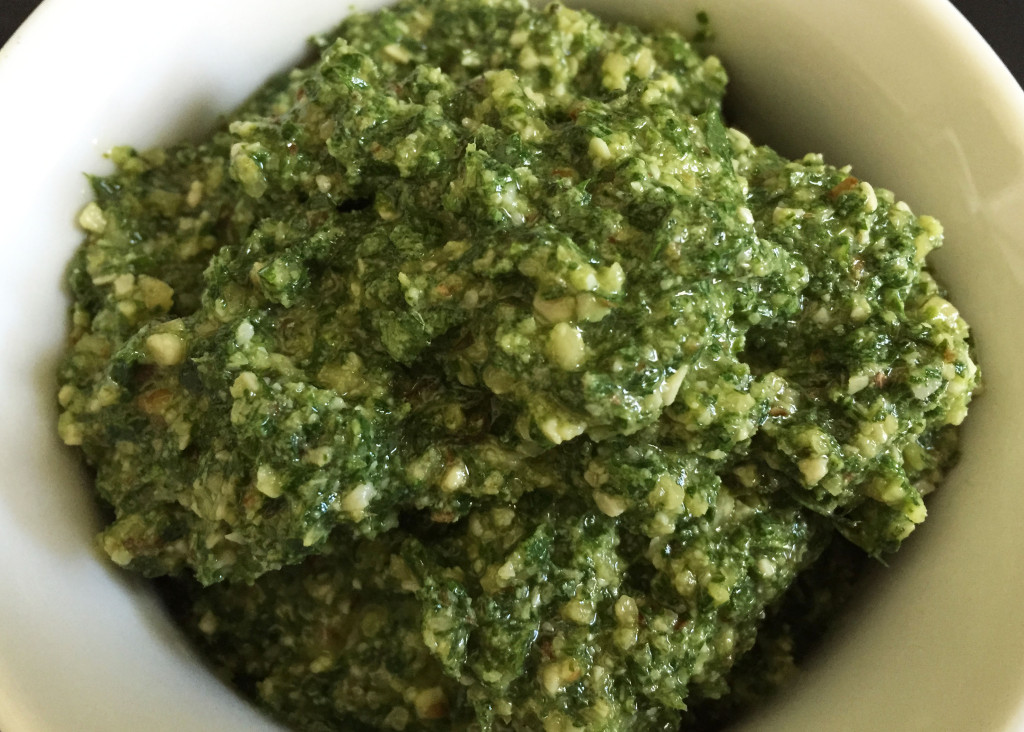
Make the pesto: Combine the carrot tops and basil in a food processor, pulse, then add the nuts, cheese, garlic, and salt. Pulse again, and then with the machine continuously running, add the oil in a thin stream. (You’ll have to stop to scrape down the sides a few times.) Taste and adjust for seasoning.

carrot pesto pesto

For the carrots:

20 small carrots, scrubbed and tops trimmed but stems left on (or, if your carrots are bigger as mine were, cut in half (crosswise) and then cut the wider half of the carrot in two, lengthwise)
large glug of extra-virgin olive oil, plus extra for drizzling
1 teaspoon plus a few pinches flaky salt
3 tablespoons carrot top pesto, plus more to taste
Half a lemon

Make the carrots: Turn your BBQ on to high and heat to 400°F.
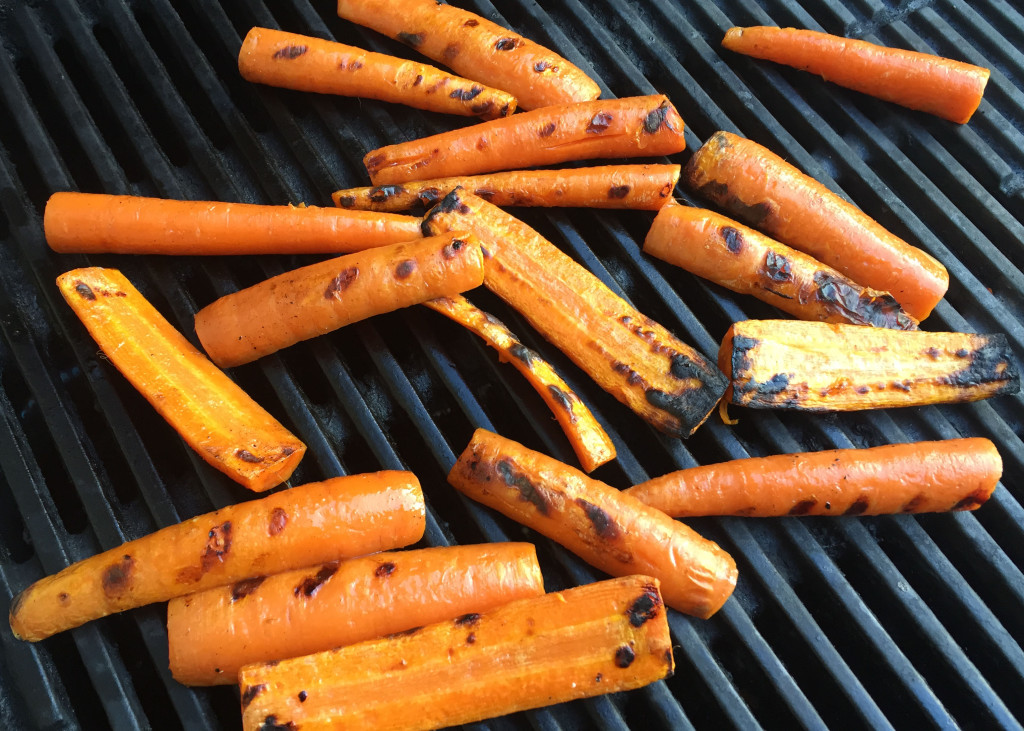
Top carrots with a glug of olive oil and toss to coat. Sprinkle with 1 teaspoon of salt. Toss onto the hot BBQ and grill, turning occasionally, until the carrots are browning in spots. Turn heat down to medium and cook with the lid closed until the carrots are done to your liking. Remove and let cool slightly.

carrot pesto grilled

Toss the cooked carrots very gently with the pesto, using more or less based on your taste. Transfer the coated carrots to a platter (this is where you can top with the burrata, if you wish).

Dress with a squeeze of lemon, a drizzle of good fruity olive oil, and a small pinch of salt.

Sausage Salad (a.k.a. necessity, the mother of invention)

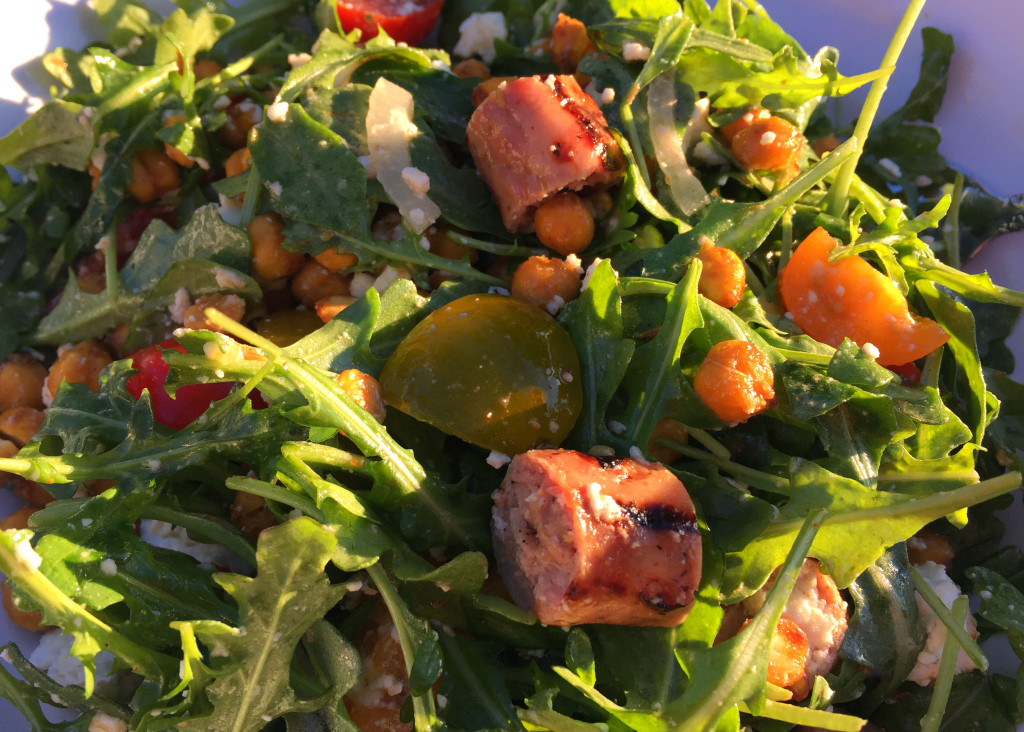
sausage saladMy beautiful stand-up freezer that I bought exactly 1 year and 3 weeks ago (yes, with a 1 year warranty) quit today. I can’t even tell you how annoyed I am. So far, I am “2 beers” annoyed, but that could get worse (or better? ;) ). Husband came home from work and we pulled out every little cooler we have, filled them with ice, and are trying to keep all my homemade sauces, herbs, and specially ordered meat frozen until the service guy comes and we figure out what to do.

Anyone who knows me, knows that weeknight dinners is always salad. But with hundreds of dollars of meat slowly thawing all around me, I needed to get especially inventive. Luckily, last night I soaked a cup of dry chickpeas so I had that going for me. My little brain was going a mile a minute… use the expensive stuff first! Duck sausage, ok, that’ll do. A package of arugula in the fridge and some feta for flavour… I think we have ourselves a sausage salad.

Read more

Rosemary-Brined Buttermilk Fried Chicken

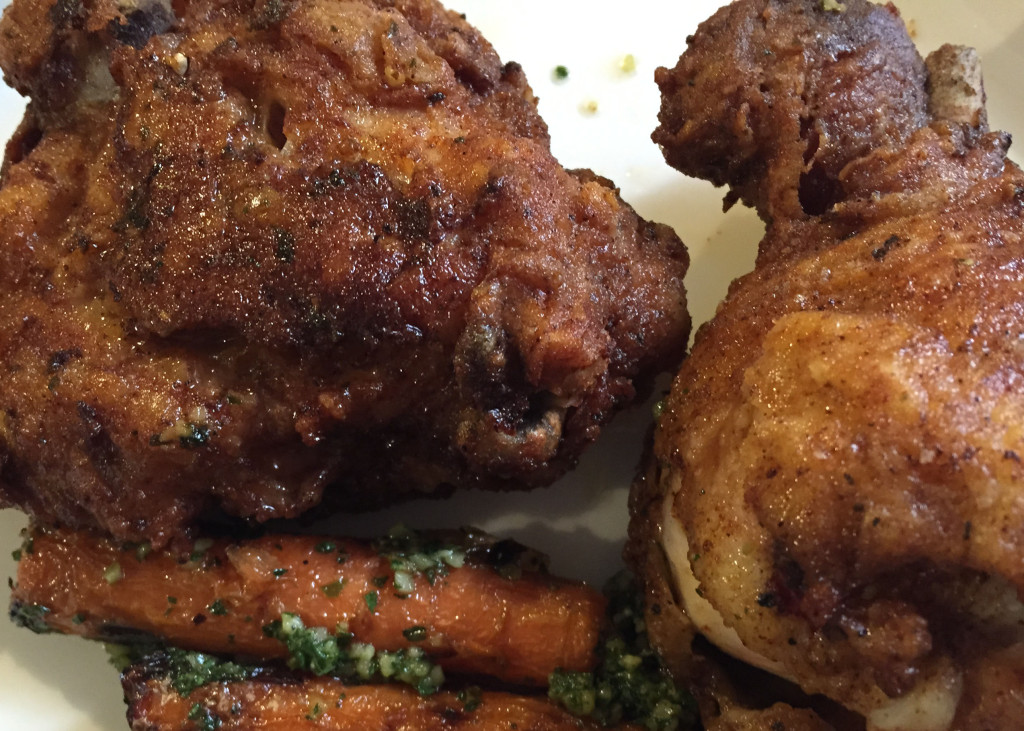
chicken fry dinnerWinner, winner, chicken dinner. There is nothing better than friiiiiiiiiied chicken! And when you say that in your head, “friiiiiiied chicken”, you need to do it with a Southern drawl because… friiiiiiied chicken!!!

Twice a year, in the spring and fall, Husband and I pick up KFC (don’t judge) and eat it on the deck with a bottle of good champagne. That tradition started years ago in our quest to prove that champagne goes with everything, and it truly does, but it goes especially well with fried chicken. The beautiful sparkly bubbles cut right through the heaviness of the oil and make it possible for you to eat just one more piece. :)
Read more

Salt-Crusted Potatoes with Cilantro Mojo

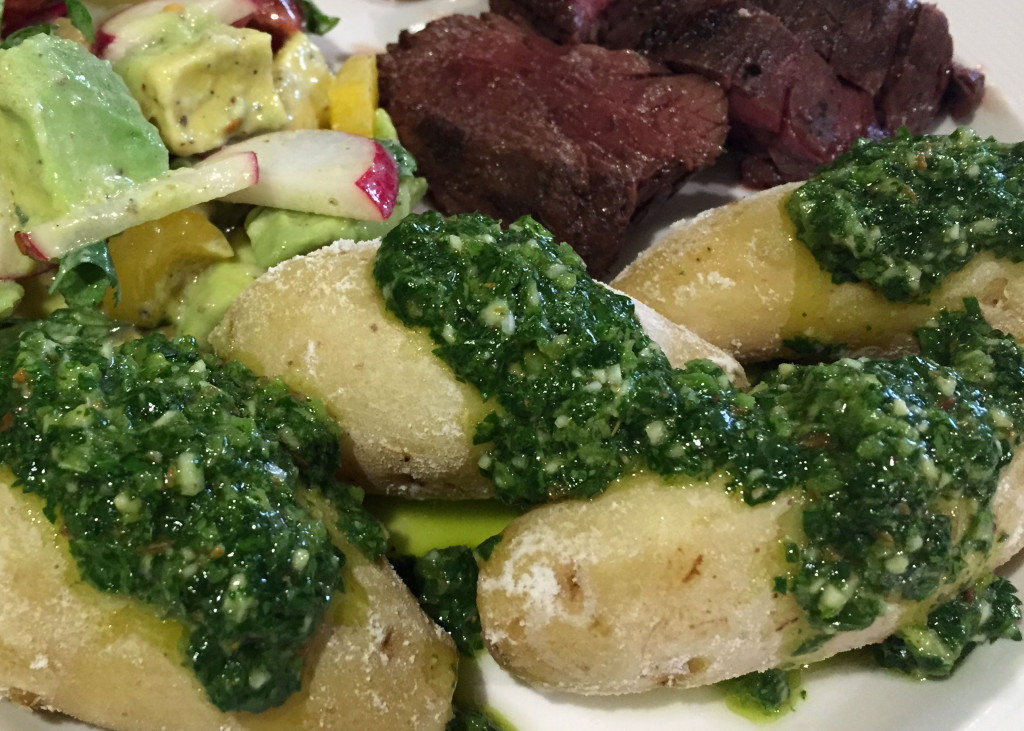
salt potato dinnerHusband and I spent several hours yesterday  starting to move all the stuff that has been stored in our upstairs bedrooms for the past year, into our new garage. Hallelujah! As we were working, the Fed-Ex man came by and delivered my new cookbook! Double Hallelujah! It took about 3 minutes of flipping through the pages for me to decide on an accompaniment to our BBQ steak dinner… salt-crusted potatoes with a green, garlicky dip???… yes please!

The recipe as printed is actually a finger-food starter, but I used it as a side to our main and instead of dipping each individual potato as we ate, we scooped the delicious mojo over the potatoes at the beginning. I did not make any changes to the ingredients except using kosher salt instead of flaked sea salt and using a bit less oil, but I simplified the process immensely by whizzing the mojo ingredients in a food processor for about a minute rather than pounding everything with a mortar and pestle… easy peasy.

I made the recipe with 1 pound of potatoes for Husband and I, but left all the other ingredient measurements exactly the same including the salt, because the salt is salting the water, not the potatoes. Whatever salt doesn’t dry on the potatoes will just stay in the pan, it won’t make your potatoes more salty if you have fewer potatoes. However if you use a finer salt, you should use less.

My new cookbook is called Genius Recipes by Food 52, and if last night’s potatoes are any indication, I will be cooking a lot from this book. Take a look here https://food52.com/shop/products/1817-genius-recipes-signed-copy.

Salt-Crusted Potatoes

2 1/4 pounds evenly sized waxy new potatoes, such as fingerling, scrubbed but unpeeled
Sea salt flakes or kosher salt

Cilantro Mojo

3 large garlic cloves, roughly chopped
1 jalapeno pepper, seeded and chopped
Leaves from a bunch of fresh cilantro, roughly chopped
1 teaspoon freshly ground cumin seeds
1/3 cup extra-virgin olive oil
2 teaspoons white wine vinegar

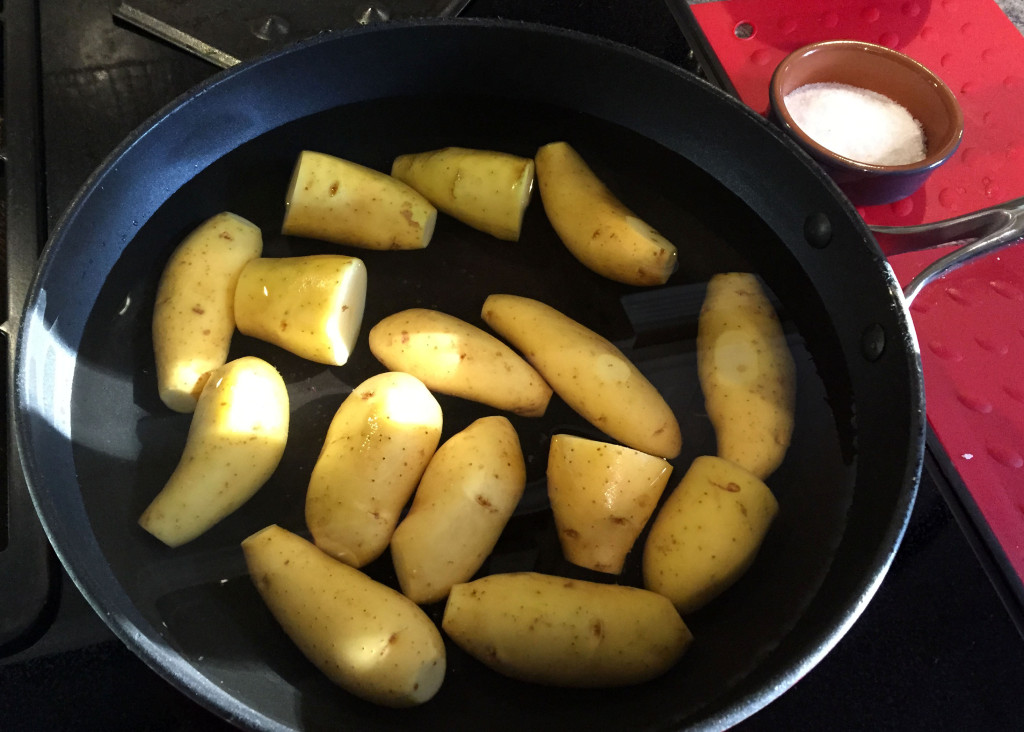
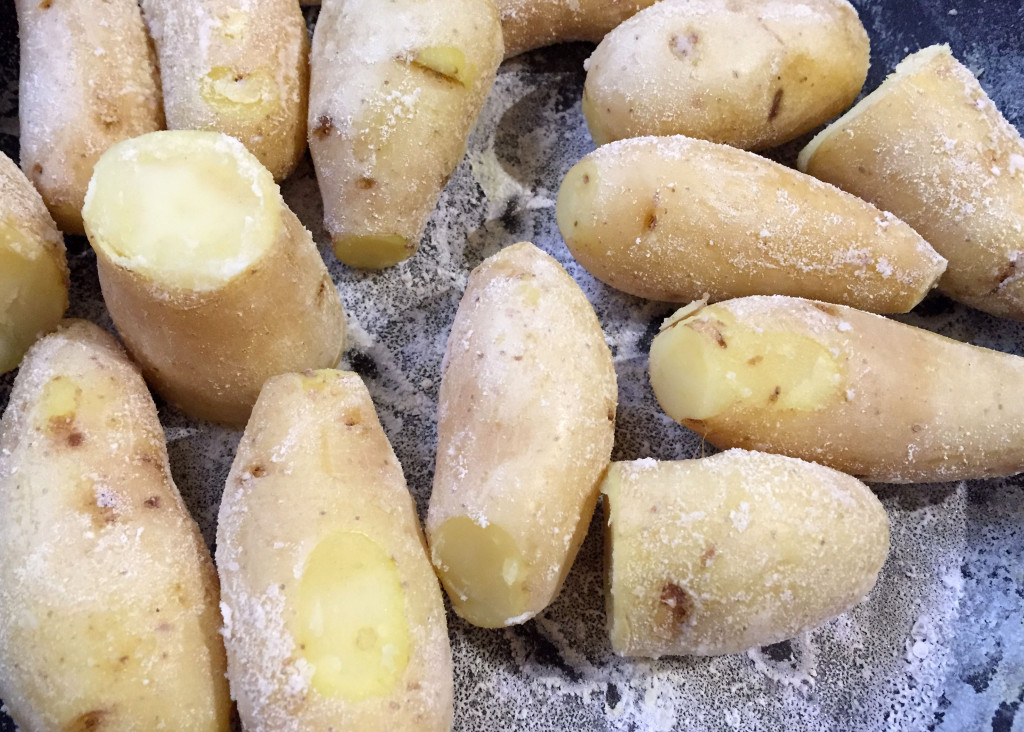
Put the potatoes into a wide, shallow pan in which they fit in a single layer. Add 2 tablespoons salt and approximately 4 cups cold water (just enough to cover), bring to a boil, and leave to boil rapidly until the water has evaporated. Turn the heat to low and continue to cook for a few minutes, gently turning the potatoes over occasionally, until they are dry and the skins are wrinkled and covered in a thin crust of salt.

salt potato water
salt potato pan

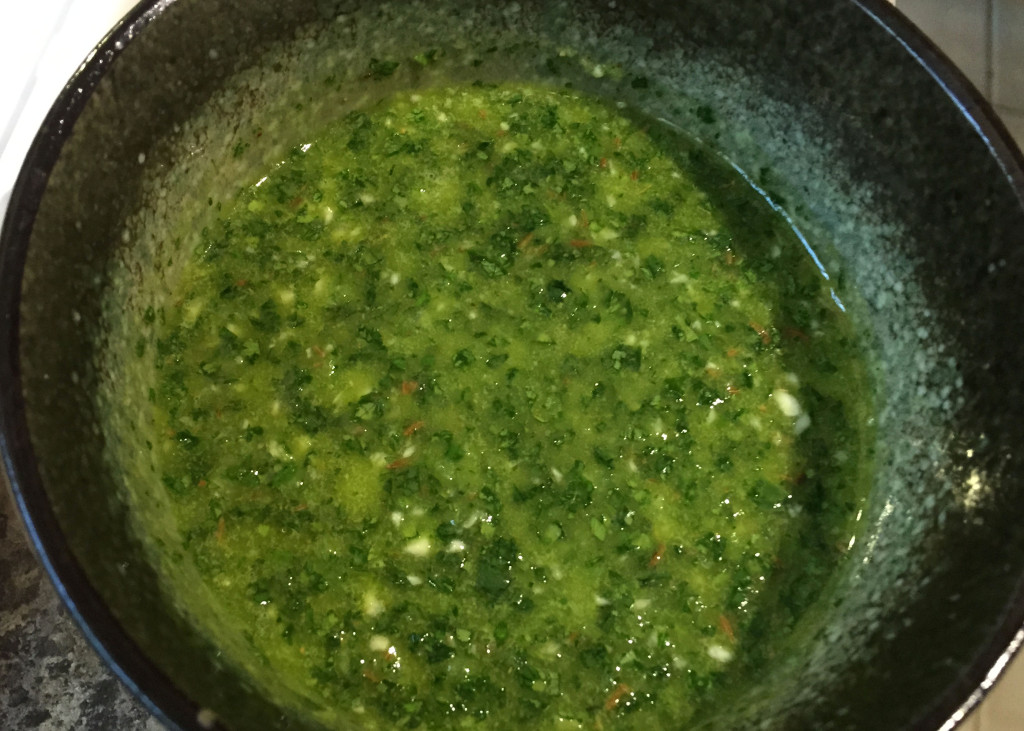
While the potatoes are cooking, make the cilantro mojo. Put all the mojo ingredients into a food processor and whiz for about 30 seconds (stopping to scrape down the inside of the bowl, if necessary). Taste and add salt if necessary (but don’t over-salt as the potatoes will already have a salty crust). Continue to process for another 20-30 seconds or until you have the consistency you want. Spoon into small bowl.

salt potato mojo

Pile the hot potatoes onto a plate and serve with the mojo. If you find the potatoes too salty, it is easy to rub off some of the salt before serving.

Asian Noodles with Pork and Prawns

asian noodle final2I LOVE noodles. Husband does not. He has been gone for almost a week on a business trip so it has been a regular noodle-fest around these parts. Spaghetti with bolognese, udon with stir fry veggies, and now… TA DA!

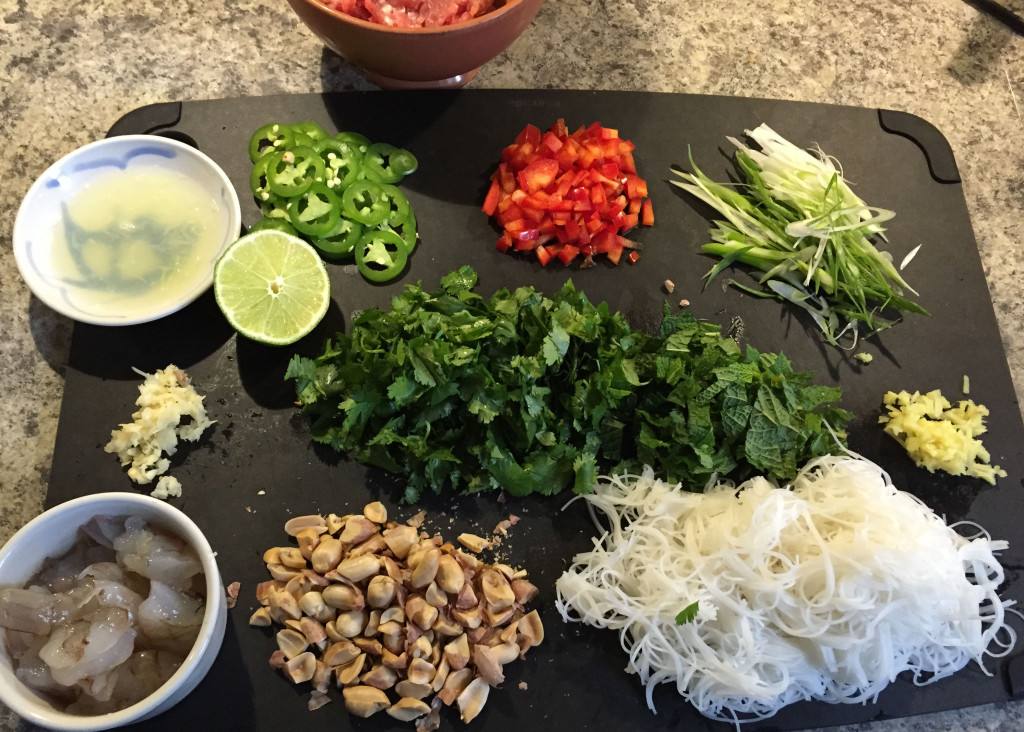
These noodles are based on a recipe by Jamie Oliver except I switched out a couple ingredients and have given more exact measurements and cooking instructions. It is not a quick “throw-together” recipe; there is a lot of washing and chopping. It’s best to prep everything before you begin to cook as it goes very quickly once you start… like 5 minutes quick! The vermicelli noodles can be prepared ahead of time and I like to
cut them in half or thirds just to make it easier to toss and eat.

Serves 2 as a main, 4 as a side. The recipe is easily halved or doubled but if you are going to double, you will need to cook half at a time as there are too many ingredients to properly cook in a regular frying pan.

4 ounces (100 grams) vermicelli noodles

A good glug olive oil
1/2 pound (8 oz) lean ground pork
2 TBS Chinese five-spice powder

1/2 pound (8 oz) shrimp or prawns, peeled and deveined, cut in half or thirds if large
3 cloves garlic, finely sliced
2 jalapeño peppers, thinly sliced with seeds (taste for heat and adjust to your liking)
1 TBS fresh ginger, grated or finely diced
2 teaspoon sugar
1/2 cup plain skinned peanuts, roughly chopped or crushed
pinch of salt

4 green onions, very thinly sliced on the diagonal
1/2 sweet red pepper, finely diced

1 large bunch (2 cups) cilantro, leaves removed and roughly chopped
1 small bunch (1 cup) mint, leaves removed and roughly chopped
2 limes, juiced
1 TBS soy sauce

asian noodle prep

Cook vermicelli noodles according to package directions. This usually means soak in very hot water for 3 minutes, rinse with cool water, drain and set aside. This can be done ahead of time.

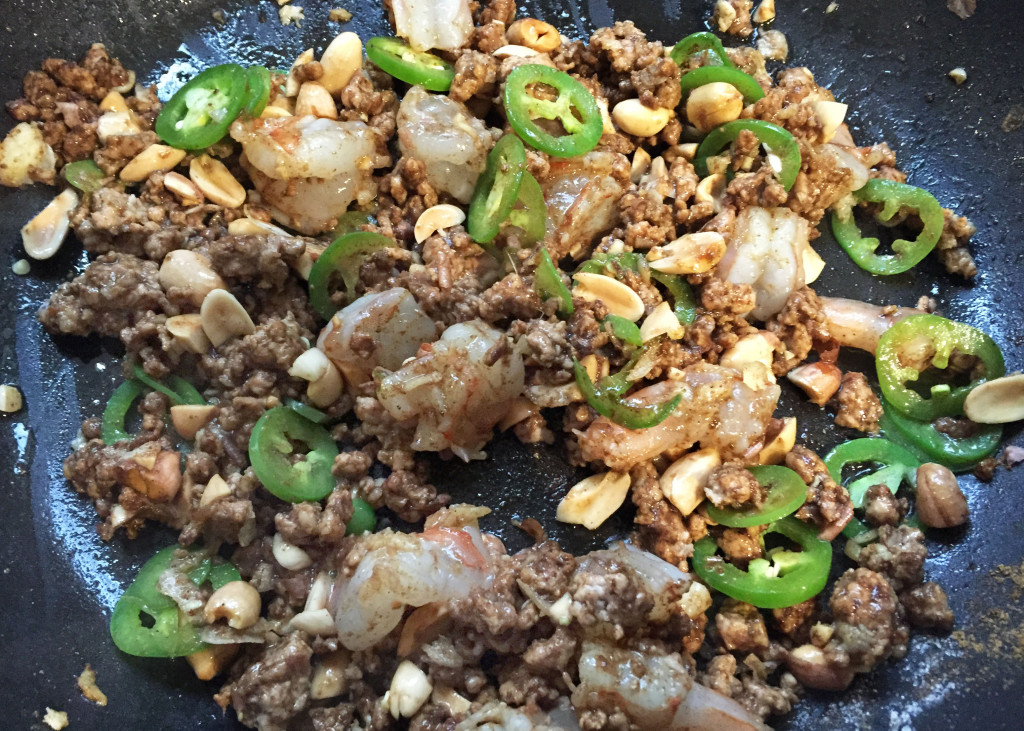
Heat oil in large frying pan and add pork, breaking up with spatula until almost cooked through. Sprinkle over five-spice powder and stir to coat. Add prawns and toss for a minute to start cooking. Add garlic, jalapeno, ginger, sugar, peanuts, and a pinch of salt. Continue to toss and stir for another minute until prawns are almost cooked through.

asian noodle 1

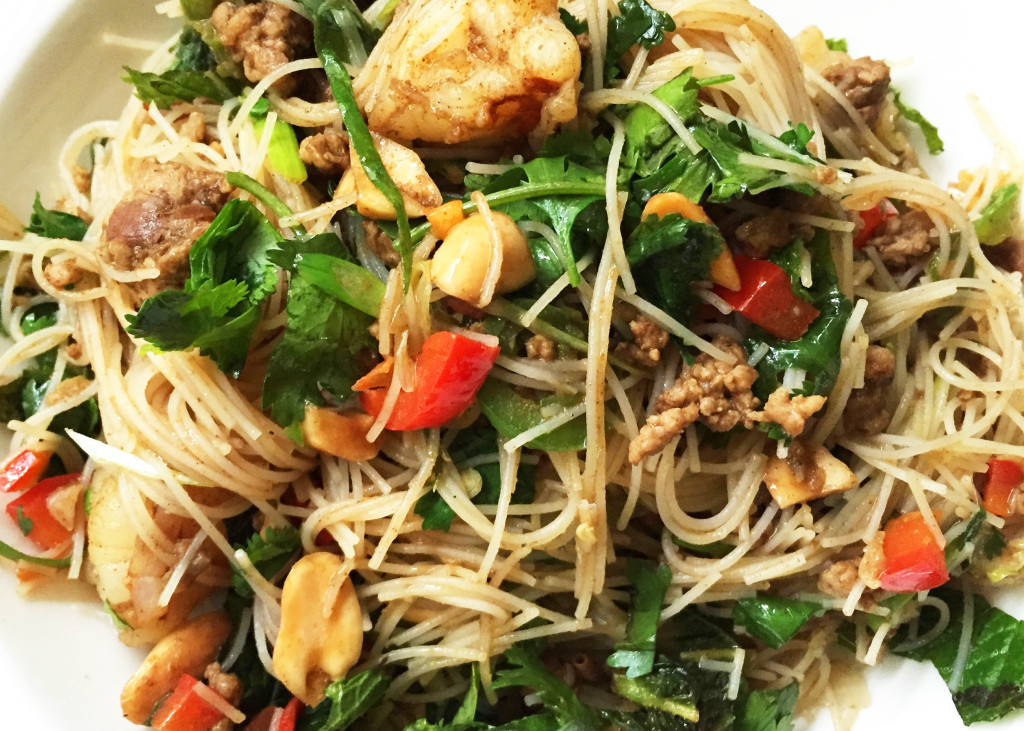
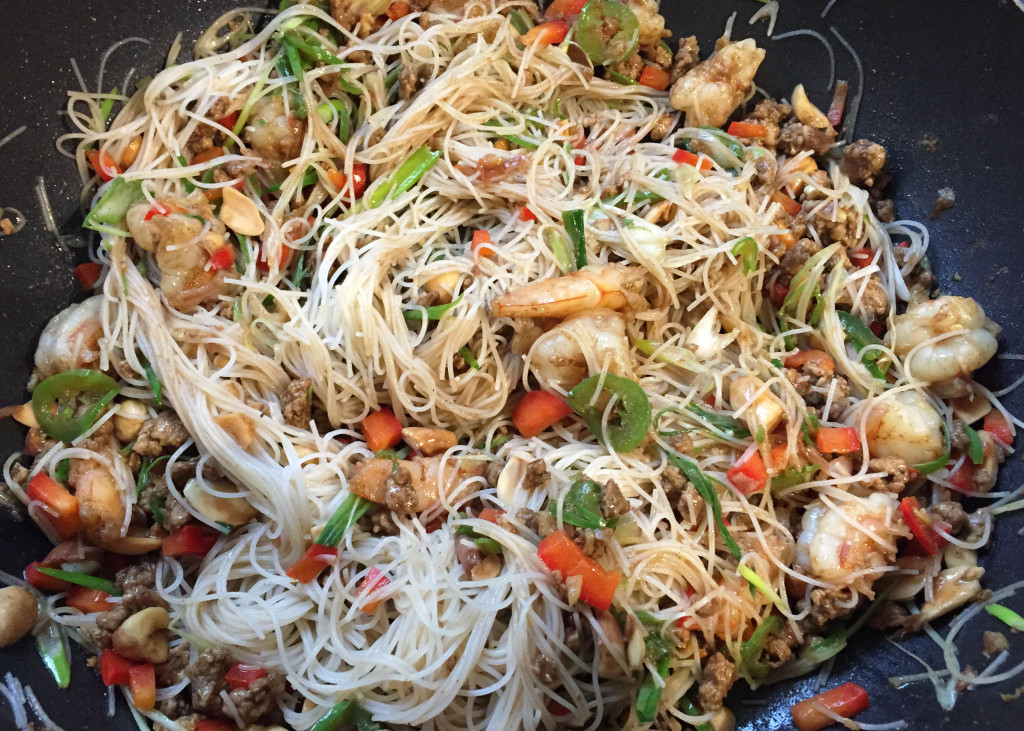
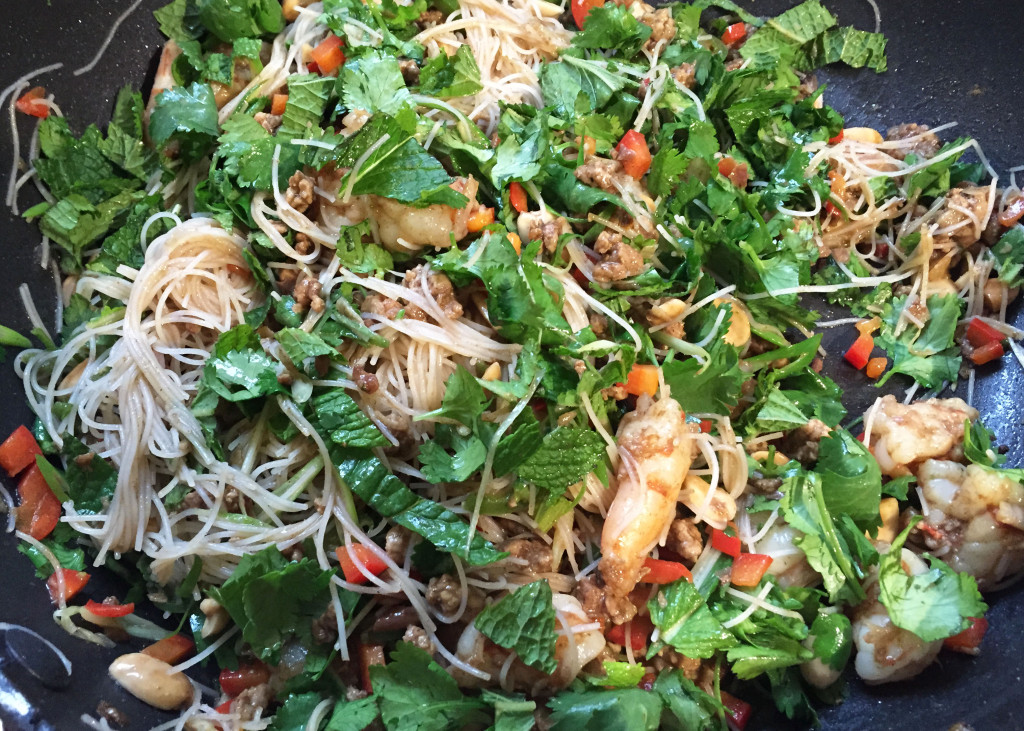
Add vermicelli noodles, green onion, and sweet pepper to the pan. Continue to toss and stir for another minute or two until prawns are completely cooked and the noodles are warm. Remove from heat and add herbs, lime juice and soy sauce, stirring until herbs just start to wilt.

asian noodle 2
asian noodle 3

Pile all that beautiful spicy, fresh goodness into a bowl and enjoy.

That’s how it’s done when the cat’s away. :)
Vietnamese Salad Rolls

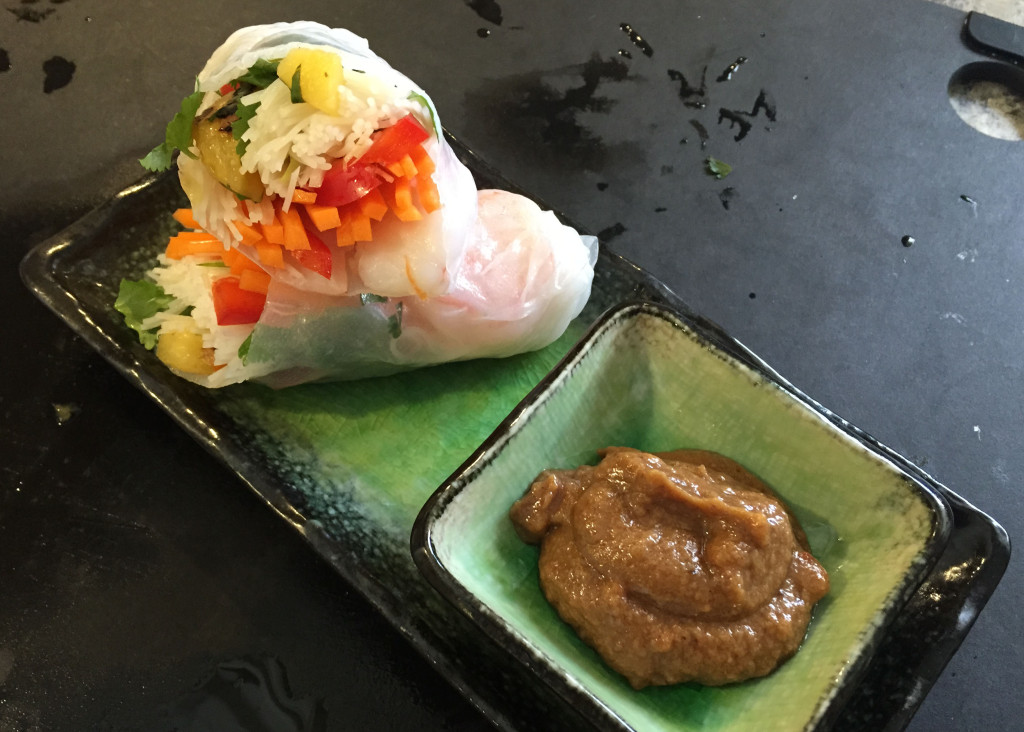
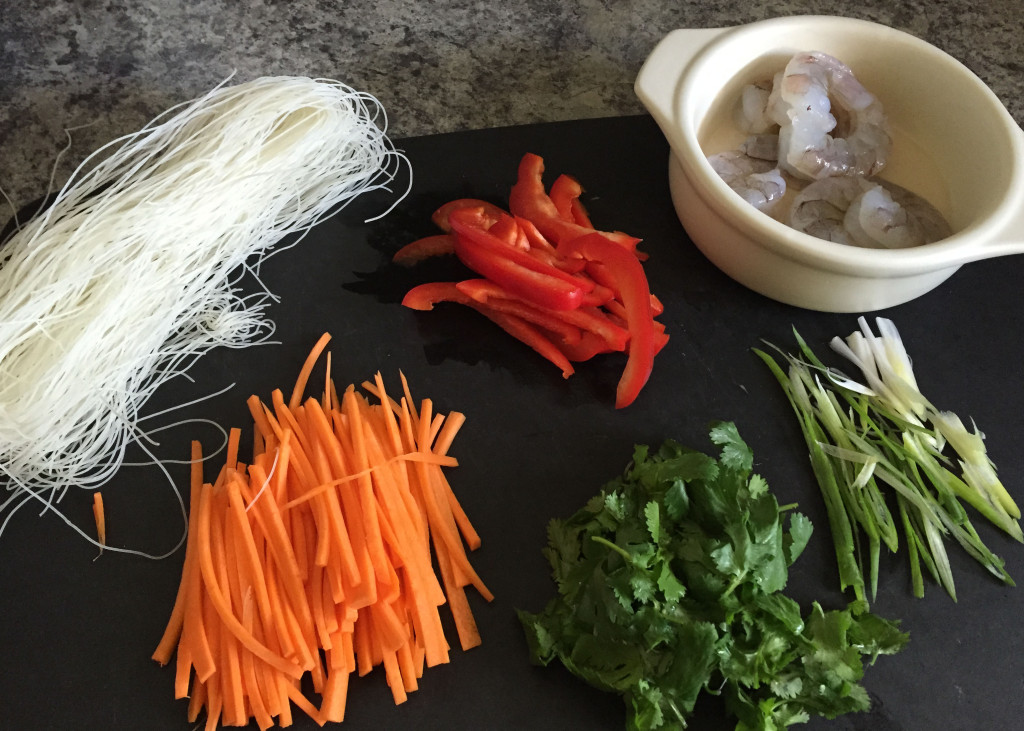
salad roll final What to do for lunch tomorrow?! This was my great dilemma this morning as I lay in bed listening to the rest of the world start their day. I didn’t feel like going shopping for salad ingredients. I had some carrots in the fridge, a half a pepper from the pineapple salsa I made the other night https://auntieeats.ca/2015/04/grilled-fish-tacos/, some cilantro, green onion, and not much else. My pantry is usually pretty well stocked with Asian ingredients and I always have prawns in the freezer. Sounds like salad rolls are on the menu.

These rolls are very adaptable to whatever you have in the fridge. Other filling ideas are bean sprouts, matchstick cucumber or zucchini, basil or mint instead of cilantro, poached chicken instead of shrimp. I used very little green onion in mine because I’m taking them to work but feel free to use more.

Don’t worry about getting the vegetables cut perfectly. I’m a bit obsessed but even using a vegetable peeler to make strips of carrots would work just fine!

As far as the peanut sauce goes, it was very good but next time I might try adding some fish sauce. Sesame oil would be tasty as well.

For the rolls:
9 medium-size (I used 16/20 count) prawns, shelled
2 oz vermicelli noodles (or about 1 1/2 cups of finished noodles)
6 round rice paper wrappers
1/2 red bell pepper (thinly sliced, pole to pole)
1 large carrot (cut into thin 3″ matchsticks)
1 green onion (thinly sliced on the diagonal)
leaves from 20  or so sprigs of cilantro

Peanut sauce:
4 TBS peanut butter
1 TBS hoisin sauce
1 TBS fresh lime juice
1 tsp soy sauce
1 tsp honey
1 tsp chili garlic sauce

Mix peanut sauce ingredients in bowl, then blend in enough cold water to get the consistency you want. For me, this is about 3 tablespoons. Set aside.

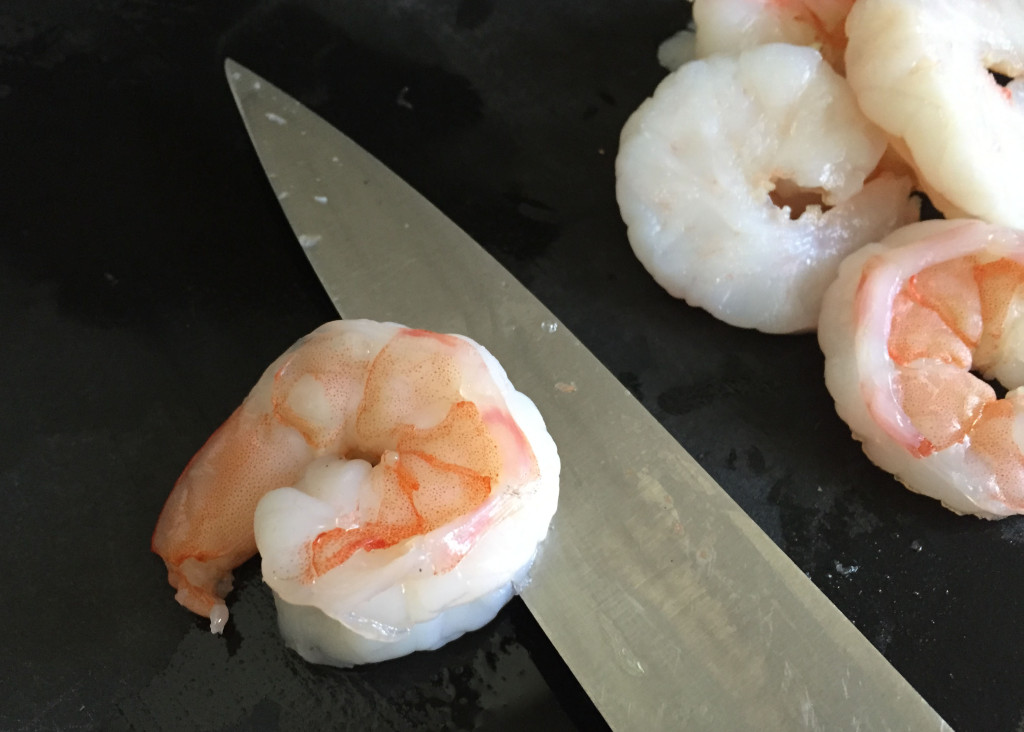
Heat a good amount of water (enough to also cook noodles below) in medium-size saucepan. When it starts to simmer, add prawns and cook for 2 minutes. Remove the prawns from the hot water with a slotted spoon, rinse in cold water and pat dry. Cut in half lengthwise and set aside.
salad roll shrimp

In the still hot water in which you cooked the prawns, cook vermicelli noodles according to package directions. This should entail adding the noodles to the hot water for about 3 minutes, then rinse in cold water and drain.
salad roll noodles

Putting it together:

salad roll ingredients

Place a clean, damp kitchen towel on a work surface. If you work very quickly you don’t need the towel, just make sure the work surface is wet. But if you think making the roll is going to take you longer than a minute, use the towel or the rice paper will stick to your work surface (like my first one did!). Fill a wide, shallow dish large enough to hold a rice paper wrapper with hot tap water (big pie plate or frying pan). Working with 1 wrapper at a time, completely submerge the wrapper until it is soft and pliable, about 10-15 seconds. Remove the wrapper from the water and place it on the towel.

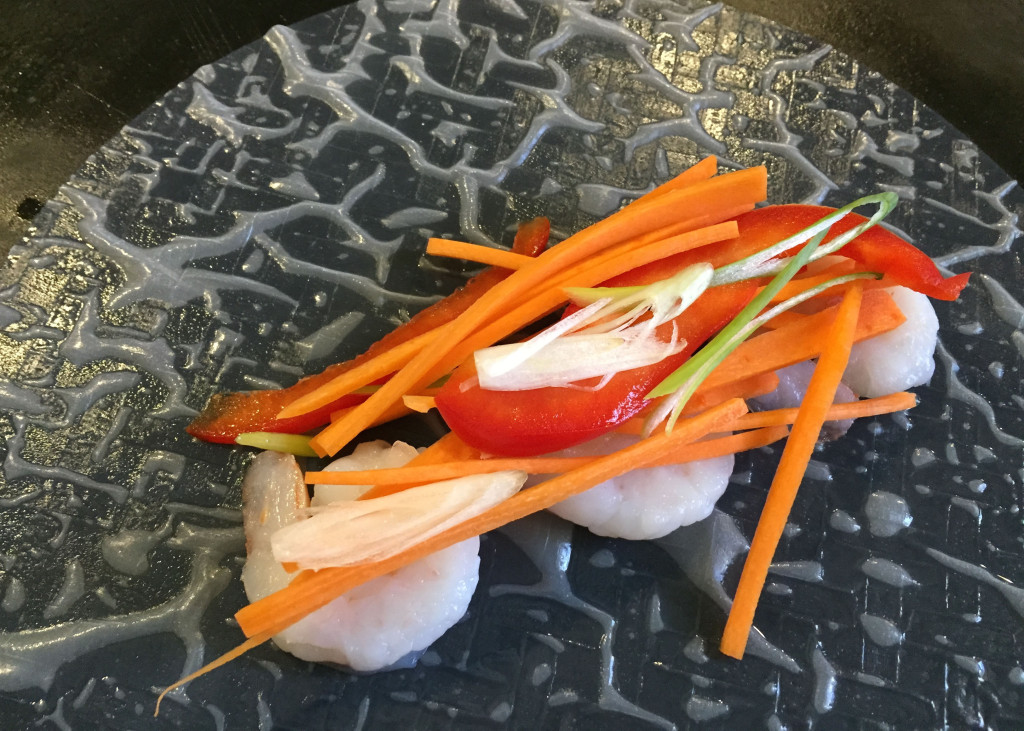
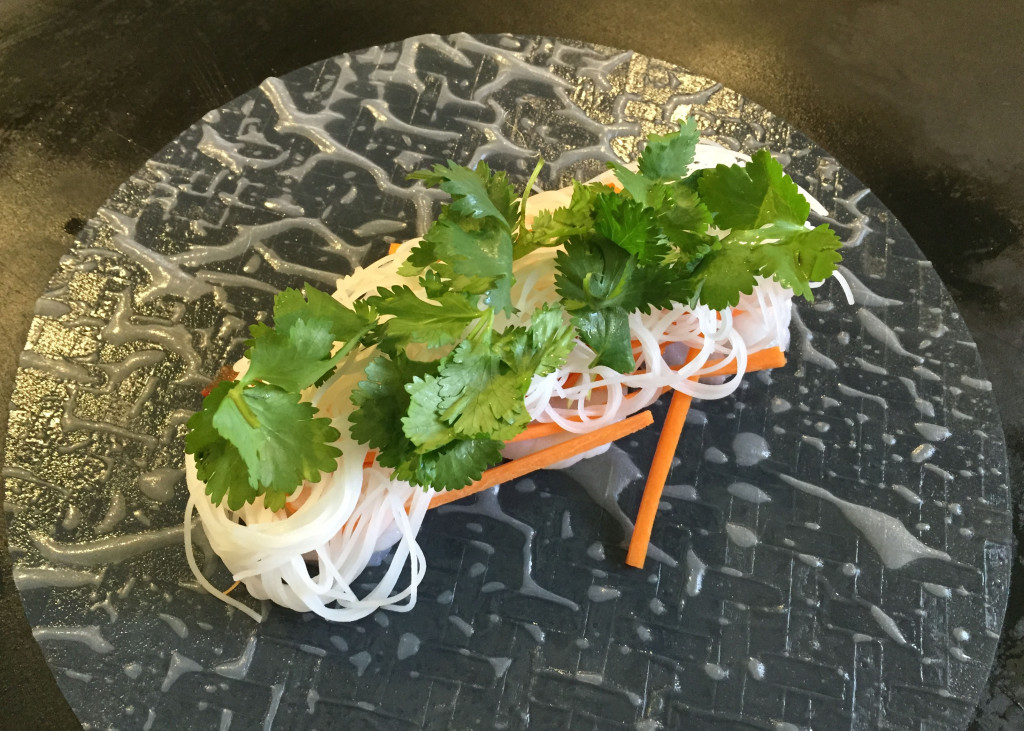
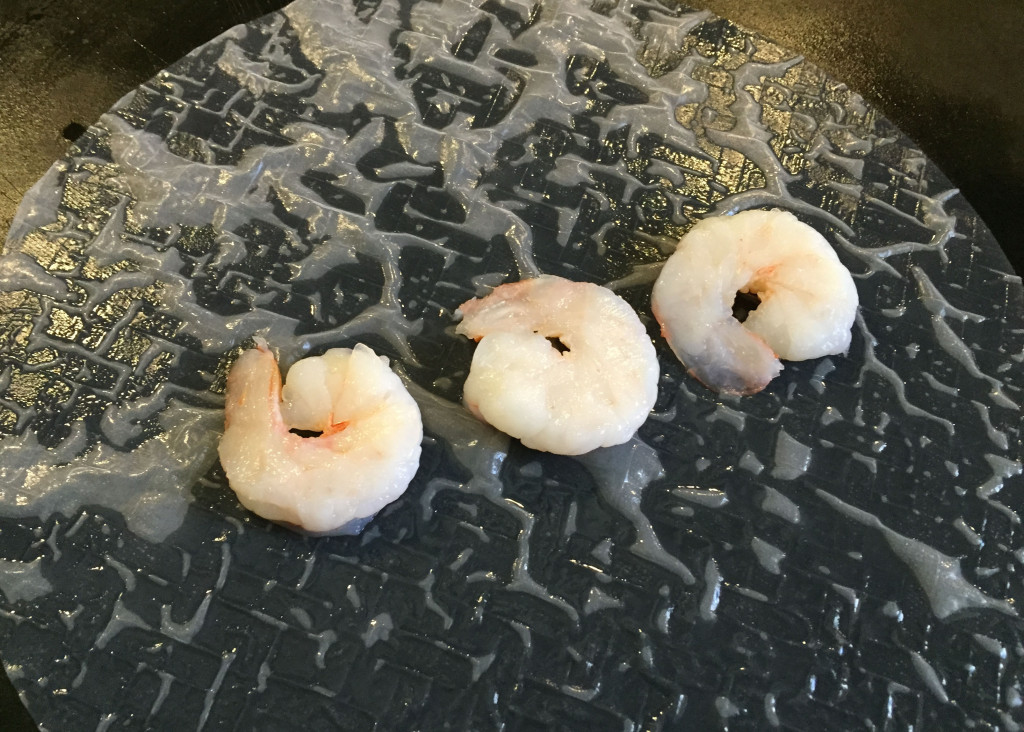
Lay 3 prawn halves in a row along the centre of the wrapper. Add other vegetables lengthwise on top. Make sure they are neatly laid or they will poke through your rice paper when you try to roll it. Add a small amount of vermicelli noodles and top with cilantro.
salad rooll 1
salad roll 2
salad roll 3

Now comes the tricky part!

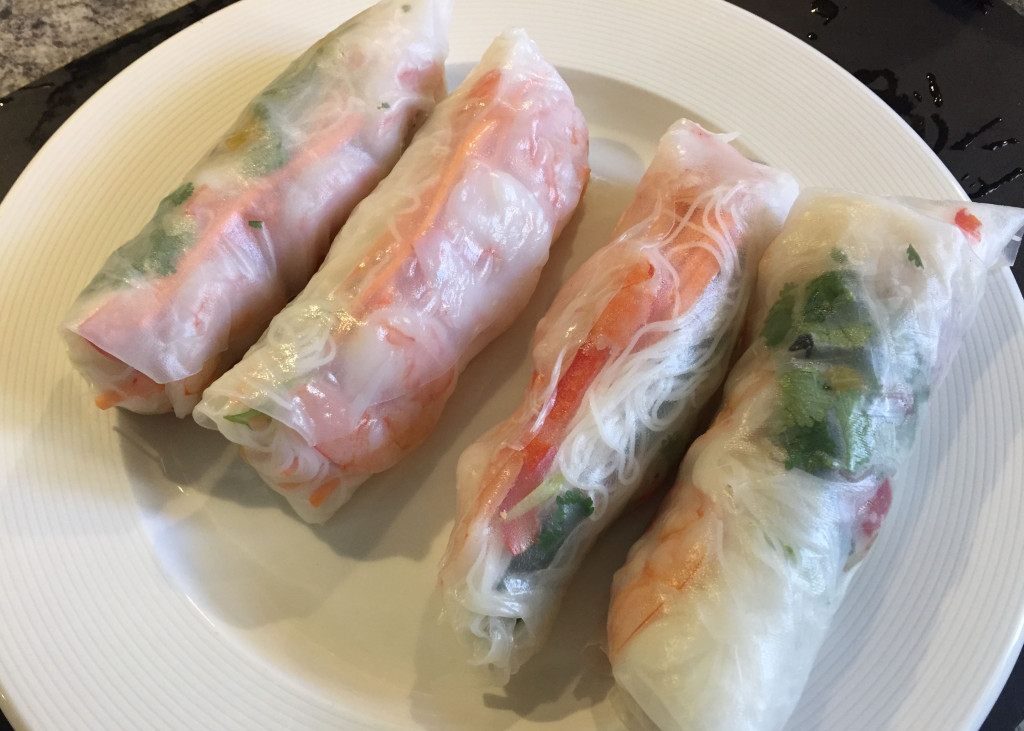
Fold the bottom half of the rice paper over the vegetables. Holding the vegetables firmly, pull back on them just slightly to tighten the roll. Fold in the sides and continue to roll away from you. SEE?!?! You did it! :) Note my picture below. The ones on the right were my first attempts (that second one from the right is especially bad!). Don’t worry if the first couple are messy, they will still taste good and once you’ve done it a few times, you will get the hang of it.
salad roll bad

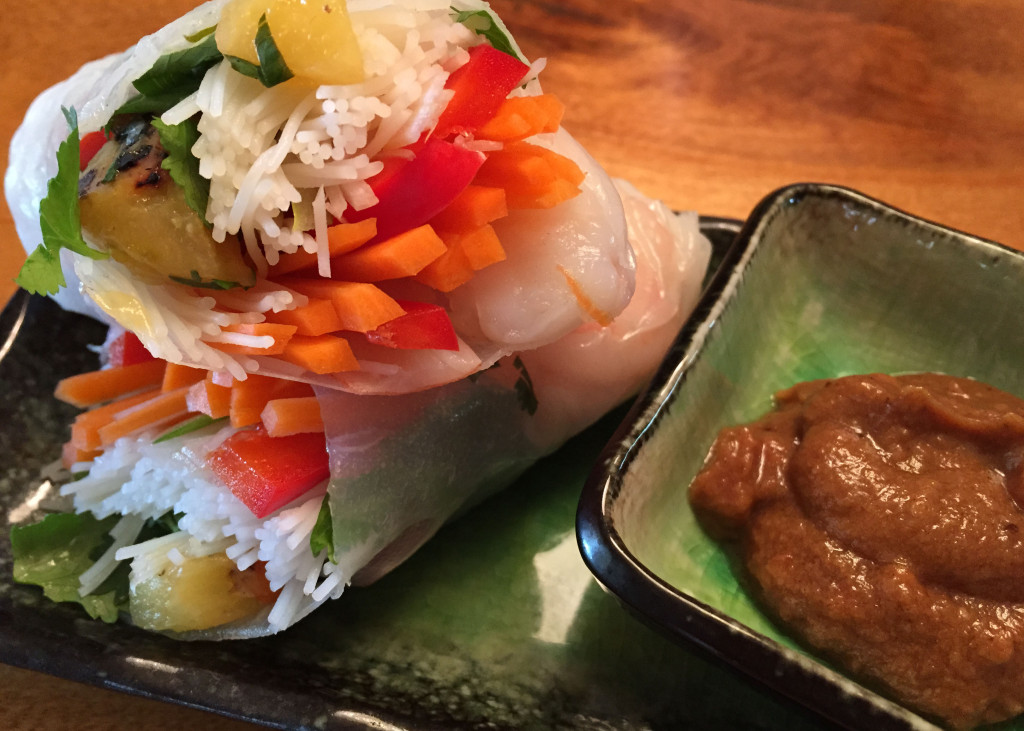
If you want to hold them for a day or two, wrap them individually in cling wrap. When you’re ready to eat them, just dip them in peanut sauce and go for it. Very fresh and tasty.
salad roll end

Oh, and don’t tell Husband I made these, because I’ve already eaten half of them and the other half are safely hidden… um… STORED in fridge for my lunch tomorrow. :)