Rhubarb Ginger Shrub

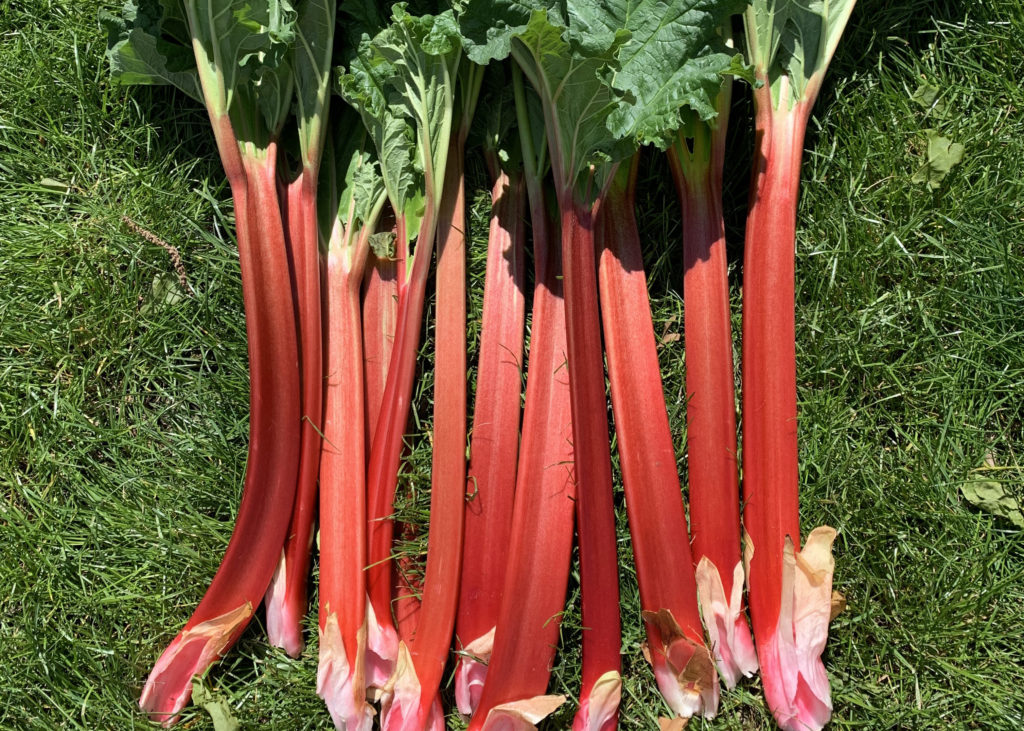
I LOVE this time of year. I love that my garlic is already a foot tall. I love that my herbs are sprouting new stalks. I love that the blueberry bushes are full of flowers. And I love that my rhubarb practically yells at my from the back yard, “PICK ME! PICK ME!”

And I have! I’m on my fourth picking of the rhubarb and there is still a bounty! I’m running out of new ideas of what to do with it but today’s idea was one of the best. I made a rhubarb shrub!

If you’ve been anywhere near a cocktail bar in the last couple years, I’m sure you’ve heard of it. Shrubs are basically fruit, sugar, and vinegar. A sort of simple syrup on steroids. And they’re delicious. You can use them in cocktails (this rhubarb one is amazing with gin) or simply stir a tablespoon or two into a glass of sparkling water and add a sprig of mint for a refreshing sipper on a sunny afternoon. You can even whisk a couple tablespoons with some olive oil and voila, instant salad dressing! The spent fruit doesn’t have to go to waste either. Add it to any loaf or muffin recipe (I use it to replace half the oil)… yummy!

The combination below is an attempt to use my delicious rhubarb before it disappears but most fruits will work. Try using blueberries and red wine vinegar, or peaches with white wine vinegar and thyme, or strawberries with apple cider vinegar and black peppercorns. Your only limit is your imagination.

For me, this is the ideal blend of sweet and sour (I’m not fond of overly sweet). You should adjust it to your liking. Taste the mixture while it’s still hot and add more vinegar or sugar if you wish. This makes one generous cup. Feel free to double or triple the recipe, you won’t regret it.

1 pound of rhubarb, sliced about 1 cm thick
4-6 slices of ginger
1/4 cup apple cider vinegar
1/2 cup white sugar
1/4 cup water
1 tsp balsamic vinegar
pinch of red pepper flakes

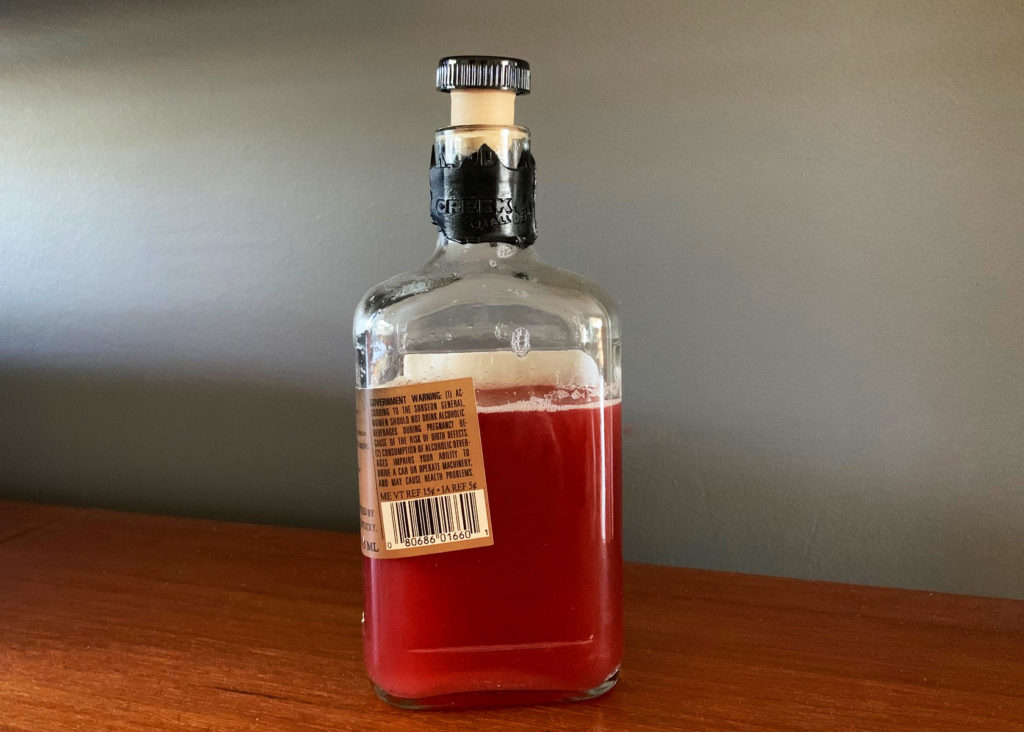
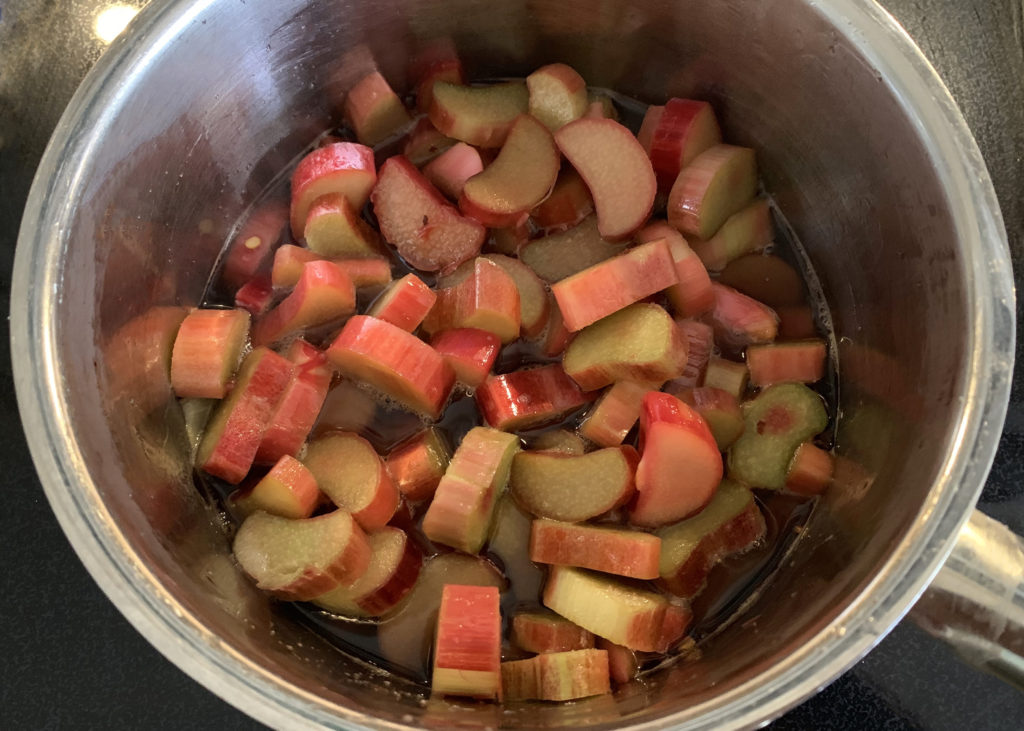
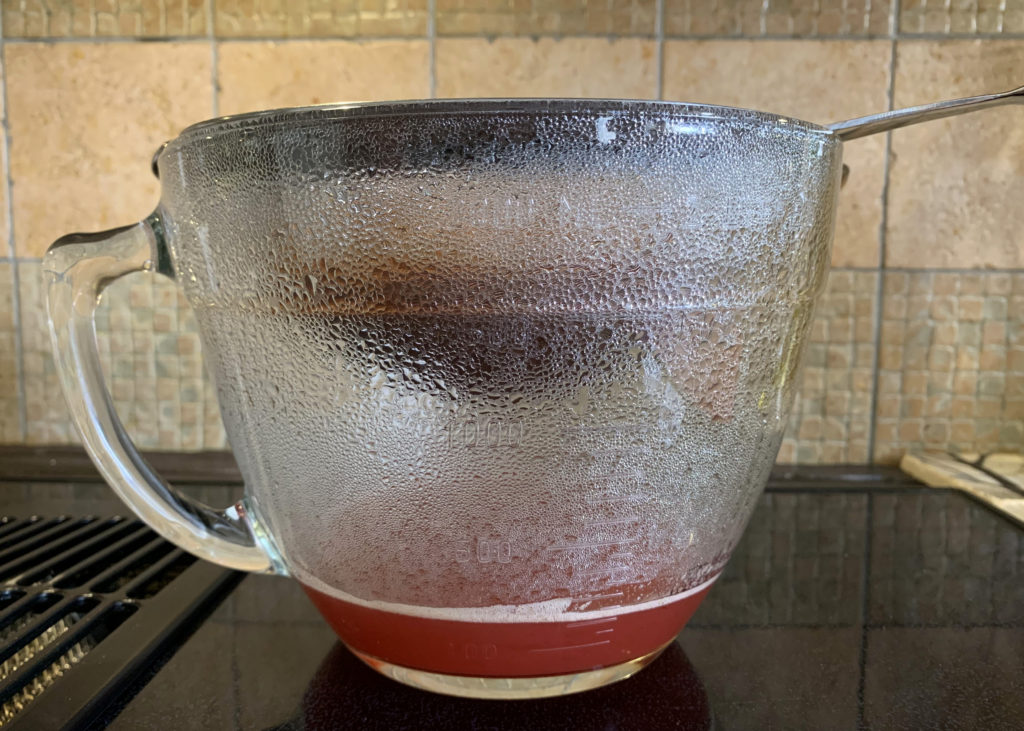
Combine all the ingredients in a medium saucepan over high heat and bring to a boil. Turn heat down and simmer, stirring occasionally, until the rhubarb has broken down, about 10 minutes. Pour into a fine strainer over a bowl and let sit for about 1/2 hour, stirring occasionally, until all the liquid has been released. Bottle the shrub (I used an old mini whiskey bottle) and store in the fridge indefinitely.


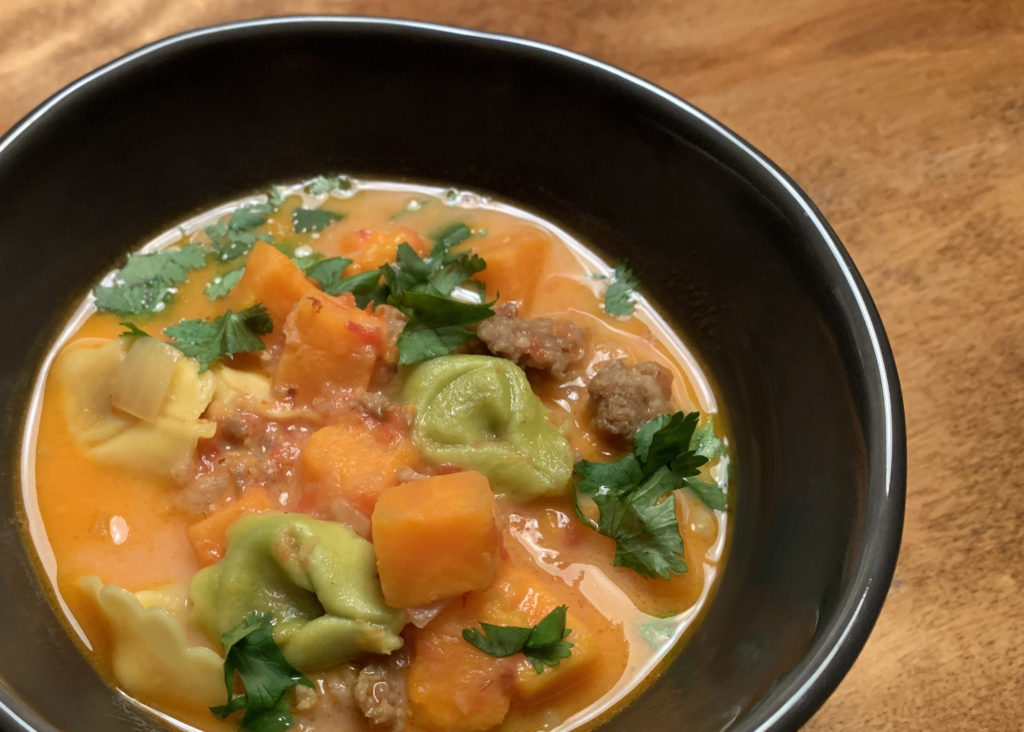
Sausage, Sweet Potato and Tortellini Soup with Coconut Milk

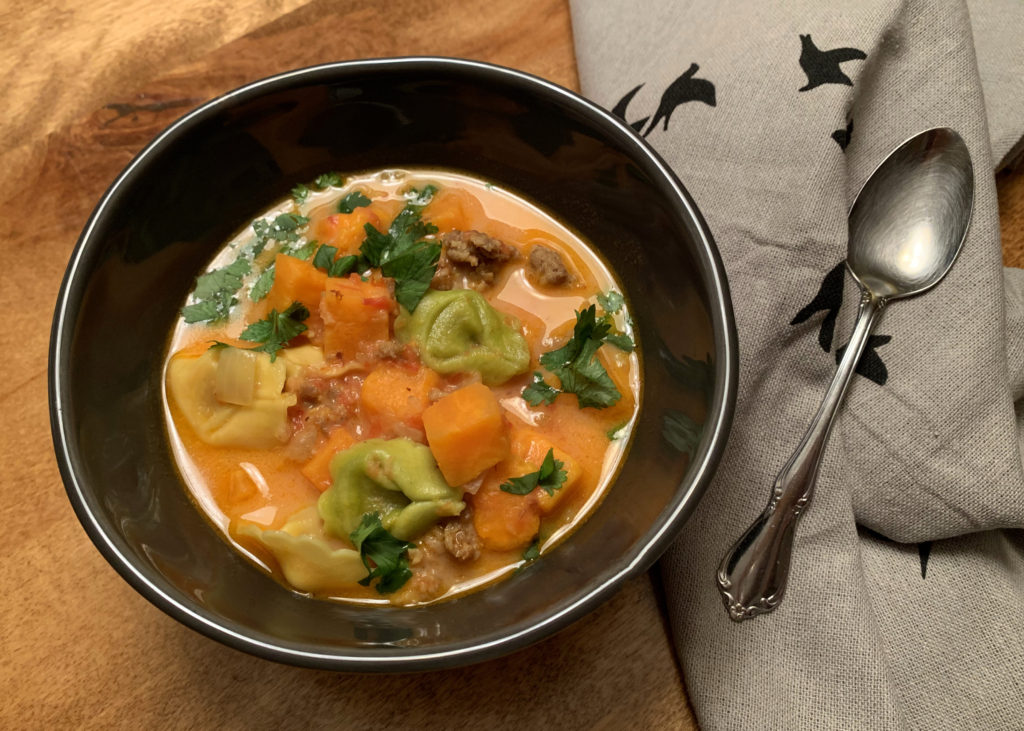
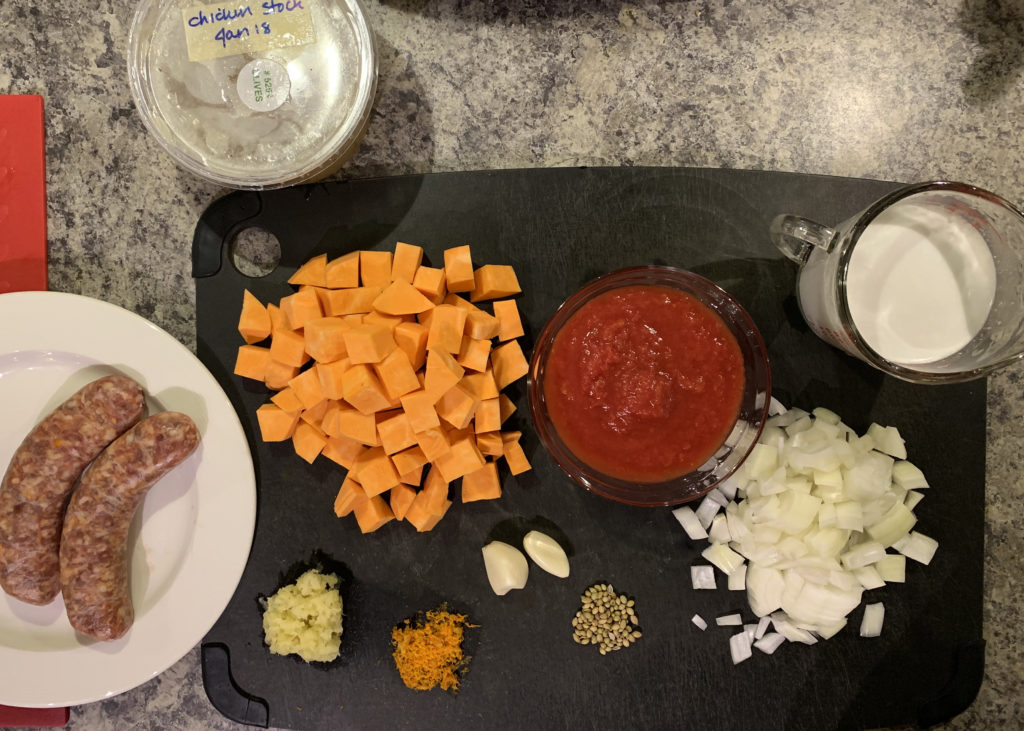
This is such a mash-up that I didn’t even know what to call it. It really came together using a couple tail-end ingredients from the fridge (half a huge sweet potato and part of a leftover package of tortellini), adding a couple sausages to give it some body, and finally rounding out the flavours with some Asian ingredients I was craving (ginger, coconut milk).


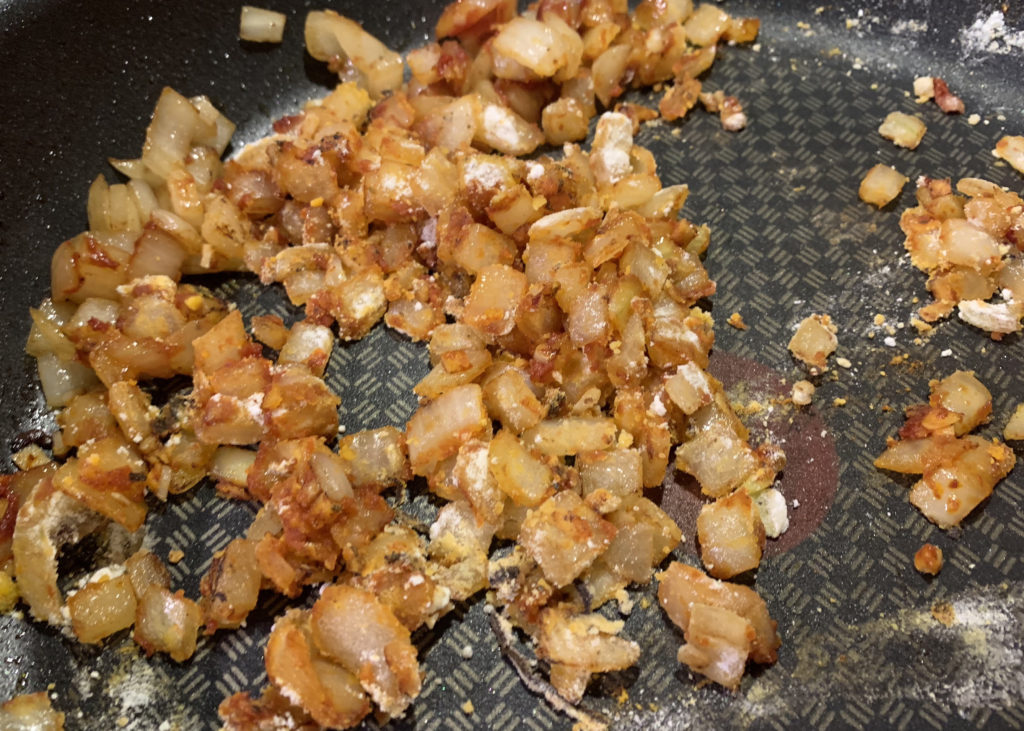
I start this in a non-stick pan and scraped it into a pot before adding in the liquids. The first time I tested this I tried to do it all in a regular pot but because I didn’t want to add too much extra oil the sausage stuck to the bottom and I had to deglaze before the onions got a chance to start to caramelize. You can do it either way but for me, washing the extra non-stick pan is not a big deal.


One thing I like about this soup is that I can make it right up to the point that the sweet potatoes are almost tender, and then remove it from the heat and let sit for an hour or so until Husband walks through the door. From there it’s simply 10 minutes to reheat and cook the tortellini before stirring in the coconut milk.


2 mild Italian sausages, meat removed from casing
1/2 onion, diced
2 garlic cloves, minced
1 TBS fresh grated ginger
1 tsp turmeric powder or 2 tsp fresh grated turmeric
1 tsp coriander seed, ground
2 cups chicken stock
1 cup crushed canned tomato
1 sweet potato, 1/2 inch dice (my sweet potato was huge so I used half, about 2 cups)
pinch of red pepper flakes
salt and pepper to taste
large handful fresh tortellini (about 1/2-1/3rd package, or 6 ounces)
1 cup coconut milk
chopped fresh cilantro for garnish (optional)


Heat a glug of oil in a good sized pot or non-stick pan over medium-high heat. Add sausage meat and onions to fry, breaking up sausage meat with your spatula until it is starting to brown and the onions are translucent, about 5 minutes. Add minced garlic, ginger, turmeric, and coriander and fry for one more minute. If using a non-stick pan for the frying part, you can now scrape this into a pot before the next step.


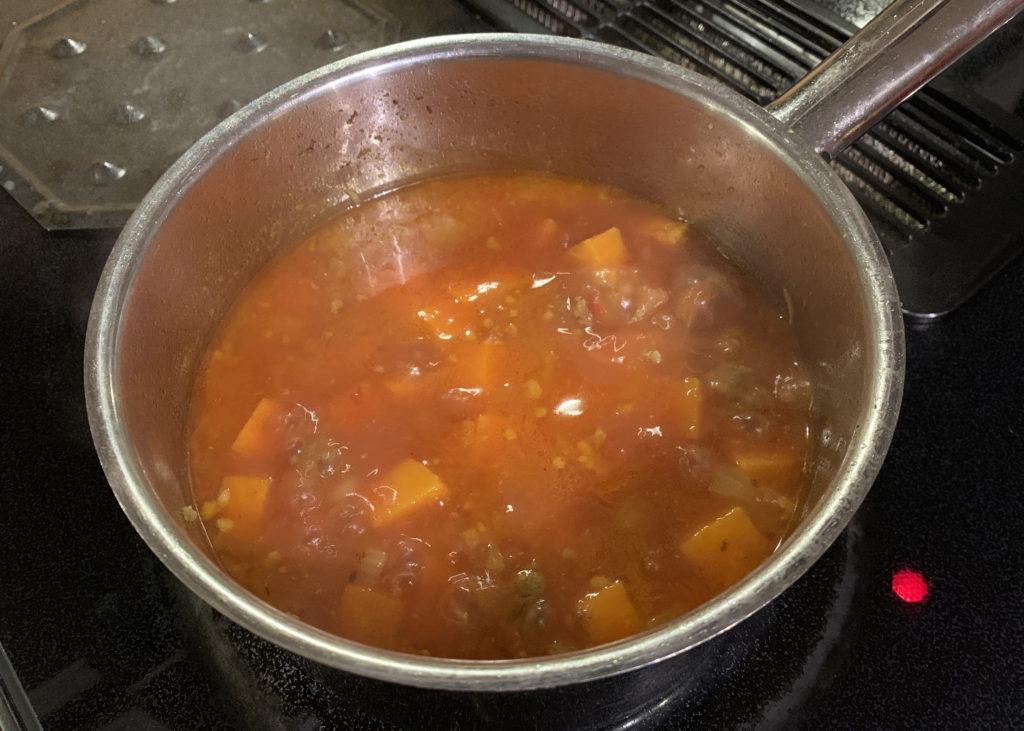
Add chicken stock, crushed tomato, and sweet potato. Season with salt, pepper, and a pinch of red pepper flakes. Bring to simmer and let cook for about 10 minutes, until potatoes are almost tender. Add fresh tortellini and let simmer an additional 5 minutes until tortellini is cooked through. Stir in coconut milk. Taste and re-season to your liking.

Quick & Dirty: Muesli

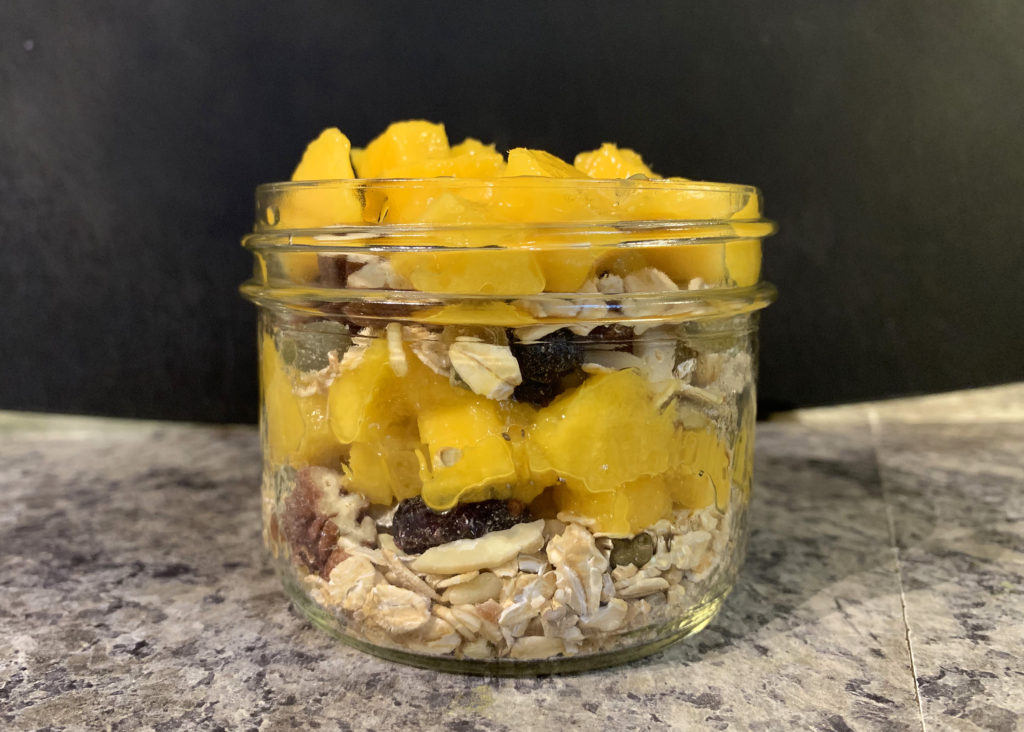
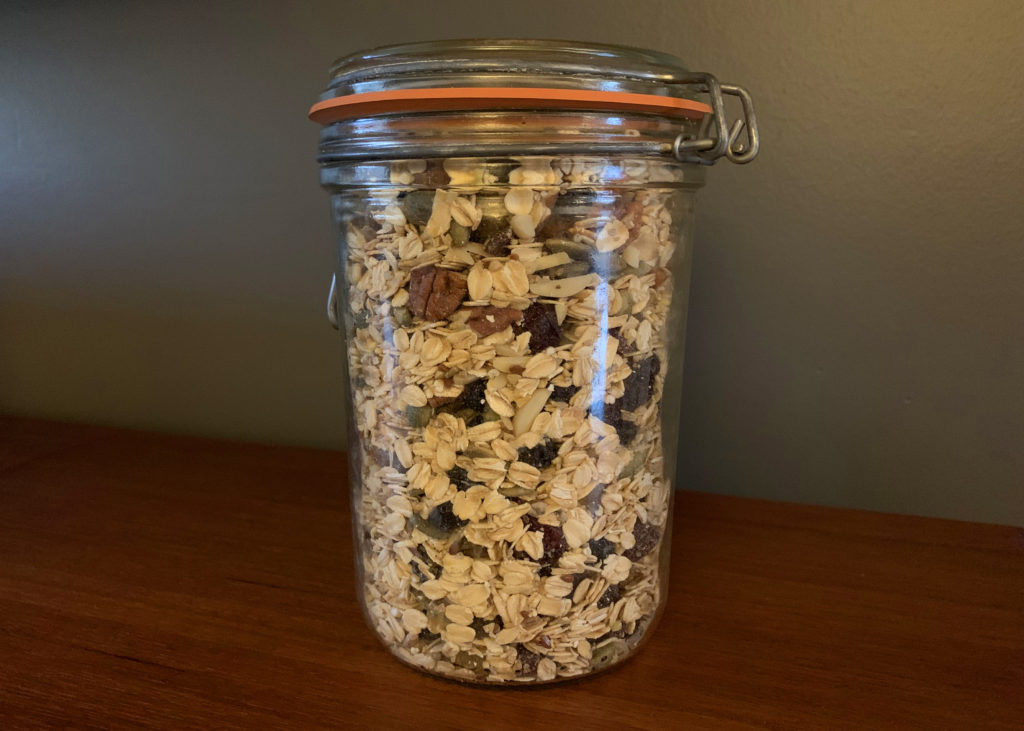
When I want an easy, healthy breakfast or snack, this muesli is my go-to. It is infinitely adaptable. My basic formula is 2 1/2 cups of grains (I like a combination of rolled oats and whole grains) and 1 1/2 cups of nuts and fruit. Mix together and store in an air tight jar. I keep the jar on my kitchen counter with a 1/4 cup scoop. One scoop in the bottom of an 8 ounce wide-mouth mason jar, a layer of fresh or frozen fruit, another scoop of muesli, top with another layer of fruit, pour over some sort of milk (I use almond milk), and let sit for about an hour (or overnight in the fridge for a quick breakfast the next morning) for the grains to absorb the liquid.


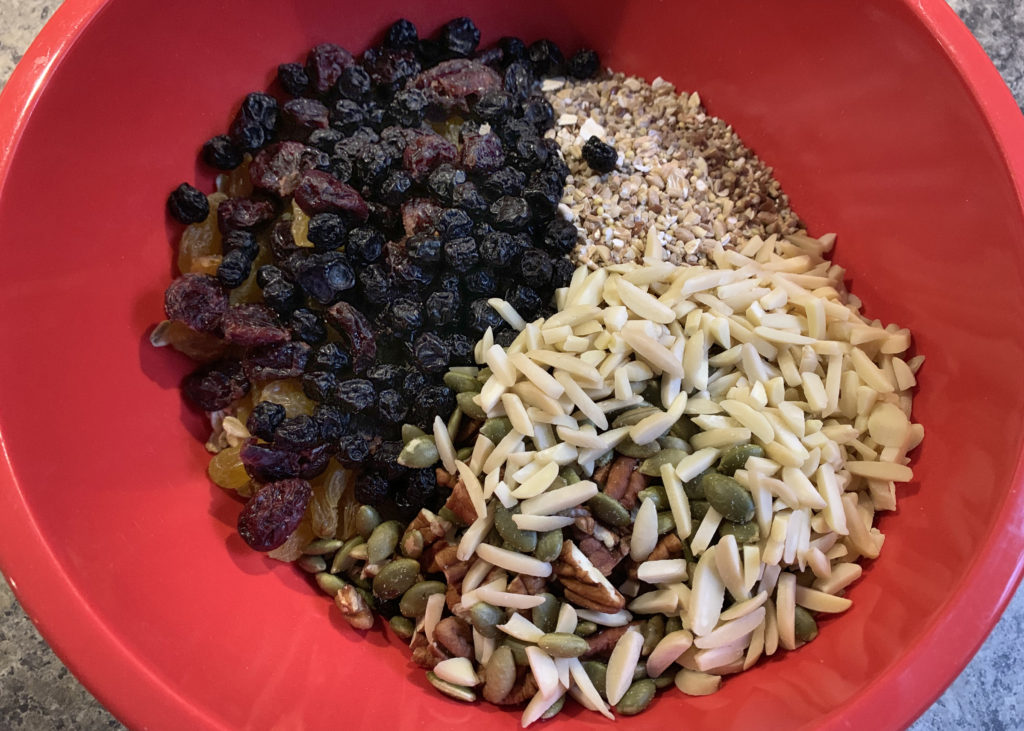
I use roasted, salted nuts because I love the salty/sweet thing but you can use raw or roasted with no salt. In the version pictured I used a combo of slivered almonds, pumpkin seeds, and chopped pecans for the nuts and dried blueberries, cranberries, and raisins for the fruit. I also love sunflower seeds and chopped walnuts for nuts and dried apricots, cherries, apple, (and sometimes a bit of candied ginger for a treat) for fruit. For the fresh fruit layer I usually use my home-grown frozen raspberries or blackberries but today I had a mango that needed to be used!

1 1/2 cups rolled oats (NOT quick cooking or instant)
1 cup whole grain cereal
3/4 cup mixed nuts
3/4 cups mixed dried fruit


Combine the rolled oats and mixed grains in a bowl. Roughly chop nuts or dried fruit if the pieces are large. Toss with oats and store in a air-tight container.

Count Stroganoff’s Chicken

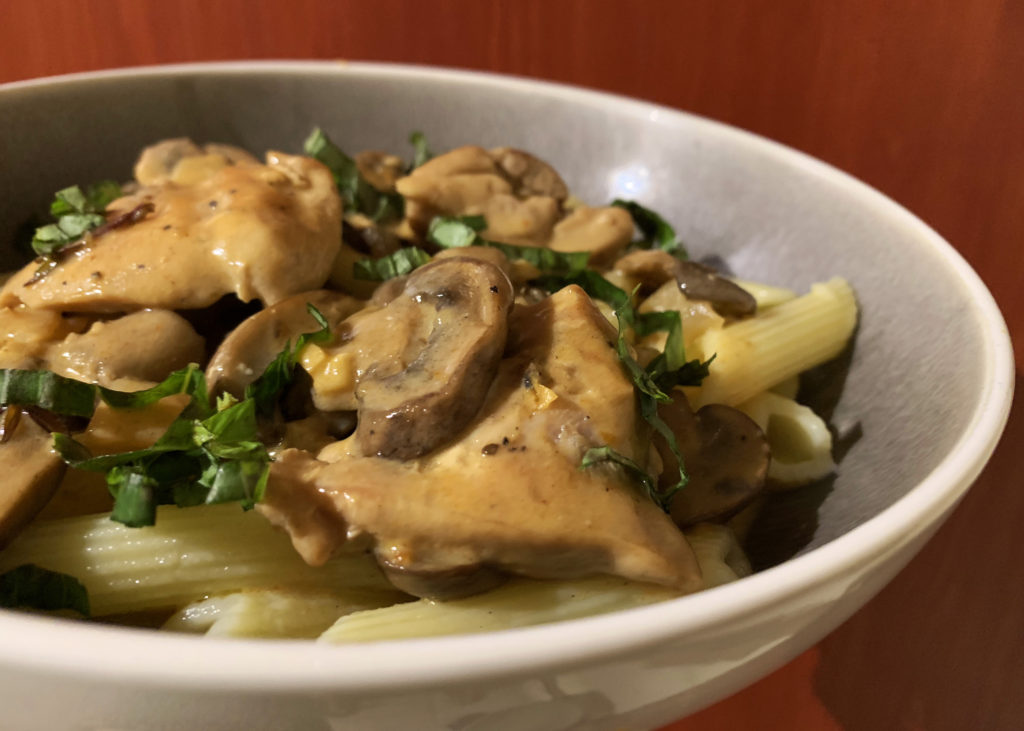
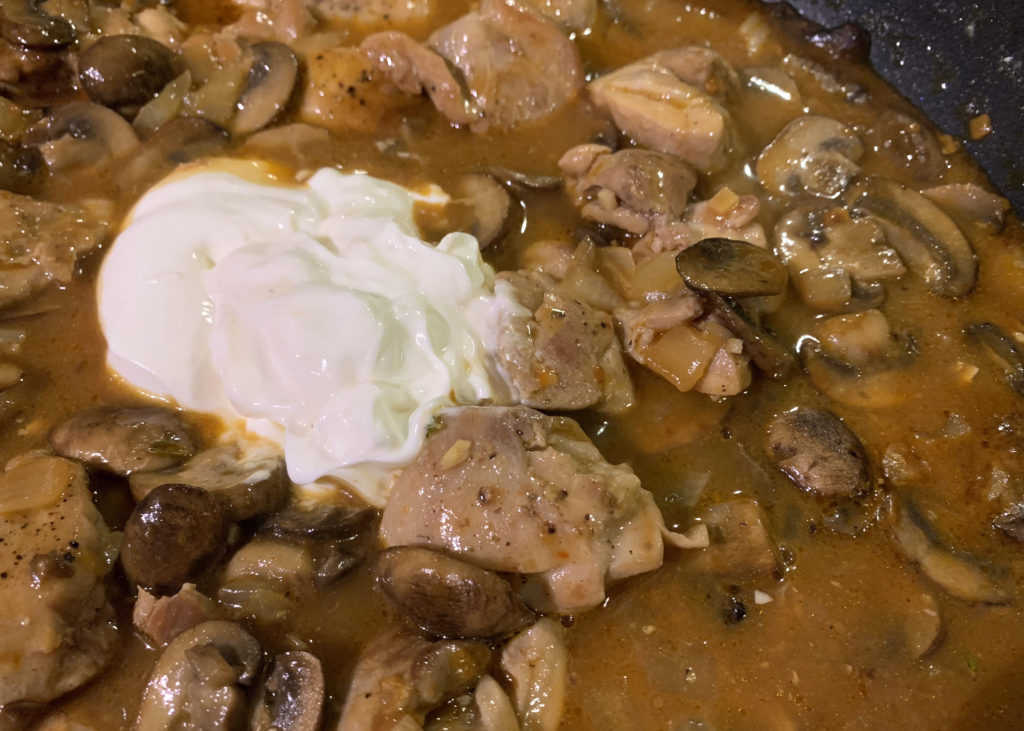
I love beef stroganoff. I loved it 20 years ago made with a can of mushroom soup, I loved it a couple years ago when I started making a “deconstructed” version with beautiful rare steak set upon a golden mushrooms and cream, and I loved it last night when I decided to try it with tender chicken thighs and a deeply flavoured mushroom sauce amped up with marsala, Dijon mustard, and tomato paste.

In doing my research for this recipe I found out that Stroganoff was a real guy! A Russian noble, Count Stroganoff was born into a wealthy family in the late 1700’s and was a General in the Napoleonic Wars. The original recipe was named after him by a French cook who, trying to combine his traditional cooking with a taste of Stroganoff’s homeland, invented the dish using French mustard to season beef and adding a dollop of Russian sour cream. Voila! (or вуаля! in Russian).

And, I mean, what doesn’t taste better with a bit of sour cream?!?! Can you imagine eating a perogie without it? Or borscht? (Wow, it really is an Eastern European thing, isn’t it?!) I even add it to my favourite savoury pie crust here!

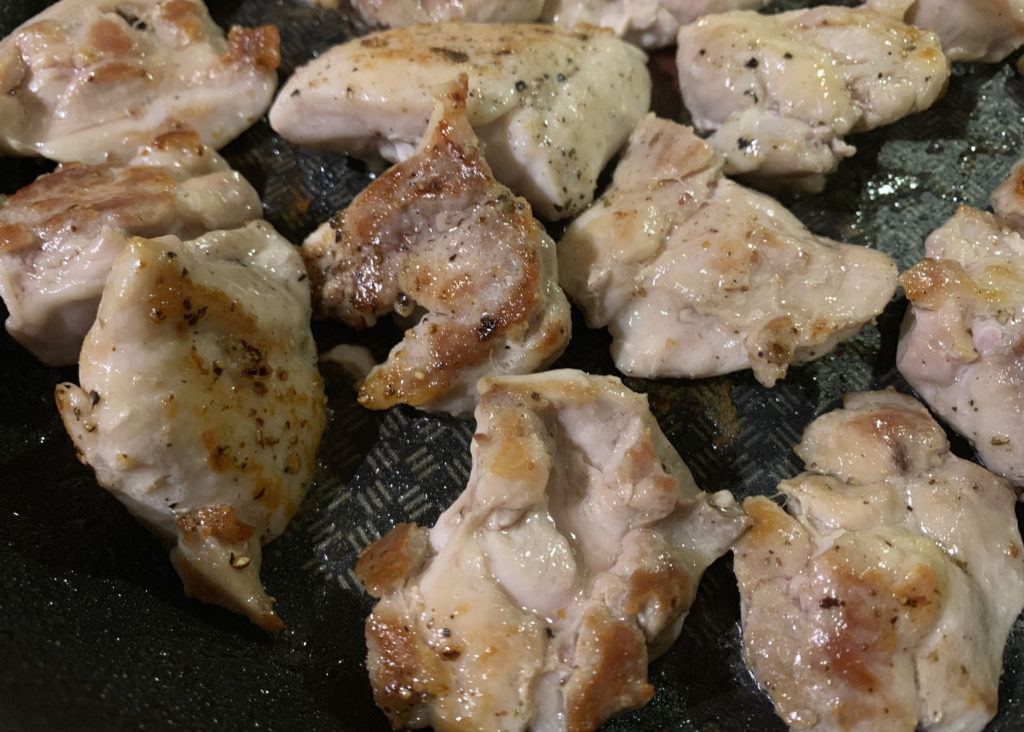
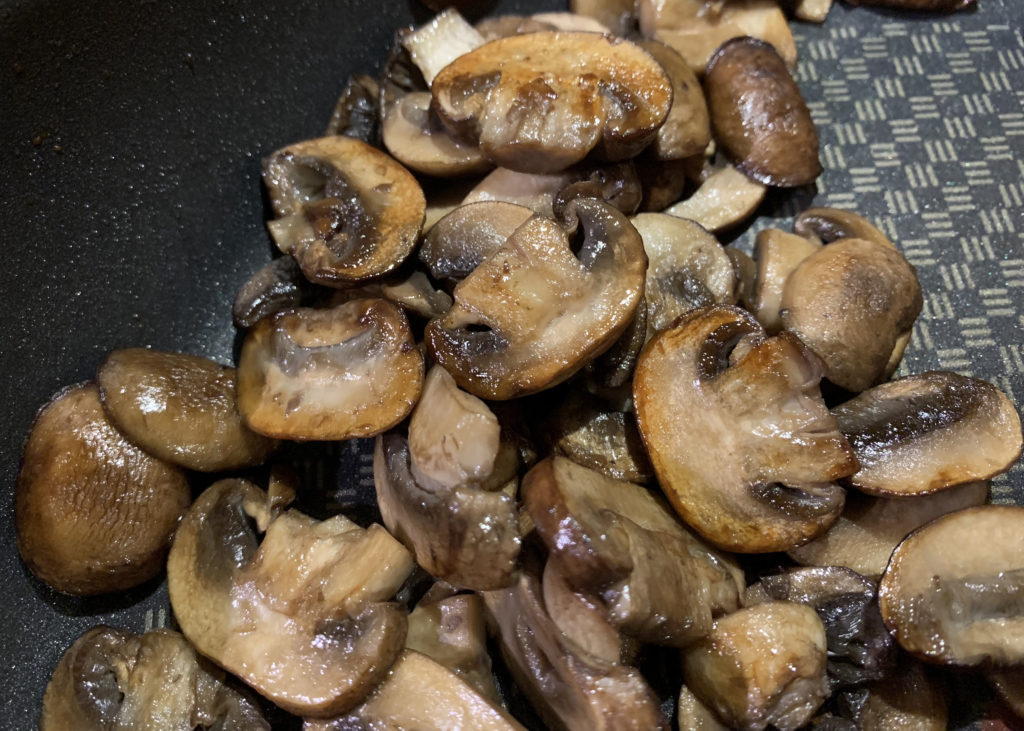
The best tip I can offer, don’t rush frying the chicken or the mushrooms. Make sure the chicken has a golden crust on both sides and the mushrooms have a nice sear. I did my mushrooms in two batches and each batch took 7-8 minutes. Crowding the mushrooms in the pan just steams them and the golden browning on the mushrooms really adds to the flavour of the dish.

Prijatnogo appetita!

1 pound boneless, skinless chicken thighs, each cut into 2-3 large chunks

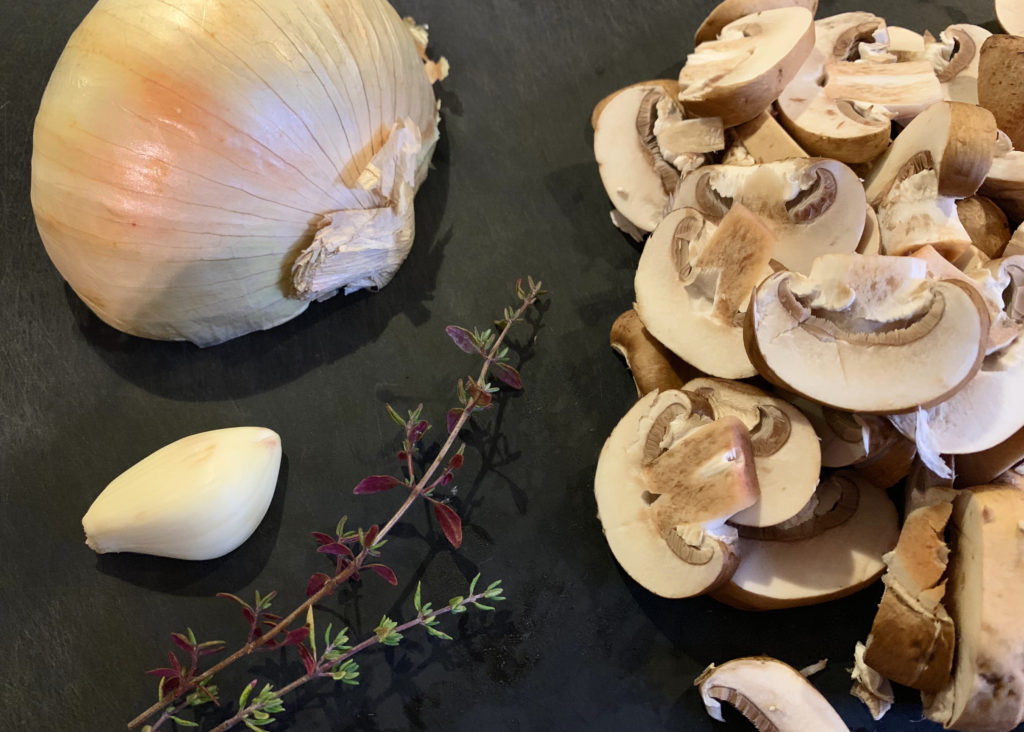
1 pound mushrooms, cleaned and sliced (I used brown)

1/2 large onion, diced
1 large clove garlic, minced
2 tsp tomato paste
1 1/2 TBS flour

1/4 cup marsala or dry vermouth (or white wine, or extra chicken stock)

1 1/2 cups chicken stock
1 tsp Dijon mustard
1 tsp worcestershire
1/2 tsp mild paprika
1 tsp kosher salt (or 1/2 tsp sea salt) and pepper to taste
couple sprigs of fresh thyme (or 1/2 tsp dried)

1/2 cup sour cream
fresh chopped parsley or other fresh herb for garnish, I used basil because it’s what I had (optional)

Mix chicken stock with mustard, worcestershire sauce, paprika, salt and pepper. Set aside.

Heat large saute pan with a glug of oil or some sort of fat (I used schmaltz) over medium high. Salt and pepper chicken thighs and fry 4-5 minutes per side until they have a nice golden brown crust. Don’t worry if they are not cooked through, they will cook more later. Remove to side plate.

Add another glug of oil if necessary and fry mushrooms until they lose their liquid and turn a lovely golden brown. This will take 7-8 minutes. Remove to the same side plate as the chicken.

Add another glug of oil if necessary and add onions, fry for a couple minutes then add garlic (garlic tends to burn so I give the onions a head start). Fry until just starting to brown. Stir in tomato paste for 1 minute and then sprinkle flour over mixture and stir for another minute.

Deglaze with marsala until the alcohol is almost gone. Then add chicken stock spice mixture and fresh thyme. Tip in the chicken thighs, mushrooms, and any liquid that has collected. Turn heat to low and simmer for 5-10 minutes until chicken is cooked through.

Remove from heat and stir in sour cream. Taste and re-season. We enjoyed this over pasta but it would be delicious over white or wild rice.


Quick & Dirty: Potato Cheese Tart

It’s World Food Day and much of the talk around food these days is about the incredible waste. Food that doesn’t look perfect or is on the verge of beginning to spoil is being thrown away by the ton. Lots of great people are working very hard to stop this… I have a friend who picks up food from supermarkets that was destined for the landfill and delivers it to groups that help those in need. My own part is much smaller in trying to reduce waste in my own home. I used to grocery shop 3-4 times a week and a portion always languished in the crisper until I finally threw it away. I now grocery shop once a week and force myself to use what I can find in the pantry and fridge.

Last night’s dinner was a great example of this because it has been 9 days since I did a grocery shop… 9 days! I volunteer for a local rescue society and this past weekend I took on another pup and didn’t want to leave her alone to go grocery shopping so I dug through my fridge to cobble together a meal. This tart came together using a few stray vegetables, 3 different bits of leftover cheese, and some meat from my freezer. It’s amazing how inventive you can get!

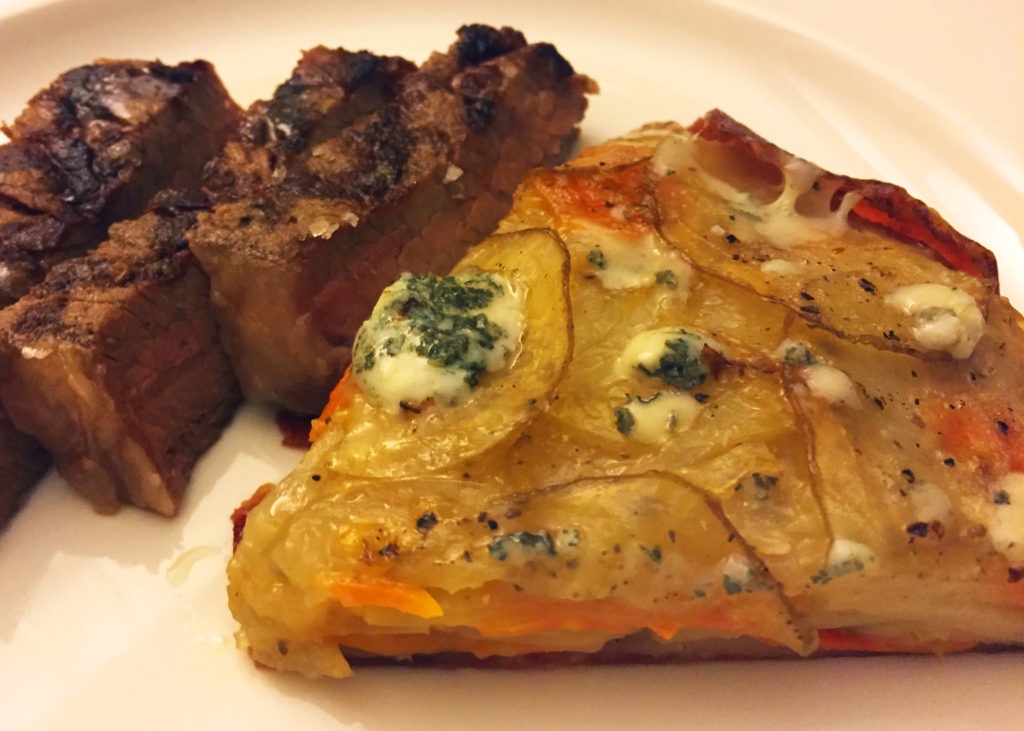
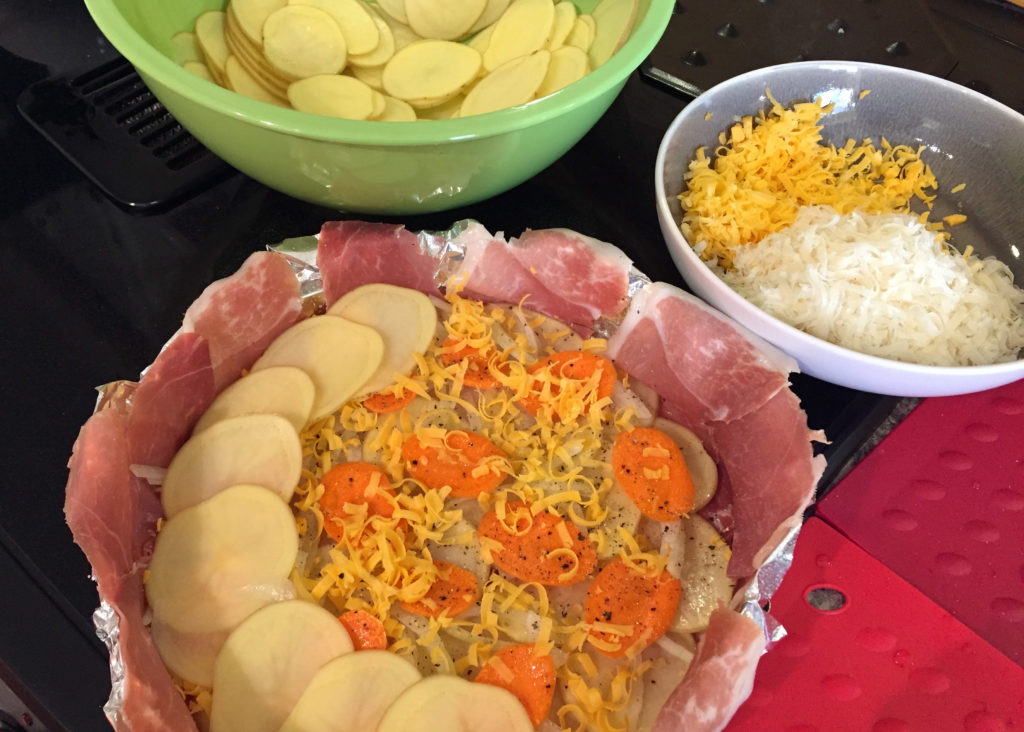
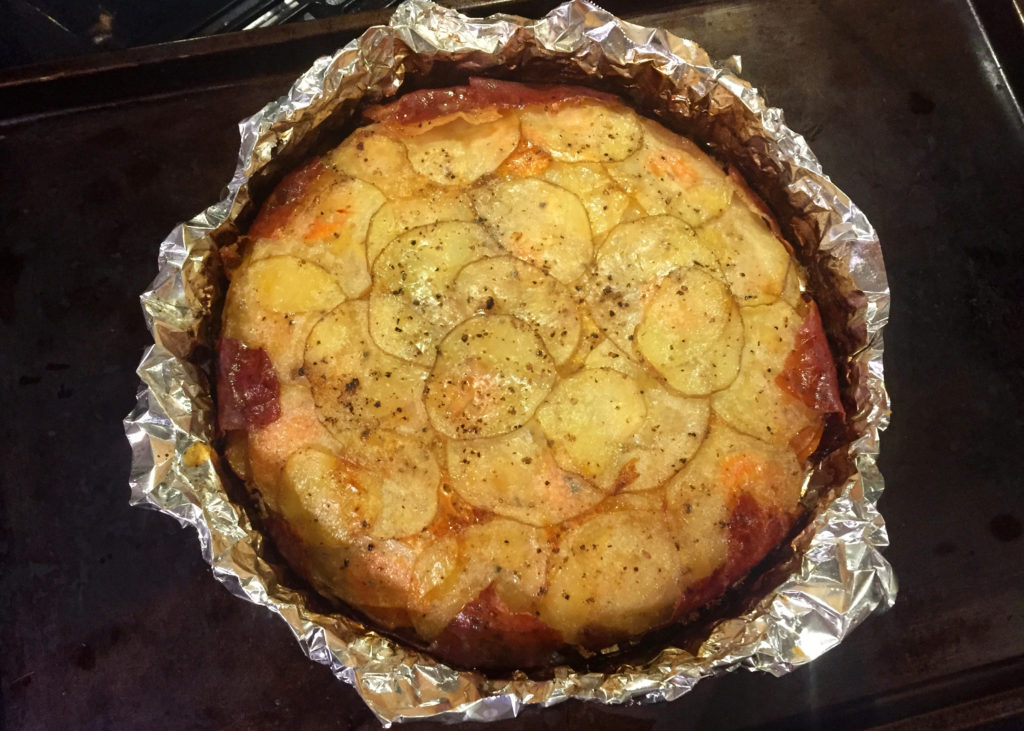
This is a Q&D recipe because I wasn’t planning to post this “throw together meal” until I had my first bite and knew I had to share it with you. In the spirit of World Food Day and reducing waste, I suggest you dig through your own fridge! I lined my tart pan with prosciutto to make a “crust”, then used thinly sliced layers of potatoes, vegetables and grated cheese. You could use some other potato-like vegetable such as sweet potatoes, yams, or squash. Add something aromatic for flavour. I used half a leftover onion but shallots, minced garlic, leeks, or diced green onion would also work. Then dig through your cheese drawer and use up any old bits you have hanging around. I used cheddar, parmesan, and crumbled some blue on top after the tart was finished cooking. Brie would have been good. Or feta. And dot with goat or Boursin after cooking?!…mmmmm! Use up any other bits of veg in your crisper. I had a single sad carrot that I thinly sliced but I kept thinking how delicious fennel or shaved brussels sprouts would be. You could use a real crust of frozen pastry, a frozen tart shell, or dare I suggest bacon?!?! Or nothing! What’s that, you say? Forget about a separate crust… grease your pan well and those potatoes will bake and brown forming their own lovely crust.

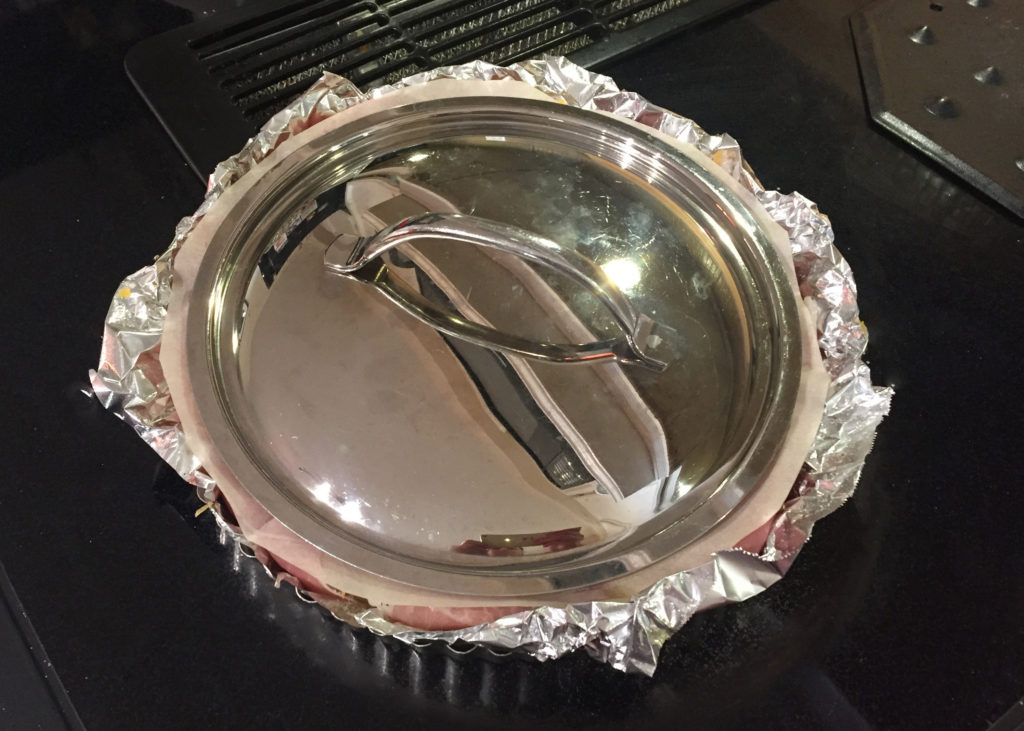
I started by lining my tart pan with tinfoil for easy cleanup. Let the tinfoil come up the sides to make the pan a bit higher. You want to build up the layers as the tart will collapse by about half as it cooks. Spray or oil the tin really well with cooking oil. If your tart pan has a removable bottom I recommend putting it on a cookie sheet while baking just in case it leaks. I covered the tart with a piece of parchment paper and then a lid to weigh it down while cooking for about 2 hours, then removed the lid and parchment for another 20 minutes to brown. It seems like a long time to bake but you really want those layers to cook together. I hope you try some version of this “refrigerator” tart.

Preheat oven to 350F.

5 or so medium potatoes or other vegetable as suggested above
half an onion, or leek, or some minced garlic, or chopped green onion
other vegetables as desired such as carrot, thinly sliced
about 2 cups of grated cheese
Salt, pepper, and a drizzle of olive oil for each layer

Thinly slice all your vegetables (enough to make 5 or 6 layers in your tart pan). Grate all your cheese (I had about 2 cups in total plus some blue I crumbled on top after the tart was finished cooking). If you are using something as a base or crust, start with that in a well-oiled pan. Then build your layers of potatoes and vegetables. Season each layer with salt and pepper and a drizzle of olive oil, and top with a layer of cheese. Repeat until all your ingredients are gone. Finish with a layer of potato. I suggest covering with a piece of parchment and weighing it down with a lid. Bake for approximately 2 hours, until the tip of a sharp knife easily slips through the tart. Remove the lid and parchment and let brown for another 20 minutes. I served with a few slices of steak on the side.


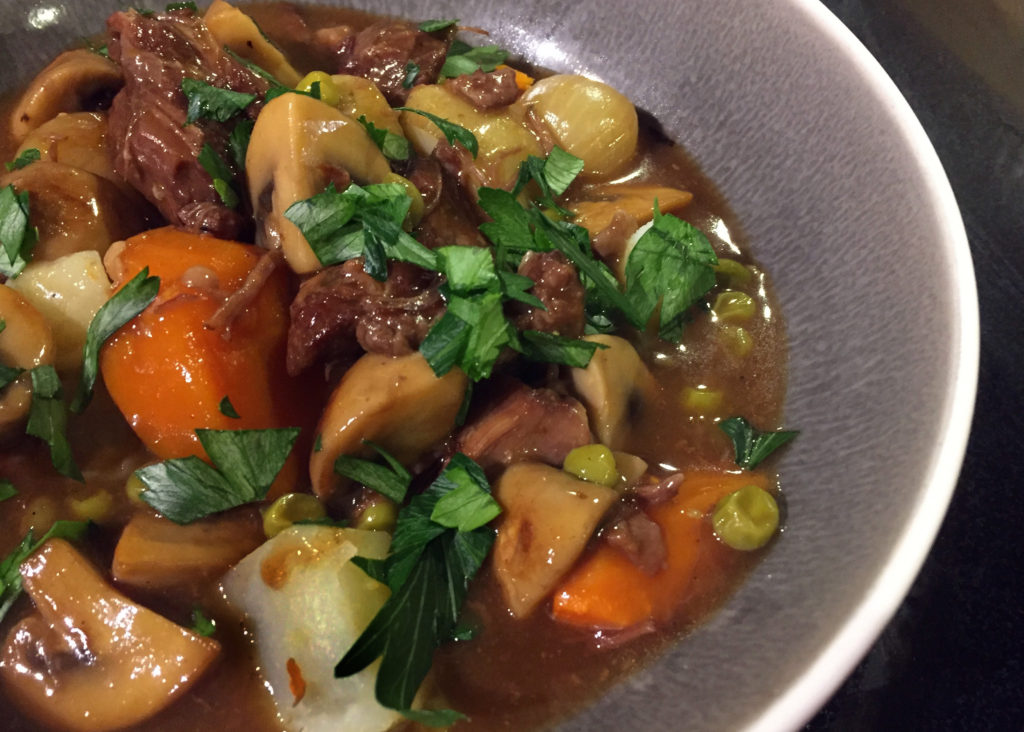
Instant Pot Beef Bourguignon

I have an Instant Pot. Yes, I do. For the past couple years I have been using it to cook dried beans, some long-cooking vegetables such as beets, and I make yoghurt on a regular basis. I also tried an “all in one” meal with mashed potatoes, beets, and meatloaf… yes, cooked together ALL IN ONE POT. And do you know what?!… it was pretty good! I have been quite happy with my Instant Pot but people online can’t seem to stop talking about how amazing it is to cook almost ANYTHING (seriously… cheesecake?) so I need to branch out.

Some time ago I spotted this recipe for pressure cooker beef stew and it got me thinking about beef bourguignon with the wine and pearl onions and mushrooms. Mmmmmmmm, rich comforting flavourful beef stew in about half the time? Count me in, man! (Did I just say “man”?!?!).

The inspirational stew made (almost) according to the recipe was very good but I have continued to fiddle with it because I wanted something much closer to traditional beef bourguignon and I still don’t COMPLETELY trust the “dump and go” method in most Instant Pot and slow cooker recipes. I think flavours need to be layered. My favourite part of beef bourguignon are the little onions braised in dark stock and the mushrooms fried in butter so instead of simply cooking them in the stew I used Julia Child’s recipes for Oignons Glaces a Brun (brown braised onions) and Champignons Sautes au Beurre (sauted mushrooms in butter) and add them in at the end to re-heat. Granted it does take extra work, but not extra time because you do it while the beef is cooking.

The inspirational recipe calls for 4 packets of gelatin which gives body to the stew but I cut this down to one packet because my stock is homemade and already has the velvety mouth-feel. You can increase this if your stock is store-bought. I also nixed the extra carrots, potatoes and celery because those are not traditional in beef bourguignon but I did keep the soy sauce, anchovy paste and fish sauce… also not traditional but I think they really add to the umami quality of the stew. I also threw in some frozen green peas just because I like them. :)

Despite failing to jump on the whole “all in one” bandwagon, I think my recipe is now pretty close to traditional beef bourguignon while streamlining the process to use only one additional saute pan (with no washing in between) for all the searing, braising of onions, and frying of mushrooms. I have divided the ingredient list below into the separate cooking steps to help you organize better as you cook. It’s still probably not a weeknight meal but it will definitely cut your weekend beef bourguignon down to at least half the time letting you arrive home mid-afternoon (after a day of skiing? mountain climbing? parasailing? reading a good book that you can’t put down?) and still deliver a meal to the table that looks and tastes like you cooked all day… win, win!
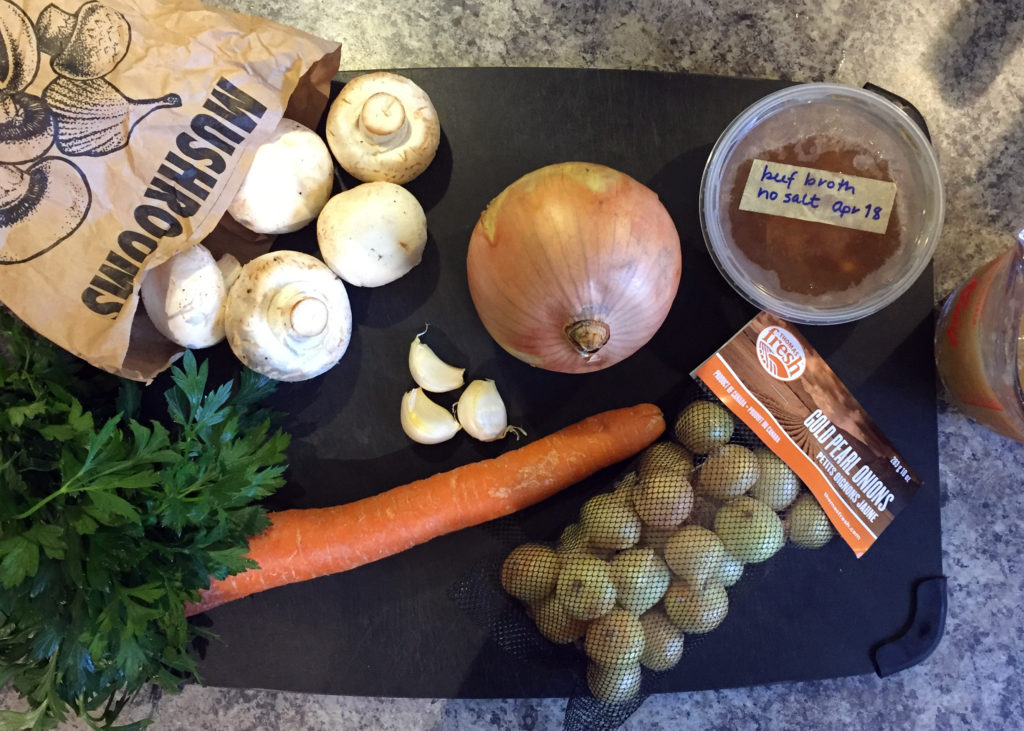
2 cups homemade or store-bought chicken stock
1 packet powdered unflavored gelatin (7 g) (you can use up to 4 packets if your stock is store-bought)
2 TBS tomato paste
1 TBS soy sauce
2 tsp anchovy paste, or 2 mashed anchovies, or 1 TBS Asian fish sauce (I used both anchovy paste and fish sauce)
1 TBS Worcestershire sauce

2 TBS vegetable oil
3 pounds whole boneless beef chuck roast, cut into 3 steaks
salt and freshly ground black pepper
2 TBS flour

1 large or 2 medium carrots, cut into 1″ pieces
1/2 large or 1 medium yellow onion, cut in half pole to pole
3 medium cloves garlic, unpeeled

1 cup red wine or sherry (or a mix of both)
2 bay leaves
4 sprigs thyme

1 cup (about 6 ounces) frozen or fresh pearl onions (thawed if frozen, peeled if fresh)
1 TBS butter
1 TBS vegetable oil
1 cup beef stock (ok to be made from good bouillon)

10 ounces white button mushrooms, quartered (or in sixths if large)
2 TBS butter

1 cup (about 4 ounces) frozen peas (optional, but I like them)

Fresh chopped parsley to garnish (optional)

Put stock, gelatin, tomato paste, soy sauce, anchovies and worcestershire sauce in a bowl or large measuring cup and whisk to combine. Set aside.

In a skillet, heat 2 TBS vegetable oil over medium-high heat. Season beef on both sides with salt and pepper and sear on each side until a nice dark brown crust forms, about 5-6 minutes per side. Remove from skillet into large bowl. Sprinkle with 2 TBS of flour, stir and set aside.

In the same skillet (add another splash of oil if necessary), add carrots, onion (cut side down), and garlic cloves. Turn vegetables as they start to brown. Once they are browned on a couple sides, remove and set into Instant Pot.

Add sherry and or wine to skillet. Scrape up any fond and let alcohol reduce about one-third. Pour into Instant Pot over vegetables. Set skillet aside without cleaning… you’re going to use it again soon.

Cut seared beef into largish chunks (about 2 inches) and add to Instant Pot along with any beef drippings. Pour stock mixture into Instant Pot and add bay leaves and thyme. Set on manual high pressure for 35 minutes. (If you are using a stovetop pressure cooker, process for 30 minutes).

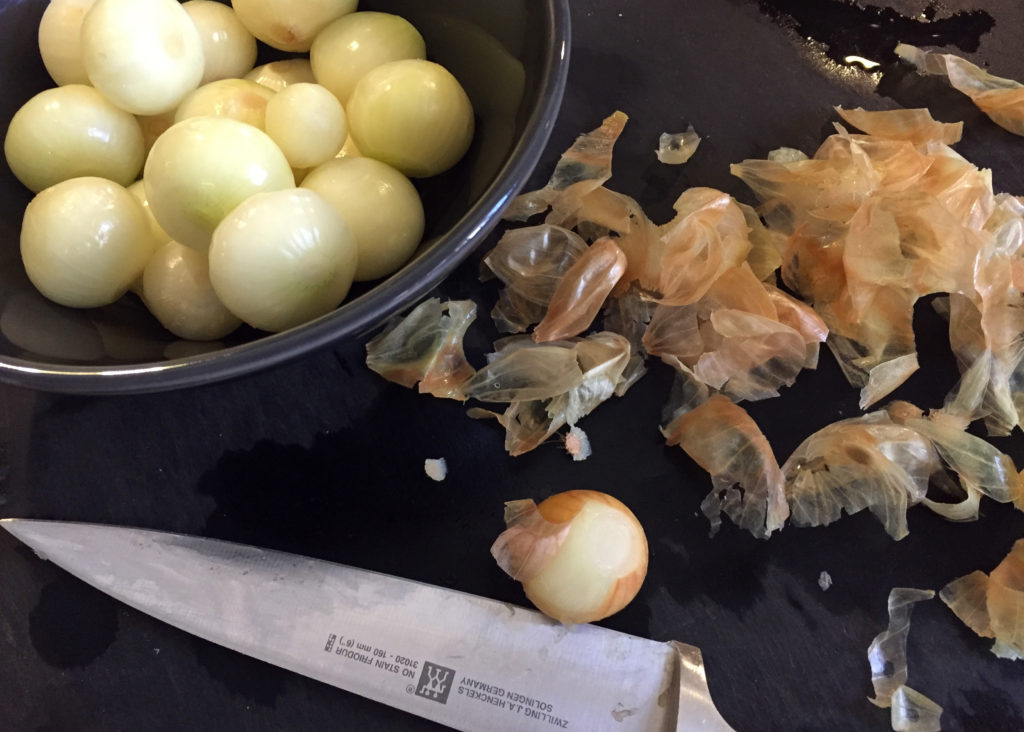
While the meat is cooking, make your pearl onions. If you are using fresh I have found the easiest way to peel is to blanch for 1 minute, then run under cold water until they are cool enough to peel. Melt 1 TBS each butter and oil in your skillet over medium-high heat until foamy. Add onions and let cook, tossing every couple minutes until they have started to brown. Add in beef stock and let simmer until the onions are tender and most of the liquid has evaporated. If you are using frozen this takes about 10 minutes, fresh can take 20-30 minutes depending on their size. Scrape onions and any leftover liquid into bowl and set aside.
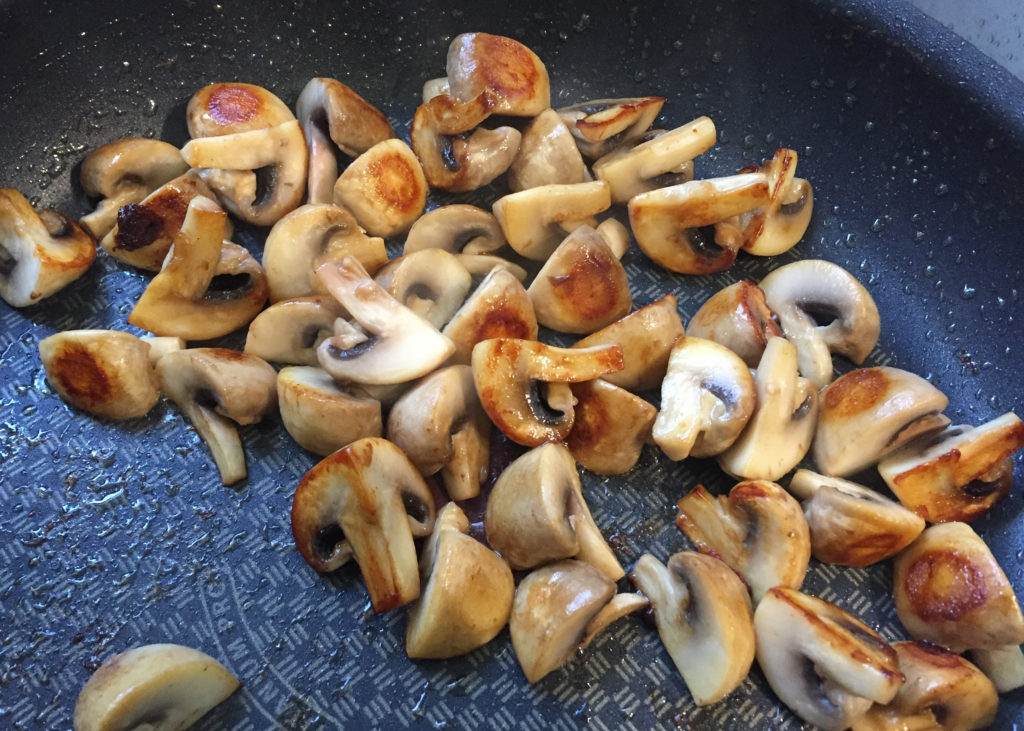
In the same skillet add 2 TBS butter and let melt until foamy. Add mushrooms and toss every couple minutes. They will first absorb the fat, then let go of their liquid and become quite wet, and finally the liquid will evaporate allowing the mushrooms to brown. This takes about 10-15 minutes for me. Set mushrooms aside.
When the beef has finished in the Instant Pot allow the pressure to naturally release for at least 15 minutes, after which you can manually release if the pin hasn’t dropped. If you have time, you can let sit up to a couple hours until you’re ready for dinner.
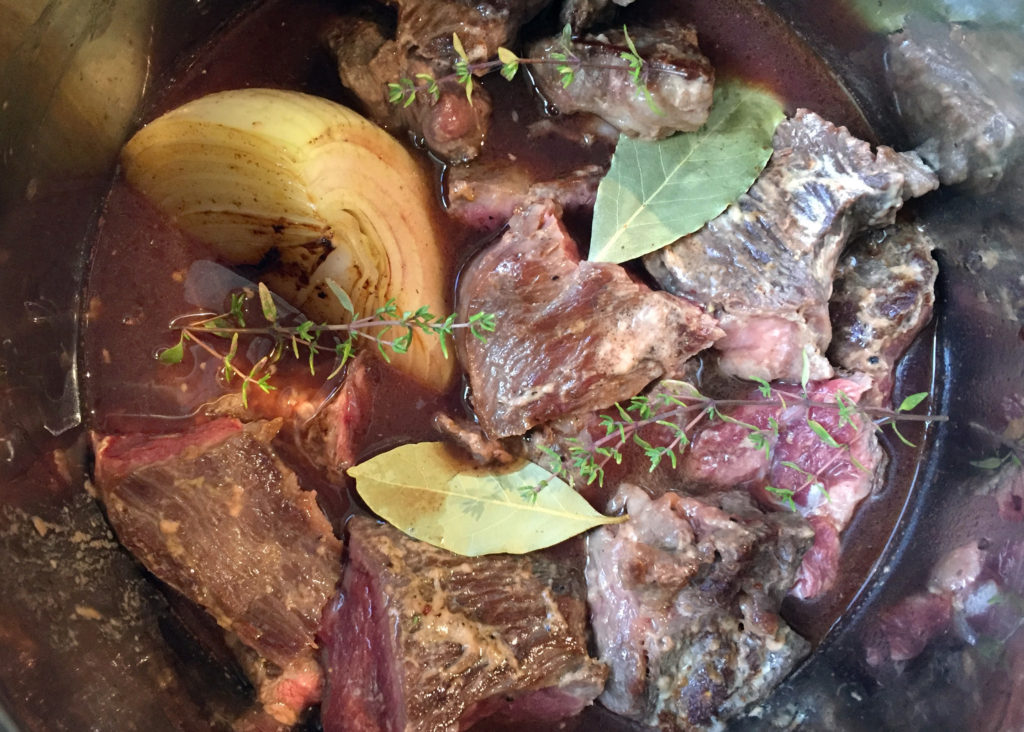
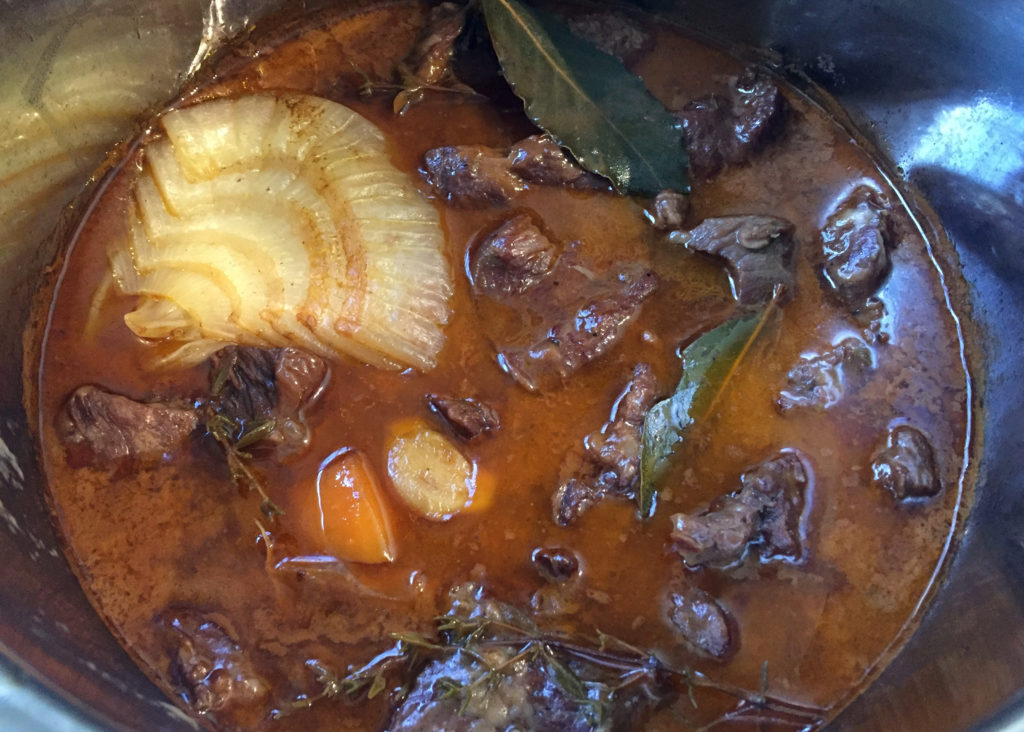
Remove the whole onion, bay leaves, and garlic cloves from stew and discard. Let sit for a couple minutes to let the fat rise to the top and skim. (Tip: If you find the thin layer of fat on top hard to skim because those pesky vegetables are getting in the way, just lay a paper towel across the top of the stew and it will soak up the fat!) Turn on saute function and add reserved mushroom, pearl onions, (and green peas, if using) to heat through. At this point you can also adjust the thickness of your stew if desired by making a slurry of flour or corn starch and water and stirring into the stew. Now is also the time to taste and re-season. I find a TBS each of fish sauce and balsamic vinegar really brighten the flavour and add depth to the final dish.
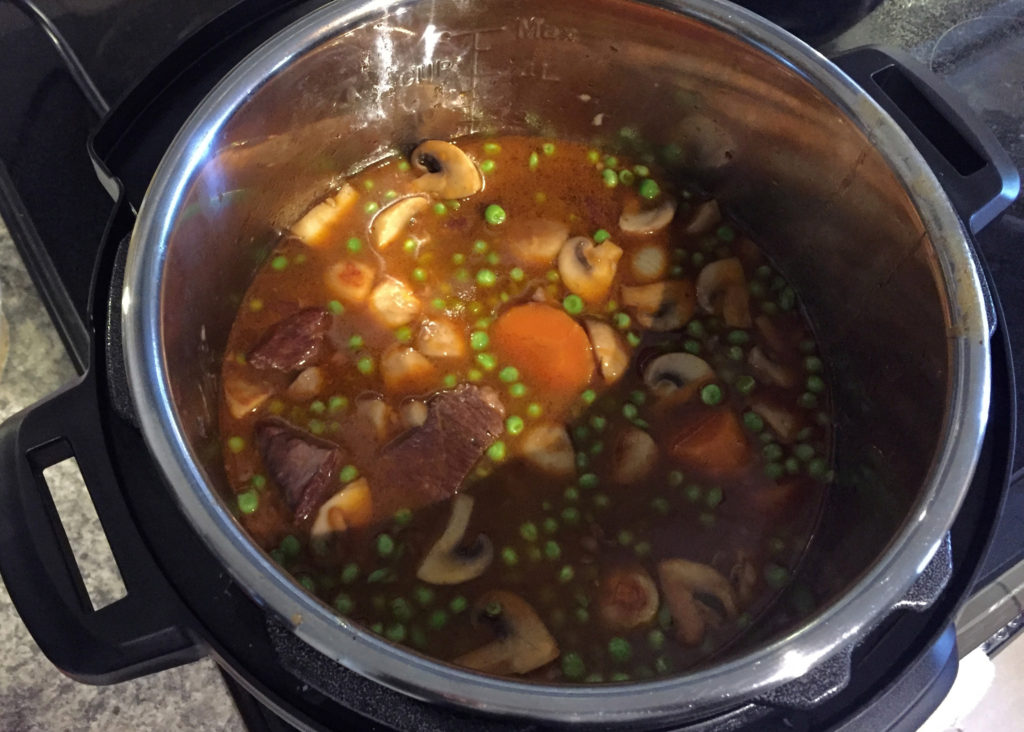
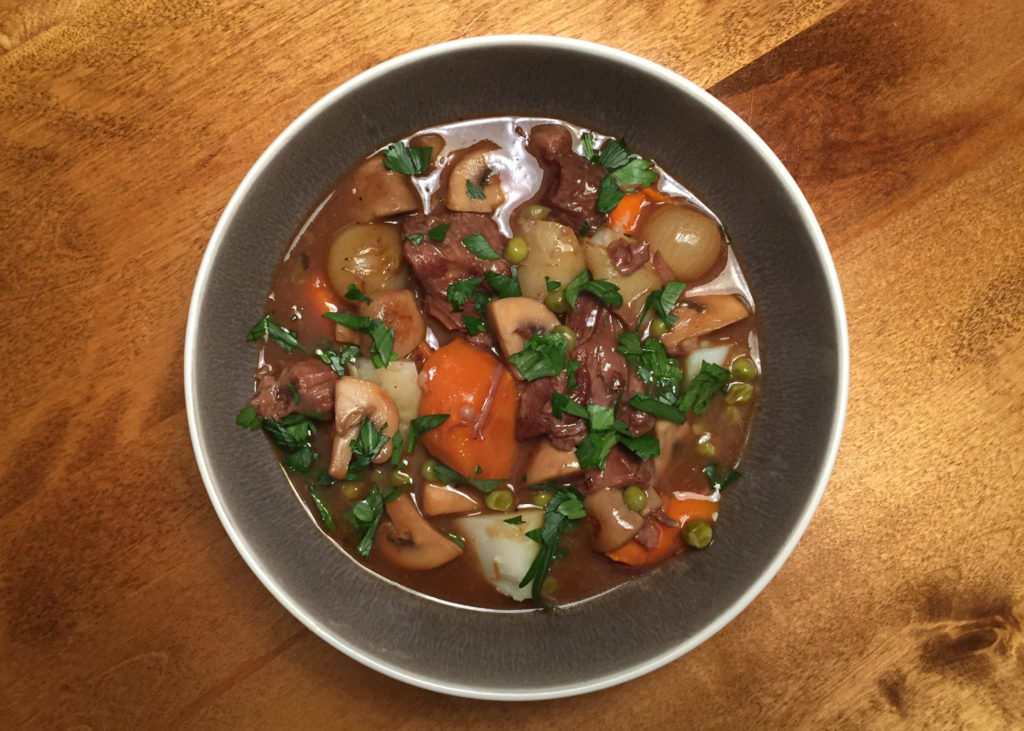
Garnish with fresh parsley and serve with crusty bread and a salad or over potatoes or pasta. Leftovers are even more delicious. Yum!
Roasted Carrots with Lentils and Soft Cheese

I made soup last week and bread this week. Fall is definitely here. I’m still not quite ready to go full on “braise” but roasted veggies, especially over something hearty but still healthy… yup, I’m down with that.

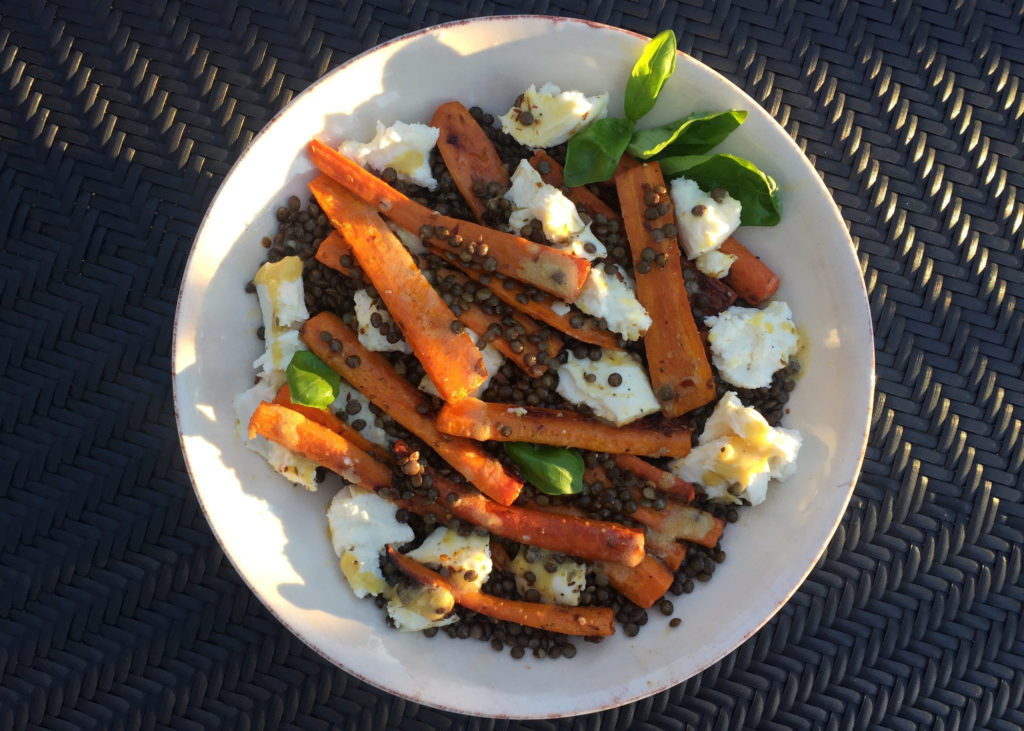
I was at Costco last week and bought a “YUGE” bag of carrots for, like, zero dollars and went decidedly French by pairing them with Puy lentils. You guys, if you haven’t added those tiny, green French lentils to your repertoire you are missing out. They are so easy to cook properly if you soak, then steam them (just say no to mushy lentils) and they are delicious warm or cold. Use them as a base for almost any roasted vegetable as I did here, or toss them in a salad. (Or simply season them and add a fried or poached egg on top… oh yes I did!). And they’re healthy. I almost hate to say that because it’s beside the point. They are delicious… just go with that.

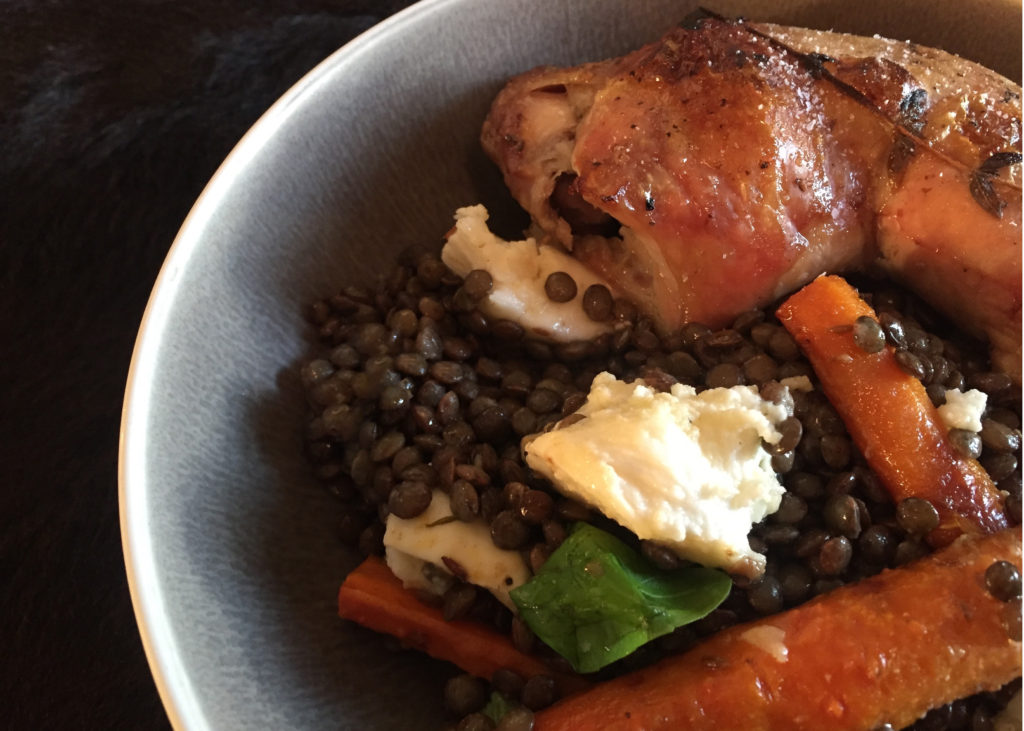
This dish is hearty enough for a vegetarian main but it can also be served alongside some protein (or that egg we just discussed). I served mine with a couple pieces of chicken confit I had in the fridge which I simply reheated by adding to the tray of carrots when I removed the tinfoil. Anything to save washing another dish!
1 1/2 cups green French Puy lentils

Carrots:
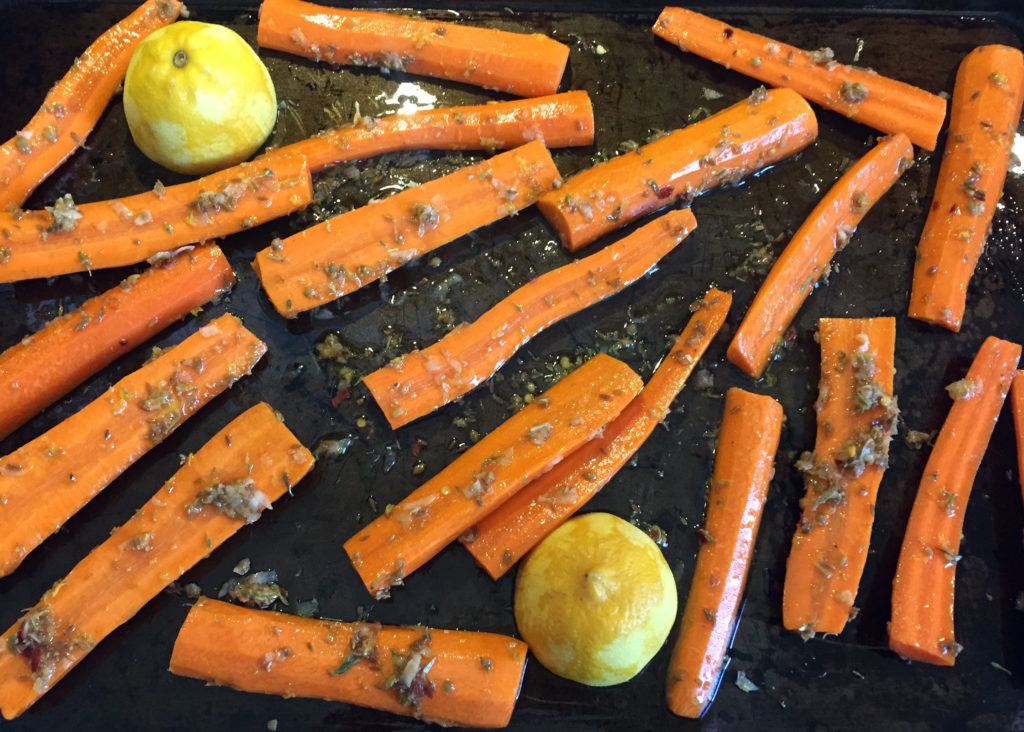
2-3 pounds of carrots, washed or peeled and halved lengthwise
1 tsp cumin seeds, roughly ground with mortar and pestle
1 tsp coriander seeds, roughly ground with mortar and pestle
1 tsp dried thyme leaves, roughly ground with mortar and pestle
1 tsp kosher salt
Red chili flakes, to taste
Freshly ground black pepper, to taste
2 garlic cloves, minced
1 TBS red wine vinegar
1 1/2 TBS olive oil
1 whole lemon, peel zested and lemon halved

Vinaigrette:
2 TBS red wine vinegar
1 clove garlic, minced
1 TBS tsp Dijon mustard
1 tsp anchovy paste
pinch of salt and few grinds of fresh black pepper
1/3 cup good fruity olive oil

To finish:
fresh chopped basil or other herb of your choice (optional)
1 8-oz ball of fresh mozzarella (optional, but seriously…)

Make dressing by combining all ingredients except olive oil. Slowly drizzle in oil while whisking until emulsified. Set aside.

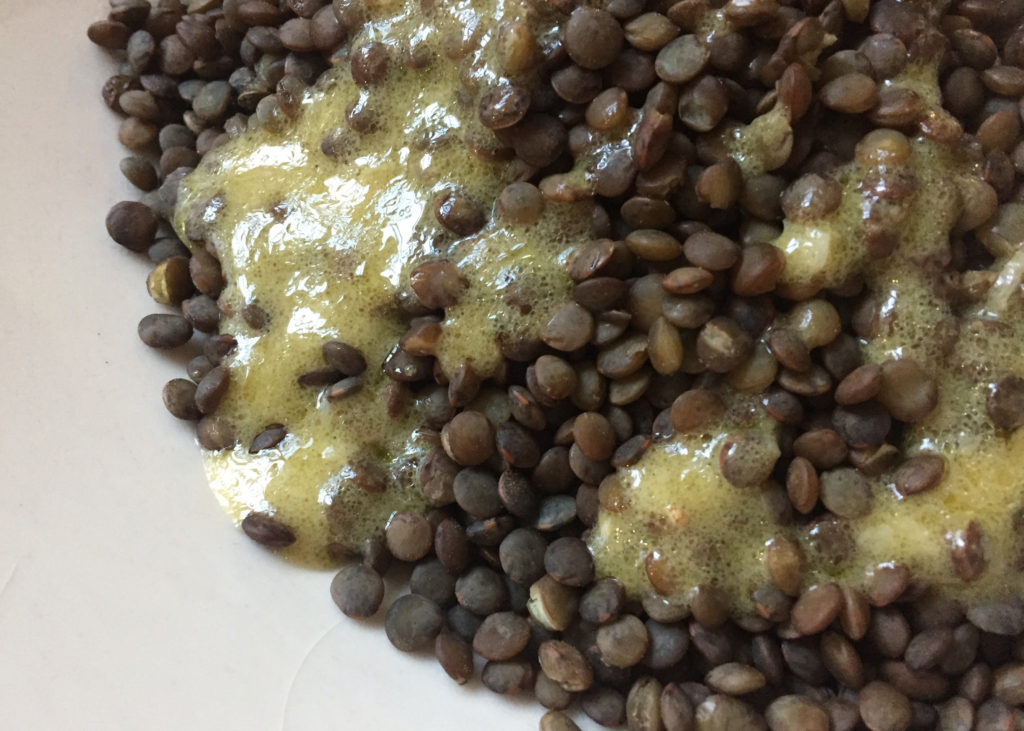
Cook lentils to your liking. I soak mine for at least a few hours or overnight, then steam for 15-30 minutes (depending on how long you have soaked) until just tender but not falling apart. Put drained lentils in a larger wide bowl (enough to accommodate the carrots) and stir in 3 TBS of dressing while they are still warm so the lentils absorb the flavour. Set aside.

Preheat oven to 400F.

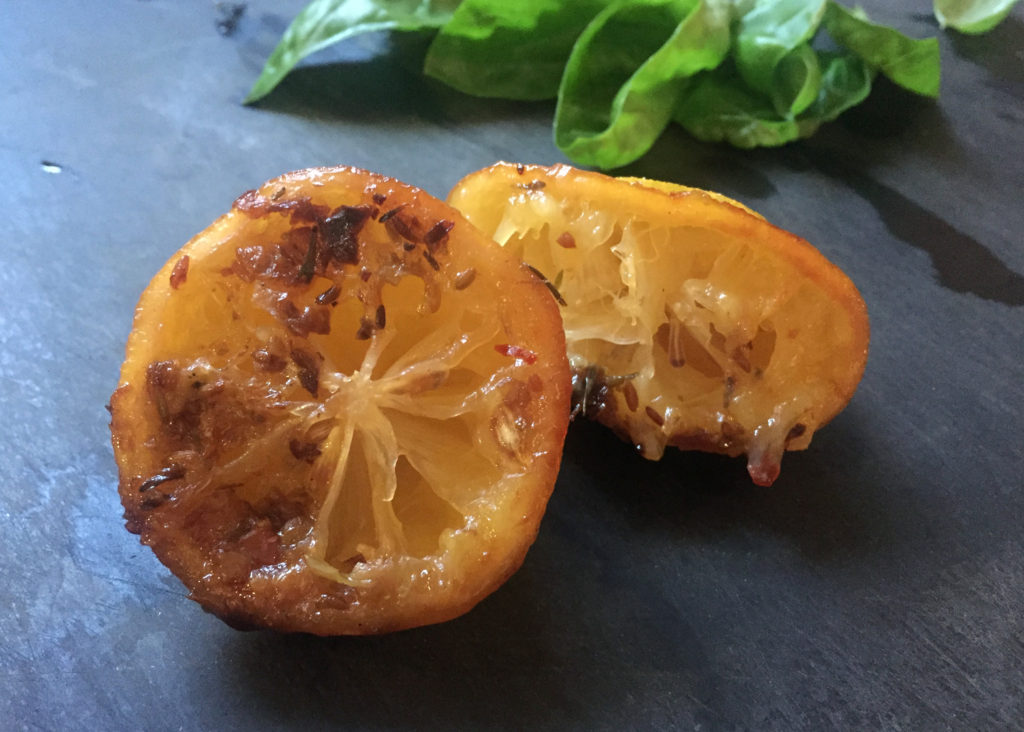
Combine your spices in the bottom of a bowl along with minced garlic, red wine vinegar, olive oil and lemon zest. Add carrots and toss to coat. Place on oiled cookie sheet along with your zested lemon halves (cut side down) and cover with a piece of tin foil. Roast for 20 minutes. Uncover, toss and roast another 15-25 minutes until carrots are tender and browned in spots. Remove from oven, squeeze over juice from roasted lemon.

Putting it together:

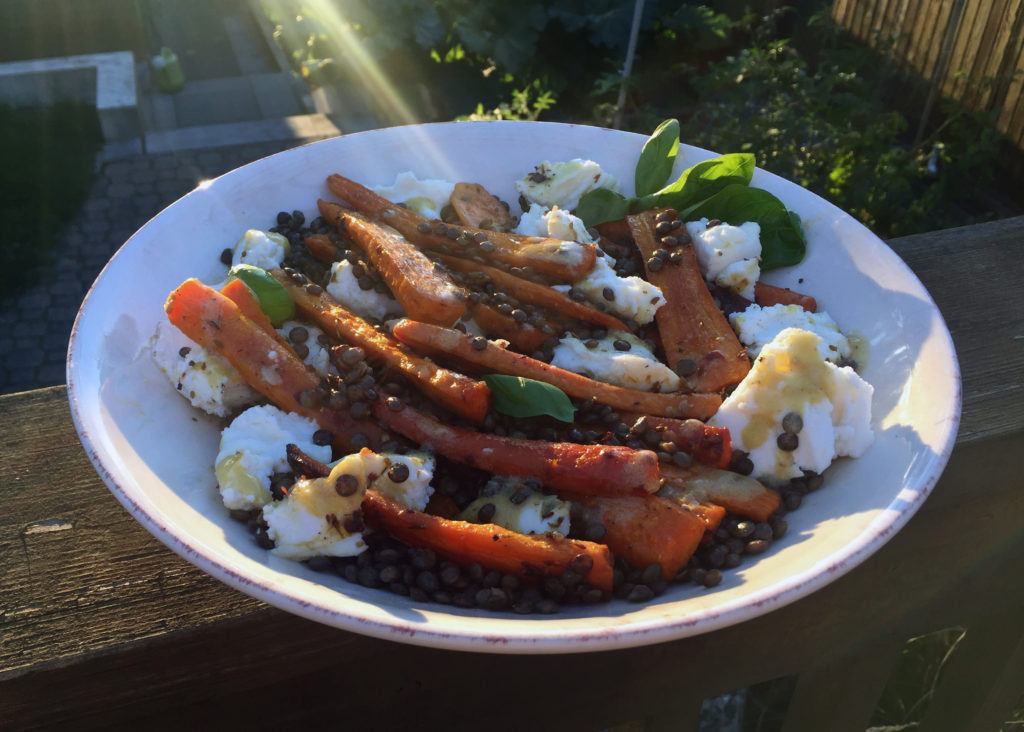
Taste and re-season lentils if necessary (they may need more salt, especially if you skipped the anchovy paste). Tip carrots over lentils and gently toss. Tear fresh mozzarella over the dish and drizzle with remaining vinaigrette to taste. Scatter fresh herbs on top if using and dish up!


Quick & Dirty: Roasted Grapes and Goat Cheese

Hey, remember that time I invited people over for drinks and all I had to eat in the fridge were some old grapes and goat cheese?…

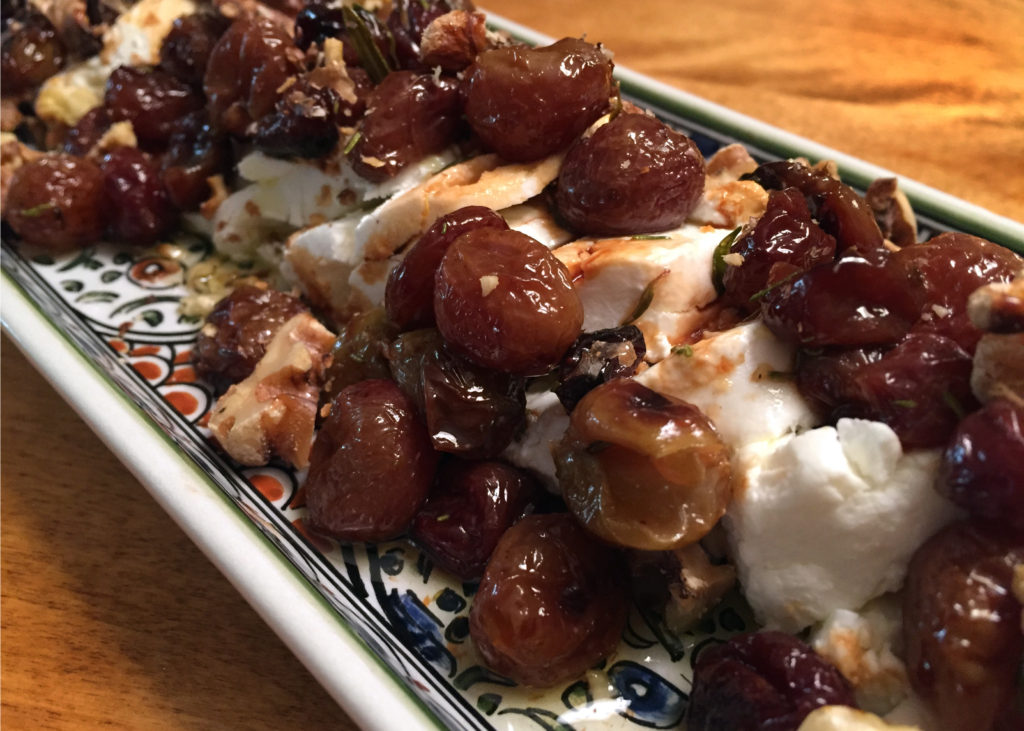
Well, it turns out you can make a mighty fine appetizer with almost nothing. The first time I made this I used pepitas instead of walnuts (one of the guests had an allergy) and the second time I used the walnuts plus added in some fresh rosemary. Both times were delicious. I have also cut down on the oil from the original recipe significantly. And for the drizzling olive oil over the goat cheese, feel free to use flavoured oil if you have it. I used Persian lime olive oil and it was delicious. Next time I’m thinking a pinch of hot chili flakes would not go amiss. Happy appy!

1/2 cup toasted, chopped walnuts (or other nut)
3 cups red seedless grapes
2 tsp plus 2 TBS good, fruity olive oil (divided)
4 sprigs fresh thyme
1 sprig fresh rosemary (about 3″), leaves removed
1/2 tsp sea salt (divided)
1 log fresh goat cheese (250-300 grams or 8-10 ounces)

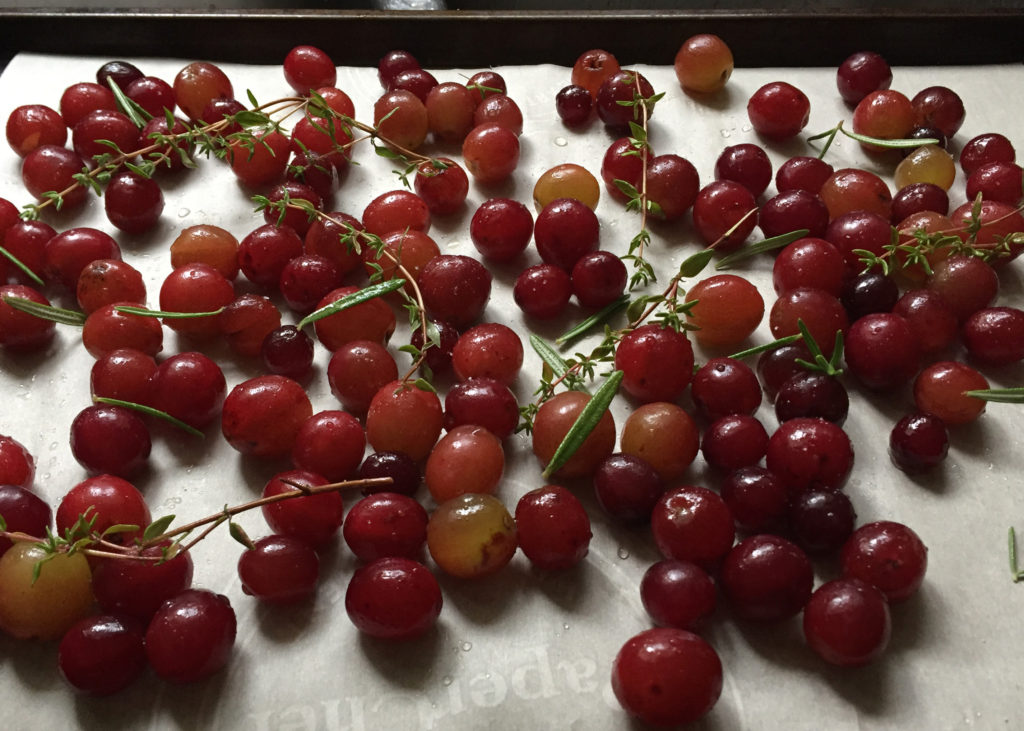
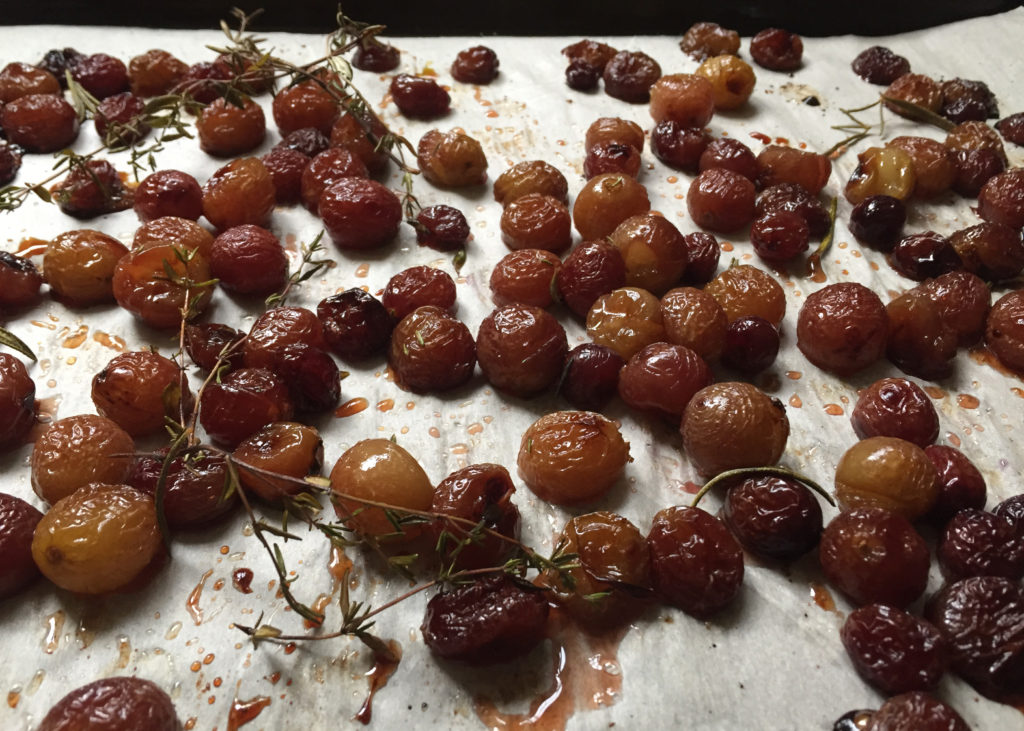
Preheat oven to 350F. Toss grapes, thyme sprigs and rosemary leaves with 2 tsp olive oil. Place on parchment covered baking sheet. Sprinkle with 1/4 tsp salt. Place in oven and roast for 45-55 minutes until grapes are soft and skins are bursting. This can be done a few hours ahead of time.

While grapes are roasting (or 45 minutes before serving), slice goat cheese in 1/4 inch rounds and arrange on serving dish. Drizzle with 2 TBS olive oil (flavoured if you wish).

When grapes are finished roasting, let sit until no longer hot (can be room temperature). Spoon over goat cheese and scatter with toasted, chopped walnuts. Sprinkle on remaining 1/4 tsp salt. I served this with crackers but you can also use a sliced baguette.


Quick & Dirty: Caesar Salad Dressing

It’s been hot here on the West Coast and I am loving it! I have been eating salad after salad chock full of lovely garden tomatoes, cucumbers, legumes, with tons of herbs and bright, zesty vinaigrettes and they have been yummy! I don’t know why but Caesar salad never seemed like a summer salad to me. When all the fresh vegetables have faded away and the cold, damp days of winter move in, that’s when I think of that heavier, cheese laden dressing that will smack you across the head with just the right amount of pungent garlic and creamy mayonnaise.

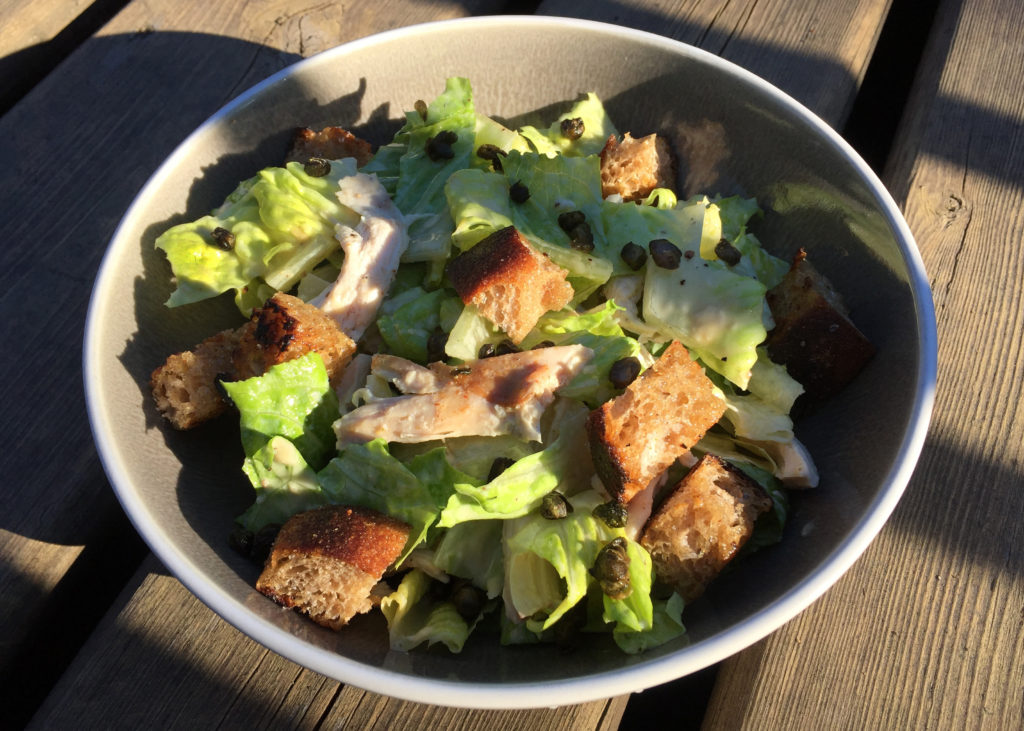
But it’s +28C outside today and I’m still craving a crispy romaine Caesar salad, with some cold chicken folded in and topped with crunchy croutons and fried caper flavour bombs. Eat your heart out, Winter! :)

1 clove garlic, minced (or more, depending on your taste)
1/2 tsp dry mustard
lots of pepper
1 1/2 tsp worchestershire
2-3 TBS fresh lemon juice (depending on your taste)
1 tsp anchovy paste or 1 anchovy filet mashed with a fork (optional but HIGHLY recommended)
1 tsp Knorr Aromat or Accent seasoning (optional)
1/4 cup good fruity olive oil
1/4 cup mayonnaise
1 oz grated fresh Parmesan (about 1/2-3/4 cup, depending on size of grate)

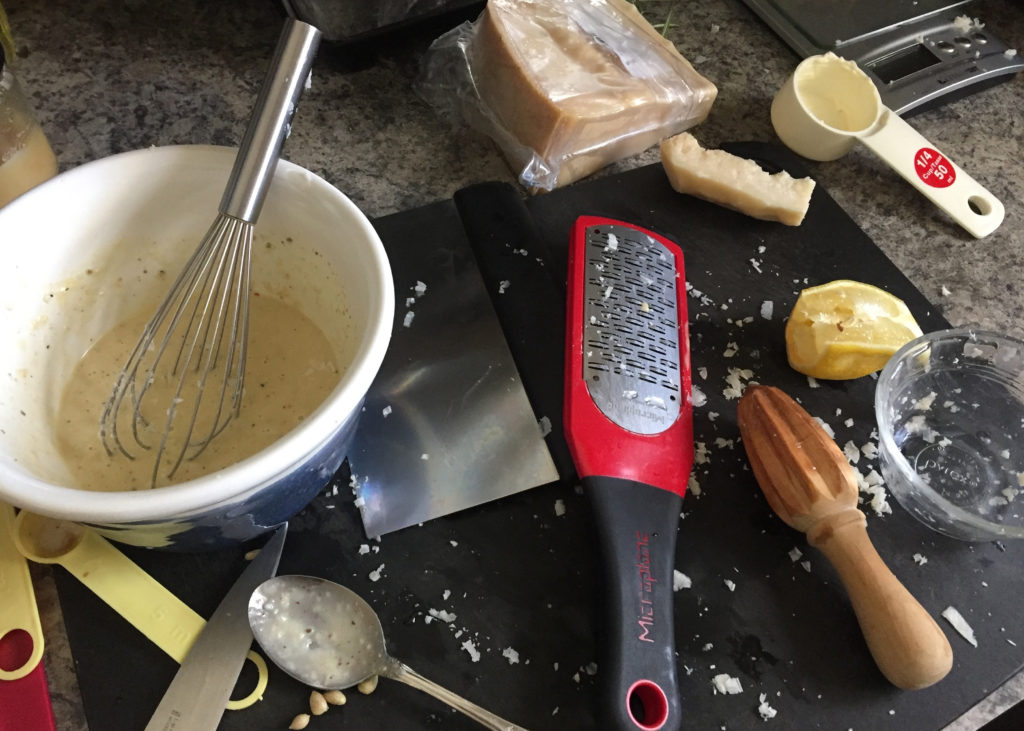
Combine first 7 ingredients in bowl. Slowly whisk in olive oil until emulsified. Fold in mayonnaise and fresh Parmesan. You may only need a portion of the dressing for your salad depending on the amount of greens you have. The rest will stay good in the fridge for 3 or 4 days.


Grilled Corn and Chickpea Salad with Smoky Lime Vinaigrette

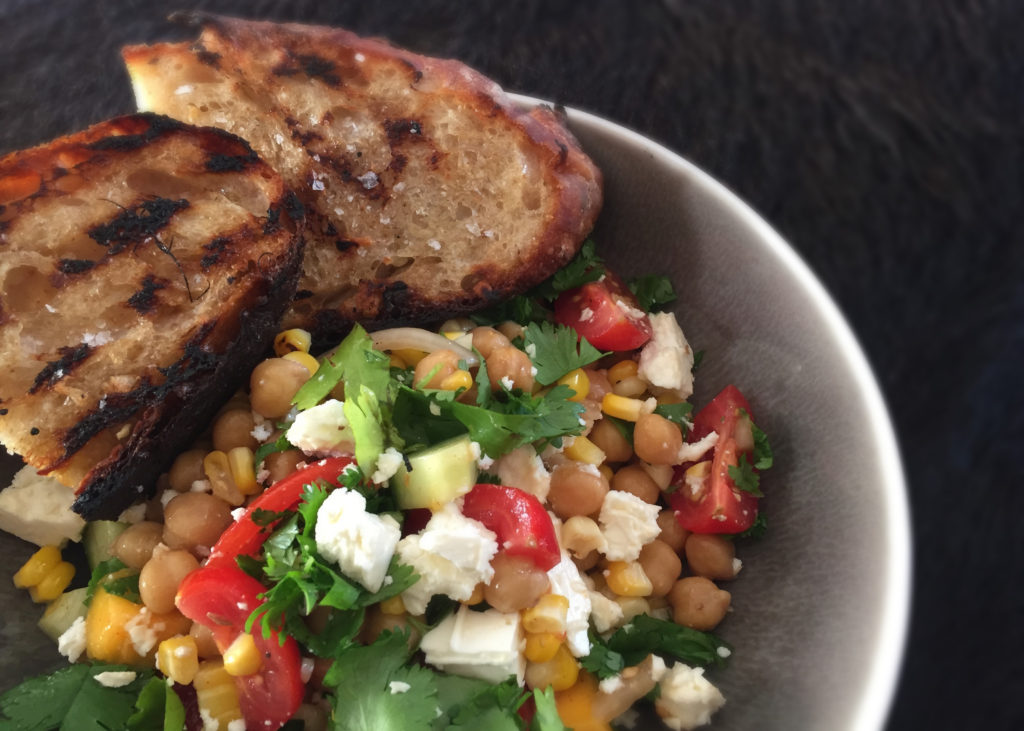
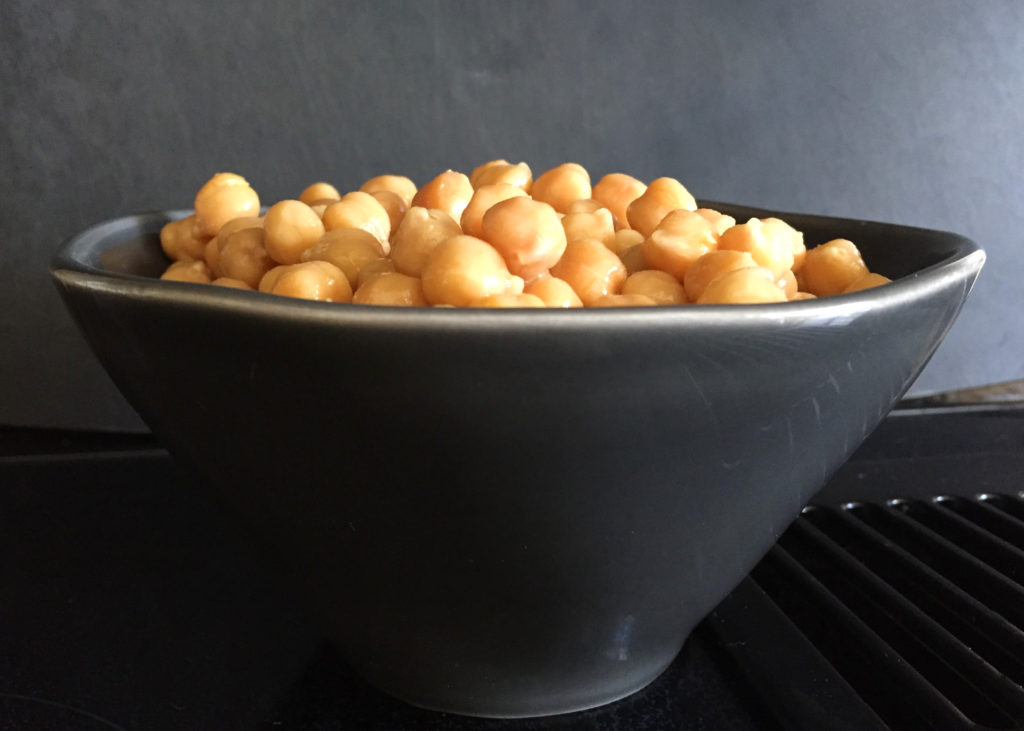
Yesterday morning before I went out to meet a friend for coffee I put a batch of chickpeas in my Instant Pot to cook. I wasn’t sure what I was going to do with them but cooked beans are always a great thing to have in your back pocket (just don’t sit down. HAHAHA… sorry). They are healthy, filling, and will sit in the fridge for a few days until you need them. Mine didn’t sit because on the way home I stopped at the market and spotted some fresh corn and some lovely ripe mangos. Throw in some filler vegetables and amp it up with a zesty smoky vinaigrette and you got yourself a yummy Southwestern inspired salad.

The ingredients below are what I had on hand but it is infinitely adaptable. Use black or white beans instead of chickpeas. Add sliced radishes, diced bell pepper or kohlrabi. Try a different cheese. Shower with mint and basil instead of cilantro. And as always, enjoy sitting outside on your patio with a beer. Cheers!

Vinaigrette
juice from one fresh lime (about 2 TBS)
2 tsp honey
1 tsp Dijon mustard
1/4 tsp ground cumin
1/2 tsp smoked paprika
1/4 cup good fruity olive oil
salt and pepper to taste

Salad
1 cup dried chickpeas (to make 2 1/2 cups cooked, or you can use canned)
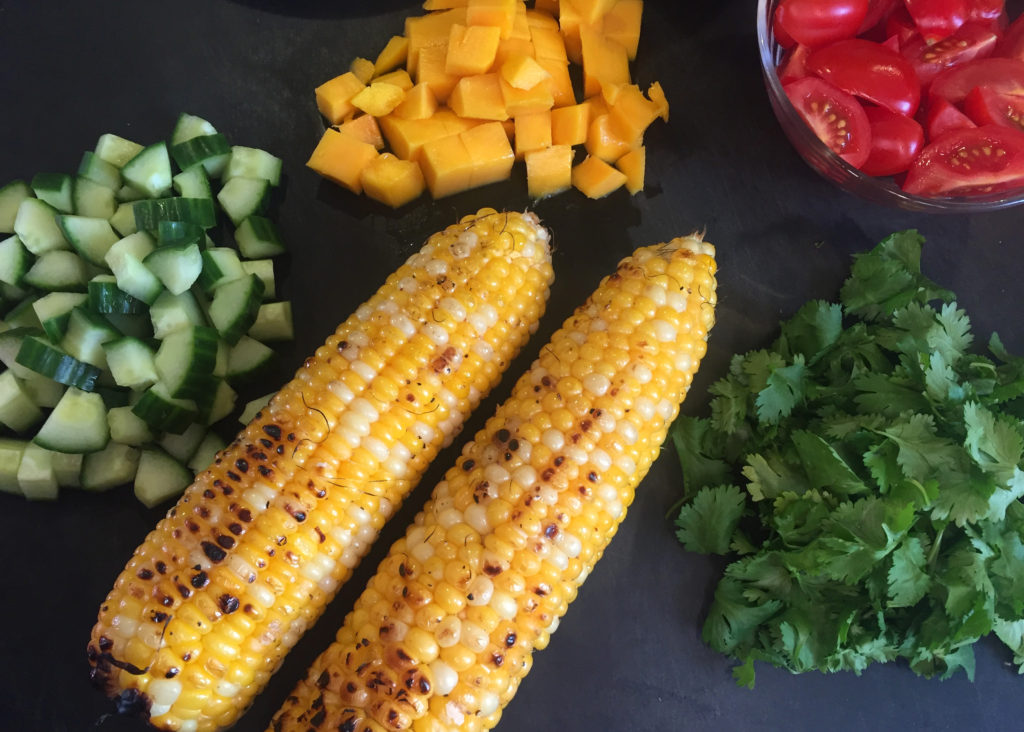
2 fresh cobs of corn
handful cherry tomatoes, halved
1/2 English cucumber, seeded and diced into bits-sized pieces
1/4 cup pickled onions
1 ataulfo mango, peeled, seeded and diced into bite-sized pieces
crumbled feta (garnish)
handful chopped cilantro (garnish)

Cook chickpeas using your favourite method. I do mine in the pressure cooker with a clove of garlic and bay leaf.

Make vinaigrette by combining all ingredients except olive oil in a bowl. Slowly drizzle in oil while whisking. Taste and re-season if necessary. Set aside.

Preheat BBQ grill. Shuck and grill corn, turning until blistered in places (about 10 minutes). Let cool enough to handle. Remove kernels with a knife. Set aside.

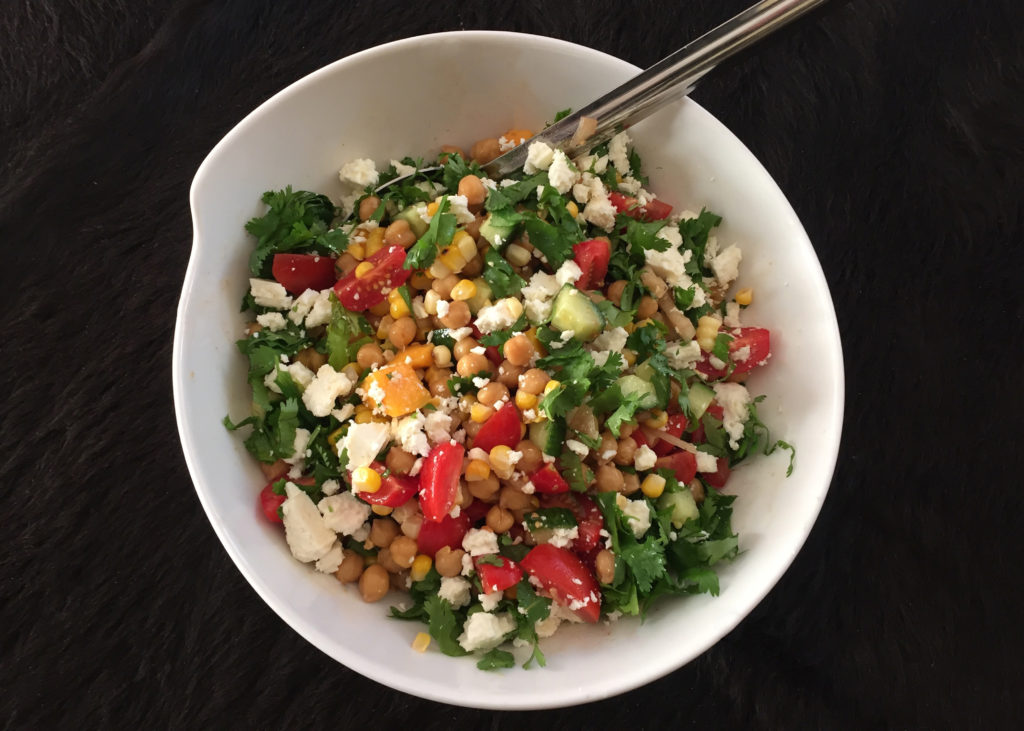
When you’re ready to eat, combine chickpeas, corn kernels, and the rest of the salad ingredients (except feta and cilantro) in large bowl. Drizzle with half the vinaigrette and mix well. Taste and adjust seasoning adding more vinaigrette or salt and pepper. Garnish with crumbled feta and chopped cilantro. We enjoyed this with grilled bread.