I have an Instant Pot. Yes, I do. For the past couple years I have been using it to cook dried beans, some long-cooking vegetables such as beets, and I make yoghurt on a regular basis. I also tried an “all in one” meal with mashed potatoes, beets, and meatloaf… yes, cooked together ALL IN ONE POT. And do you know what?!… it was pretty good! I have been quite happy with my Instant Pot but people online can’t seem to stop talking about how amazing it is to cook almost ANYTHING (seriously… cheesecake?) so I need to branch out.
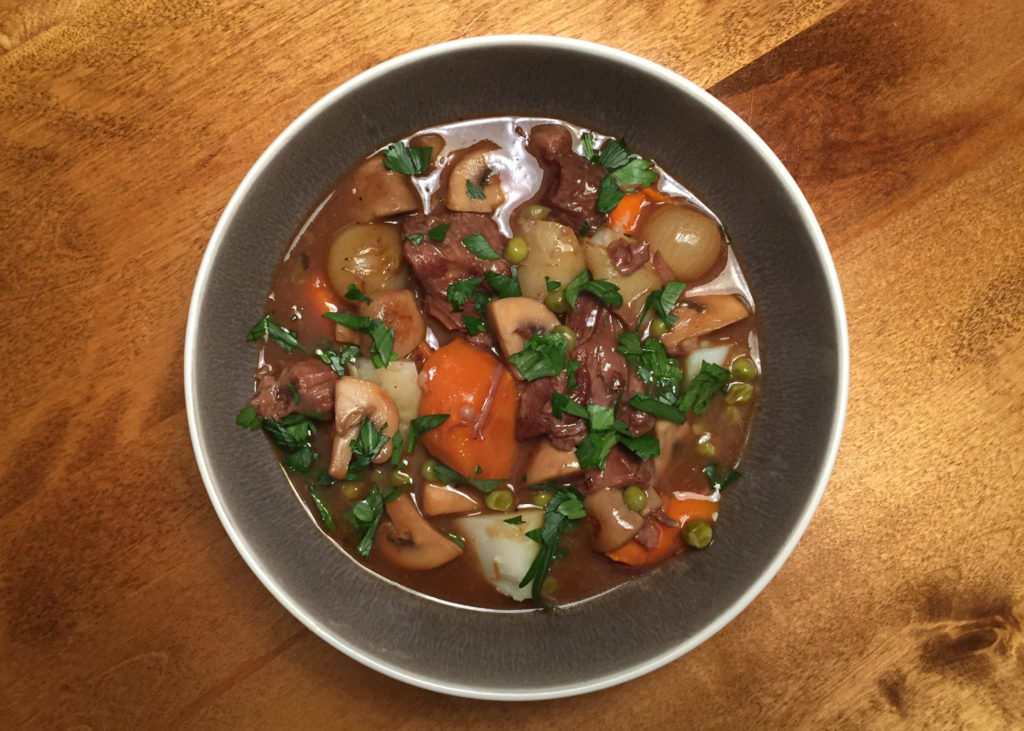
Some time ago I spotted this recipe for pressure cooker beef stew and it got me thinking about beef bourguignon with the wine and pearl onions and mushrooms. Mmmmmmmm, rich comforting flavourful beef stew in about half the time? Count me in, man! (Did I just say “man”?!?!).
The inspirational stew made (almost) according to the recipe was very good but I have continued to fiddle with it because I wanted something much closer to traditional beef bourguignon and I still don’t COMPLETELY trust the “dump and go” method in most Instant Pot and slow cooker recipes. I think flavours need to be layered. My favourite part of beef bourguignon are the little onions braised in dark stock and the mushrooms fried in butter so instead of simply cooking them in the stew I used Julia Child’s recipes for Oignons Glaces a Brun (brown braised onions) and Champignons Sautes au Beurre (sauted mushrooms in butter) and add them in at the end to re-heat. Granted it does take extra work, but not extra time because you do it while the beef is cooking.
The inspirational recipe calls for 4 packets of gelatin which gives body to the stew but I cut this down to one packet because my stock is homemade and already has the velvety mouth-feel. You can increase this if your stock is store-bought. I also nixed the extra carrots, potatoes and celery because those are not traditional in beef bourguignon but I did keep the soy sauce, anchovy paste and fish sauce… also not traditional but I think they really add to the umami quality of the stew. I also threw in some frozen green peas just because I like them. :)
Despite failing to jump on the whole “all in one” bandwagon, I think my recipe is now pretty close to traditional beef bourguignon while streamlining the process to use only one additional saute pan (with no washing in between) for all the searing, braising of onions, and frying of mushrooms. I have divided the ingredient list below into the separate cooking steps to help you organize better as you cook. It’s still probably not a weeknight meal but it will definitely cut your weekend beef bourguignon down to at least half the time letting you arrive home mid-afternoon (after a day of skiing? mountain climbing? parasailing? reading a good book that you can’t put down?) and still deliver a meal to the table that looks and tastes like you cooked all day… win, win!
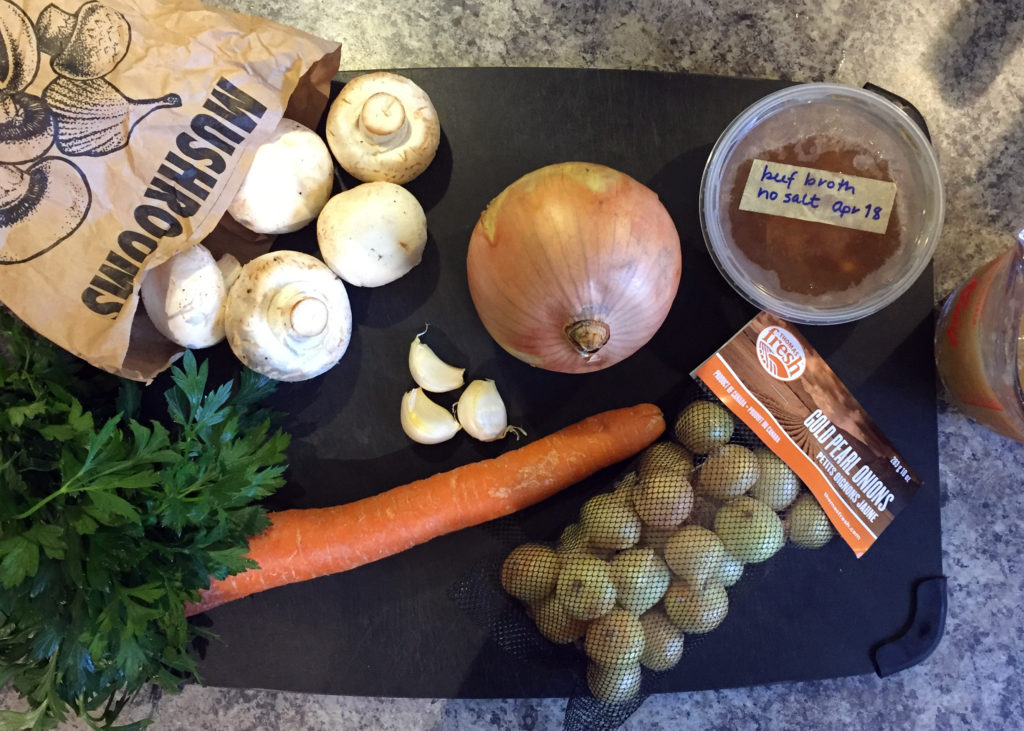
2 cups homemade or store-bought chicken stock
1 packet powdered unflavored gelatin (7 g) (you can use up to 4 packets if your stock is store-bought)
2 TBS tomato paste
1 TBS soy sauce
2 tsp anchovy paste, or 2 mashed anchovies, or 1 TBS Asian fish sauce (I used both anchovy paste and fish sauce)
1 TBS Worcestershire sauce
2 TBS vegetable oil
3 pounds whole boneless beef chuck roast, cut into 3 steaks
salt and freshly ground black pepper
2 TBS flour
1 large or 2 medium carrots, cut into 1″ pieces
1/2 large or 1 medium yellow onion, cut in half pole to pole
3 medium cloves garlic, unpeeled
1 cup red wine or sherry (or a mix of both)
2 bay leaves
4 sprigs thyme
1 cup (about 6 ounces) frozen or fresh pearl onions (thawed if frozen, peeled if fresh)
1 TBS butter
1 TBS vegetable oil
1 cup beef stock (ok to be made from good bouillon)
10 ounces white button mushrooms, quartered (or in sixths if large)
2 TBS butter
1 cup (about 4 ounces) frozen peas (optional, but I like them)
Fresh chopped parsley to garnish (optional)
Put stock, gelatin, tomato paste, soy sauce, anchovies and worcestershire sauce in a bowl or large measuring cup and whisk to combine. Set aside.
In a skillet, heat 2 TBS vegetable oil over medium-high heat. Season beef on both sides with salt and pepper and sear on each side until a nice dark brown crust forms, about 5-6 minutes per side. Remove from skillet into large bowl. Sprinkle with 2 TBS of flour, stir and set aside.
In the same skillet (add another splash of oil if necessary), add carrots, onion (cut side down), and garlic cloves. Turn vegetables as they start to brown. Once they are browned on a couple sides, remove and set into Instant Pot.
Add sherry and or wine to skillet. Scrape up any fond and let alcohol reduce about one-third. Pour into Instant Pot over vegetables. Set skillet aside without cleaning… you’re going to use it again soon.
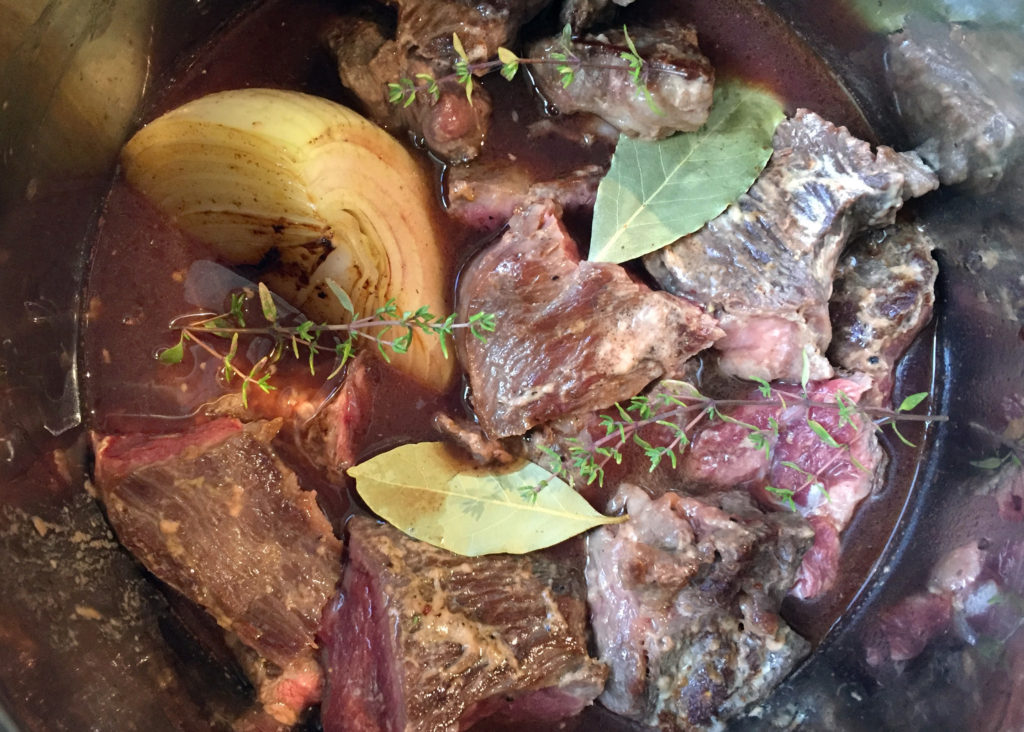
Cut seared beef into largish chunks (about 2 inches) and add to Instant Pot along with any beef drippings. Pour stock mixture into Instant Pot and add bay leaves and thyme. Set on manual high pressure for 35 minutes. (If you are using a stovetop pressure cooker, process for 30 minutes).
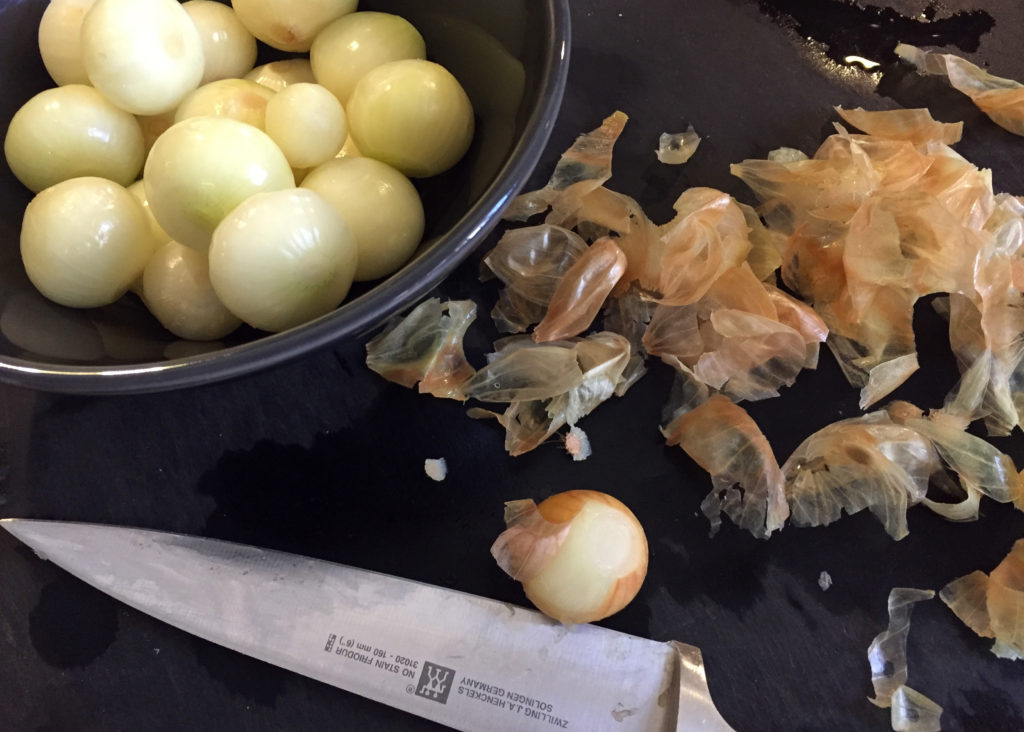
While the meat is cooking, make your pearl onions. If you are using fresh I have found the easiest way to peel is to blanch for 1 minute, then run under cold water until they are cool enough to peel. Melt 1 TBS each butter and oil in your skillet over medium-high heat until foamy. Add onions and let cook, tossing every couple minutes until they have started to brown. Add in beef stock and let simmer until the onions are tender and most of the liquid has evaporated. If you are using frozen this takes about 10 minutes, fresh can take 20-30 minutes depending on their size. Scrape onions and any leftover liquid into bowl and set aside.
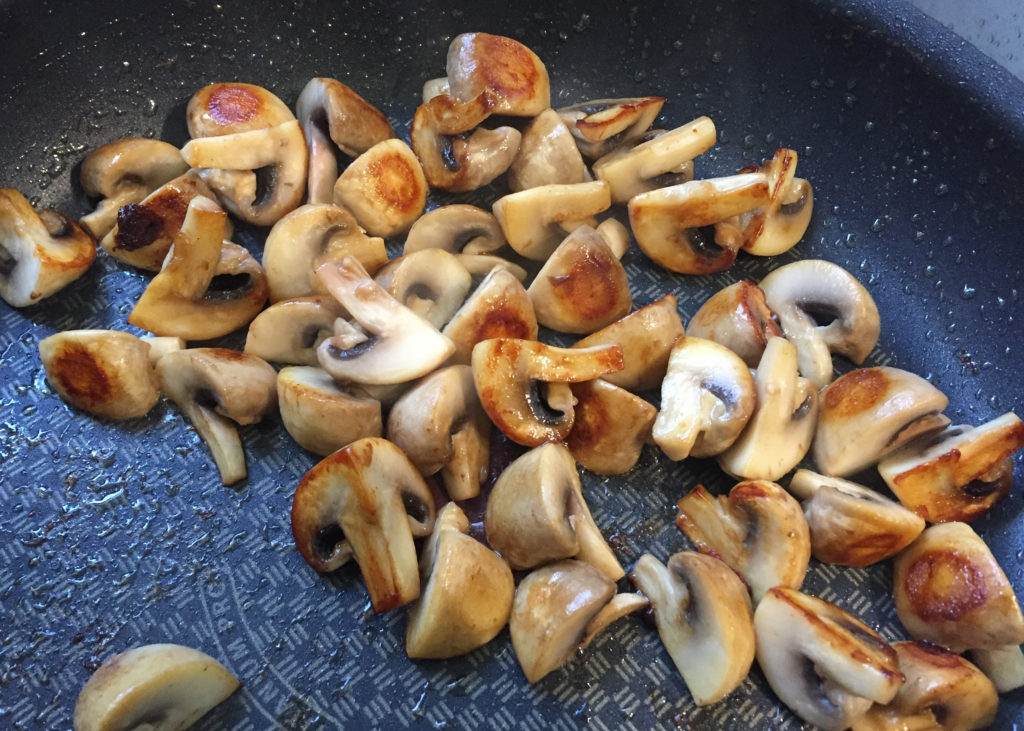
In the same skillet add 2 TBS butter and let melt until foamy. Add mushrooms and toss every couple minutes. They will first absorb the fat, then let go of their liquid and become quite wet, and finally the liquid will evaporate allowing the mushrooms to brown. This takes about 10-15 minutes for me. Set mushrooms aside.
When the beef has finished in the Instant Pot allow the pressure to naturally release for at least 15 minutes, after which you can manually release if the pin hasn’t dropped. If you have time, you can let sit up to a couple hours until you’re ready for dinner.
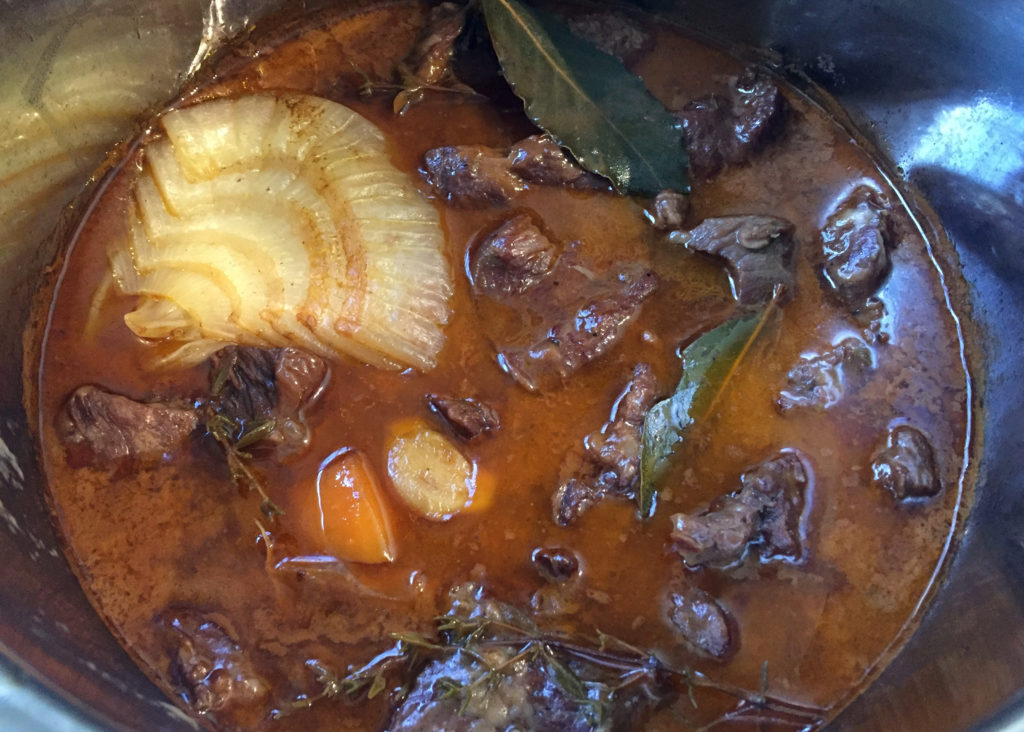
Remove the whole onion, bay leaves, and garlic cloves from stew and discard. Let sit for a couple minutes to let the fat rise to the top and skim. (Tip: If you find the thin layer of fat on top hard to skim because those pesky vegetables are getting in the way, just lay a paper towel across the top of the stew and it will soak up the fat!) Turn on saute function and add reserved mushroom, pearl onions, (and green peas, if using) to heat through. At this point you can also adjust the thickness of your stew if desired by making a slurry of flour or corn starch and water and stirring into the stew. Now is also the time to taste and re-season. I find a TBS each of fish sauce and balsamic vinegar really brighten the flavour and add depth to the final dish.
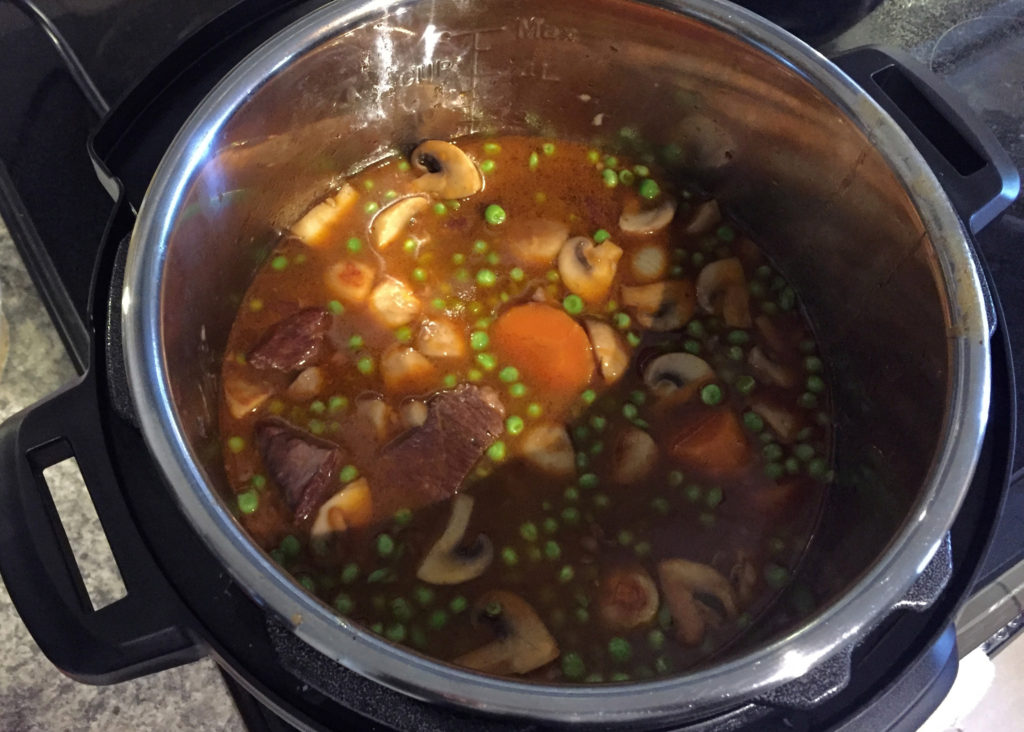
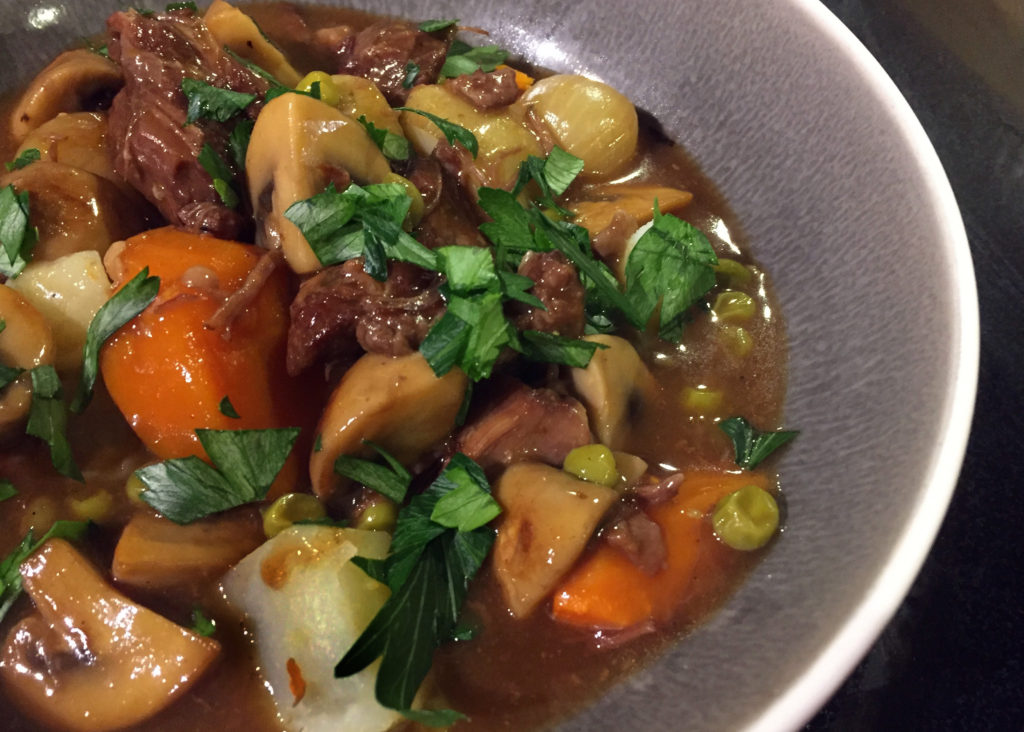
Garnish with fresh parsley and serve with crusty bread and a salad or over potatoes or pasta. Leftovers are even more delicious. Yum!
