I have been craving French onion soup for at least a month. A few weeks ago I bought a 10 pound bag of onions with the plan to make soup and voila!… they sat there. A week later I moved them out to the garage for storage and… they sat there.
Last Friday we went to a French bistro for dinner and French onion soup was back on the menu for winter… yum! But I stopped myself from ordering it because I HAVE A 10 POUND BAG OF ONIONS AT HOME!
So yesterday I did it! I made French onion soup! And it was amaaaaaazing! I used this recipe as a base and if you’re interested why it works so well take 5 minutes to read the back-story. I tweaked the recipe by sort of halving it but using a generous amount of onion, essentially doubling the fish sauce and cider vinegar, and cutting the bread into croutons because I just find it easier to eat that way. My version makes 4 servings (so Husband and I can have it twice) and I used a combination of homemade beef and chicken stock because I make my own. If you are buying stock from the grocery store, just use chicken. There is something wrong with store-bought beef stock. It has a weird tinny taste even if it’s not packaged in a can. If you have a pressure cooker it’s very easy to make at home or just use chicken stock. And, although I haven’t tried it, my guess is this would be tasty with a hearty vegetarian stock as well because much of the flavour comes from those deeply caramelized onions.
Speaking of which…a word about those caramelized onions. Use plain old yellow because the sweet ones make the broth too sweet. If you have a red onion throw that in as well for a more complex flavour. Caramelizing the onions takes some time and a bit of attention. Do them in a skillet over medium low heat. Mine took exactly one hour during which time you can putter around the house returning to the kitchen every 5-10 minutes to give them a stir. If they start to burn lower the heat and if they get too dry just add a splash of water. You don’t need any sugar as some recipes call for. Just a bit of patience and you will be justly rewarded, I guarantee it.
3 tablespoons butter
2 pounds yellow or mixed onions, sliced 1/8 inch thick
Kosher salt and freshly ground black pepper
1/4 cup dry sherry (fortified wine, or just sub in red wine)
4 cups beef or chicken stock (I used 2 cups each because I freeze it in 2 cup containers)
sprig of thyme
1 bay leaf
1 teaspoon Asian fish sauce (optional but you should definitely use it)
1 teaspoon cider vinegar
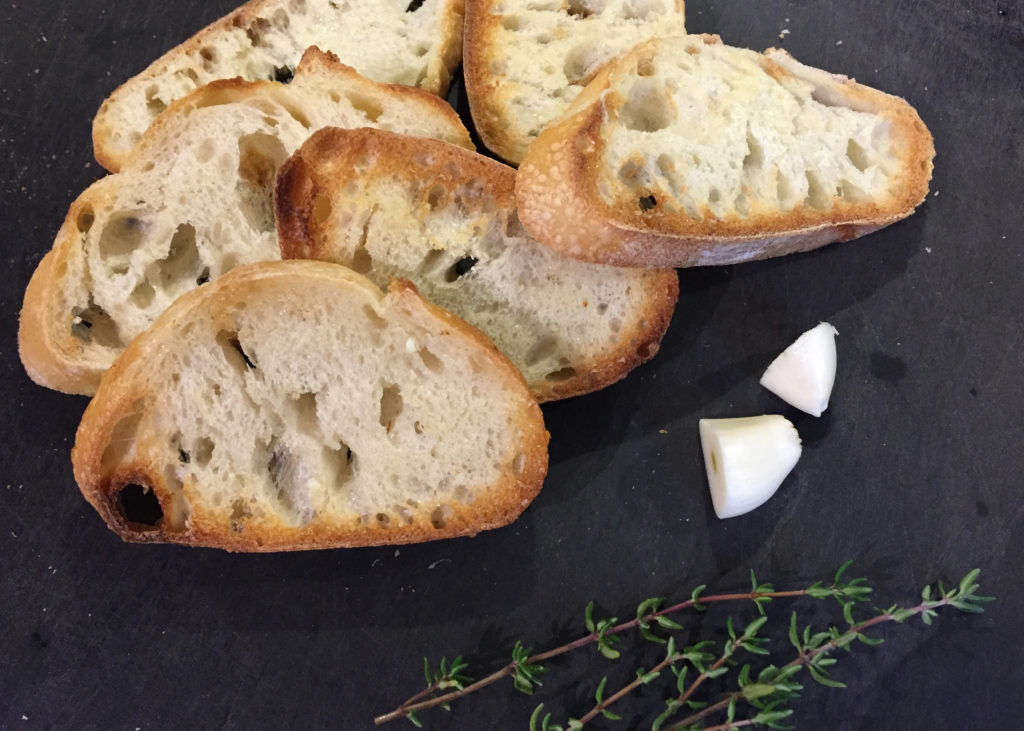
4 slices rustic bread, toasted until crisp, rubbed with cut garlic and cut into large croutons
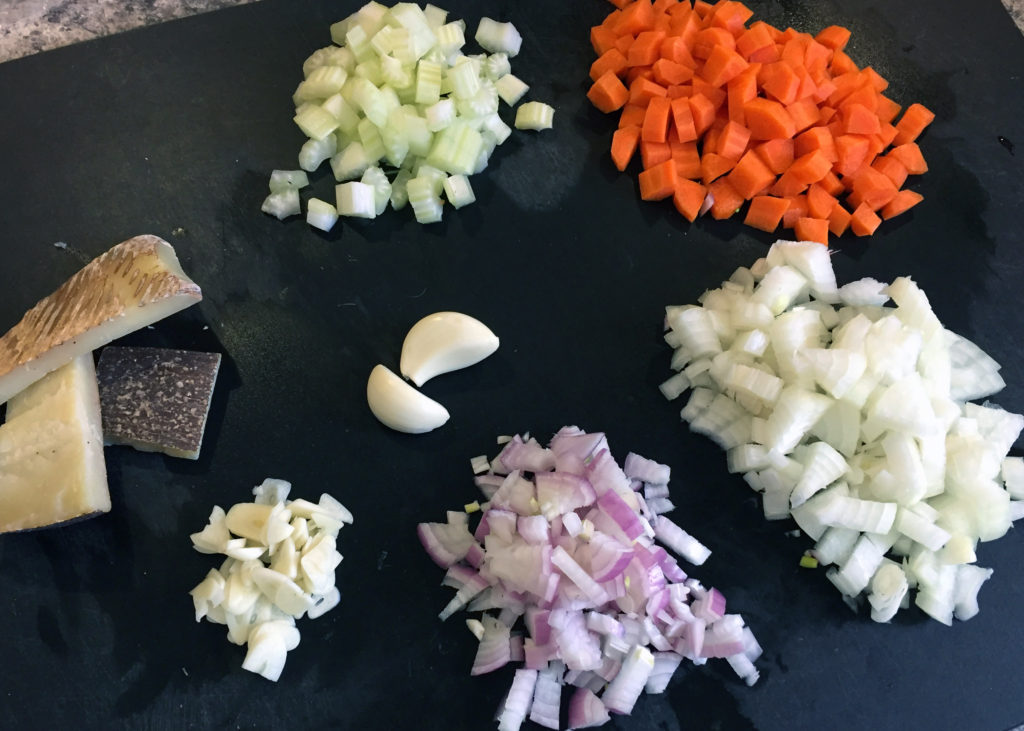
1 medium clove garlic, halved (to rub the croutons)
Gruyere cheese, grated to top bowls (I used a generous 2 ounces per bowl)
Cut the onions in thin slices (1/4-1/8th inch thick) pole to pole. This will help them maintain their shape. Heat skillet over medium high heat and melt butter. Add onions, frying for 5-10 minutes until translucent. Turn down heat to medium-low and continue to cook, stirring every 5-10 minutes until dark golden brown. Turn heat lower if they start to burn and add a splash of water if they get too dry. Mine did not need any water. This should take about an hour.
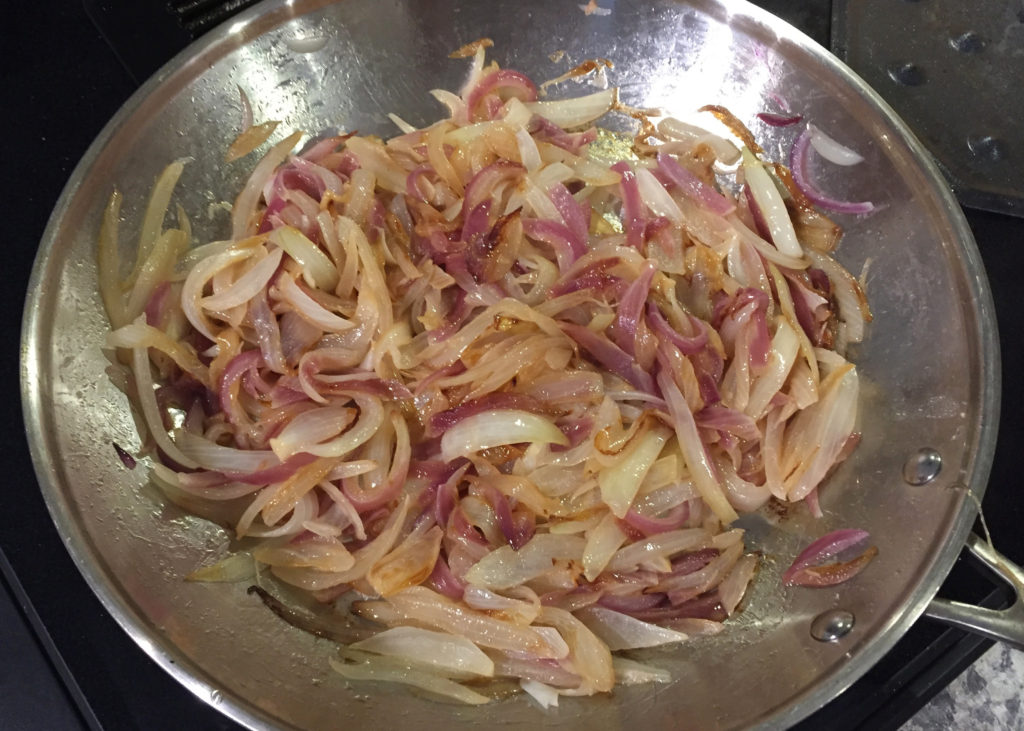 (10 minutes)
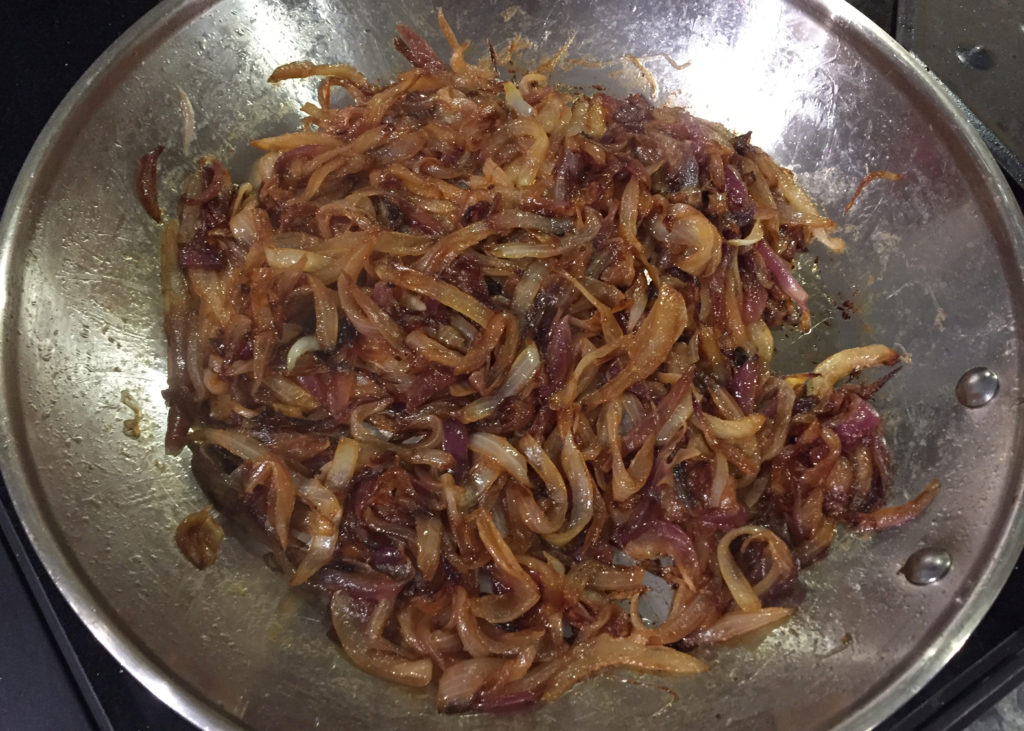 (30 minutes)
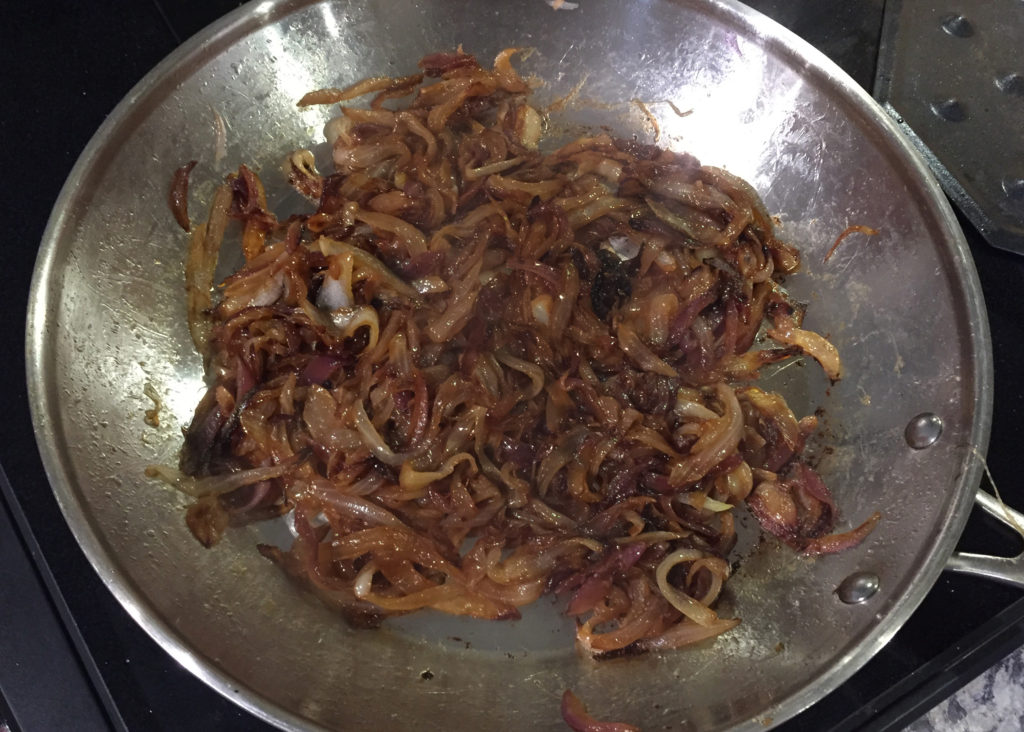 (one hour)
Toast your bread slices in the toaster or under a broiler until golden. Rub both sides with the cut side of a clove of garlic. Cut into large croutons and set aside until needed. Grate the cheese and set aside until needed.
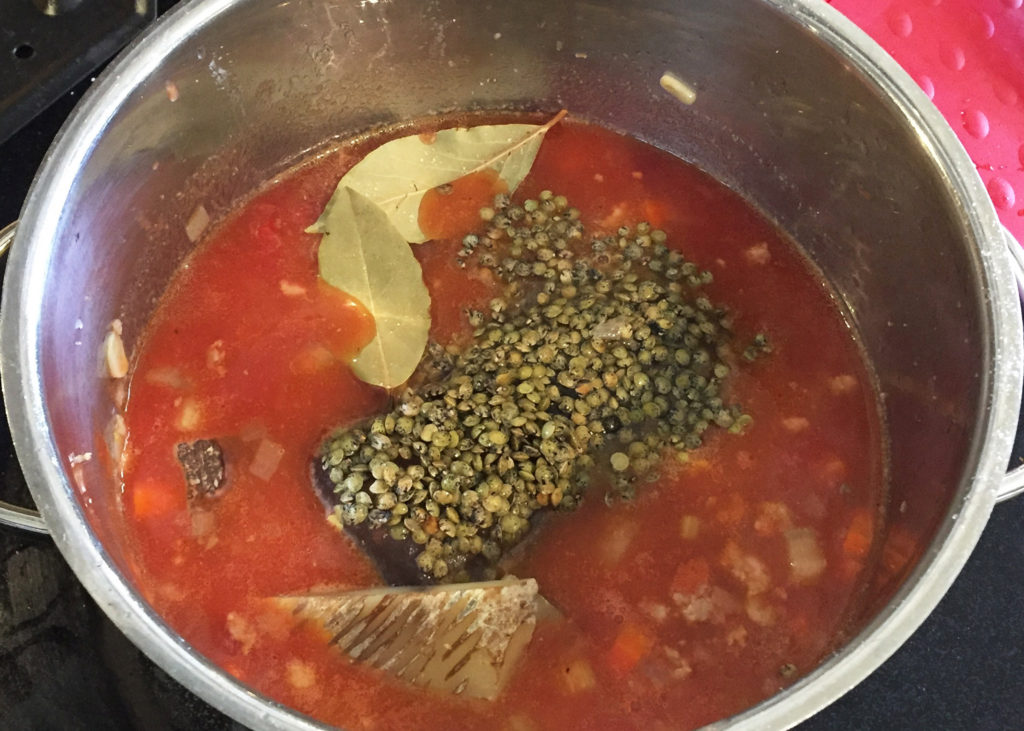
When your onions are meltingly caramelized add the sherry and scrape the bottom of the pan to lift up any of the delicious fond that has formed. Stir for a minute or so to burn off the alcohol and then add your stock, thyme and bay leaf. Bring to a very gentle simmer and let gently bubble for about 20 minutes until it reaches the consistency you want for your soup. At 20 minutes mine lost about a cup of of liquid and had the velvety mouth-feel I was looking for. Add the cider vinegar (for brightness) and fish sauce (for umami) and taste, adding a little more until it has the perfect balance of flavours. Soup can be held at this point for an hour or so off the burner or for a couple days in the fridge.
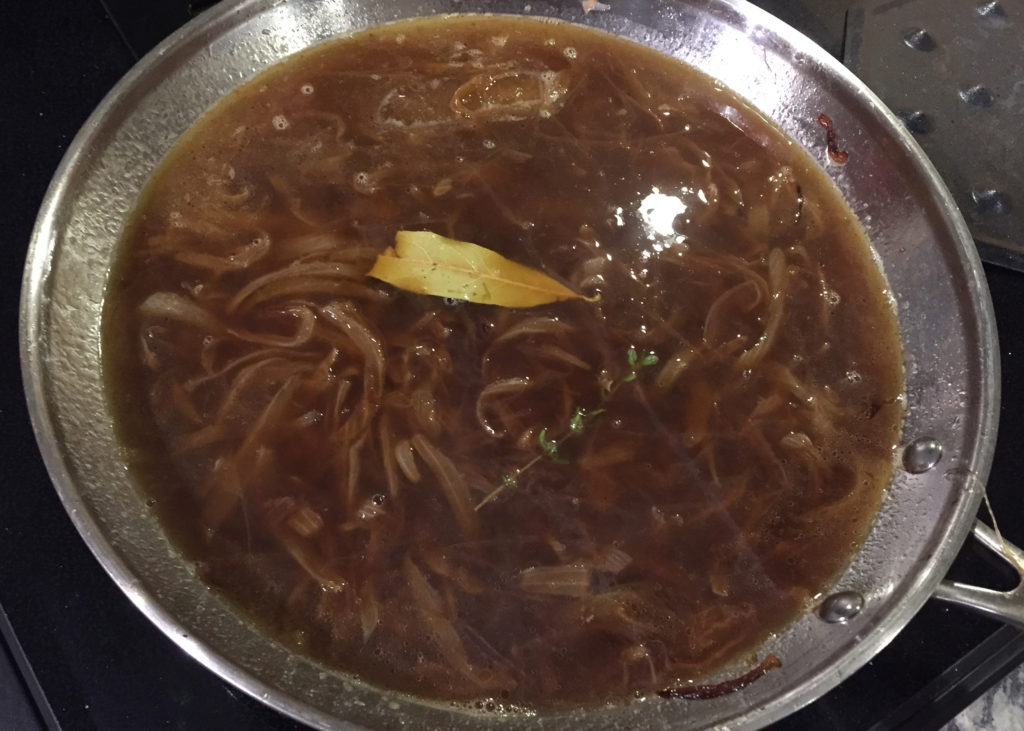 (beginning of simmer)
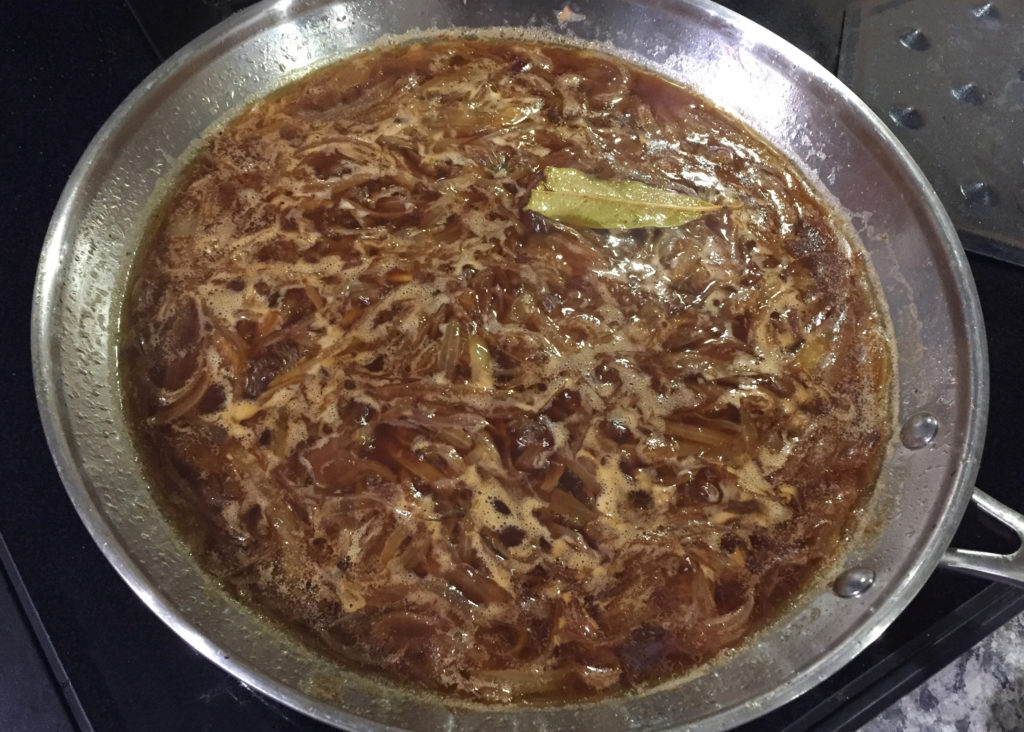 (20 minutes)
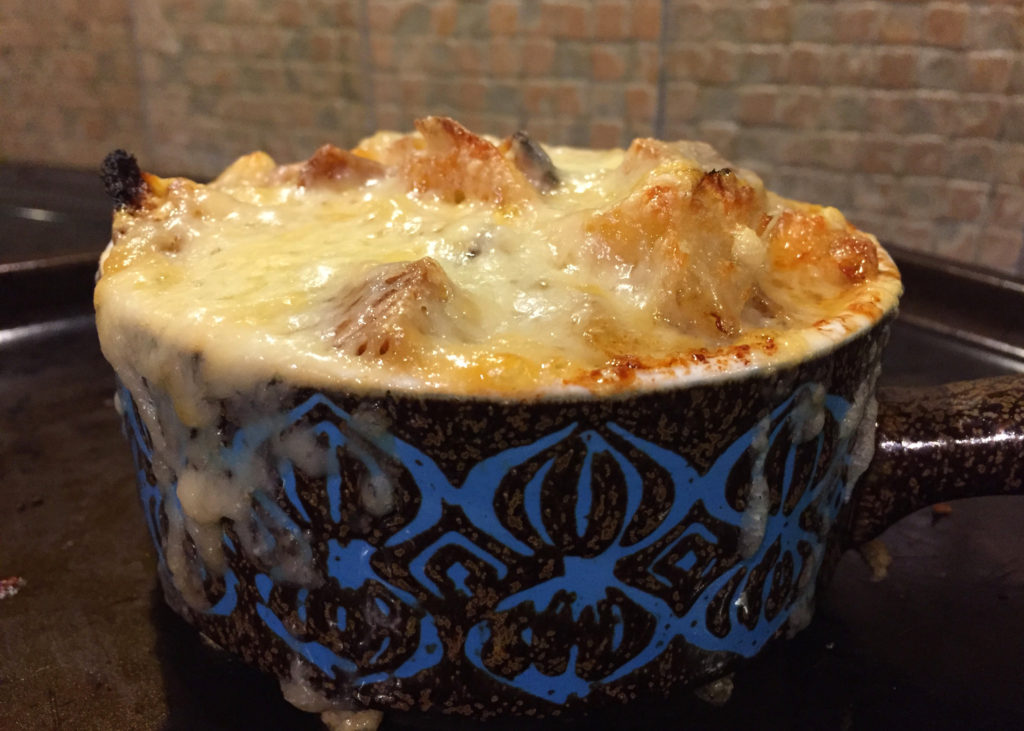
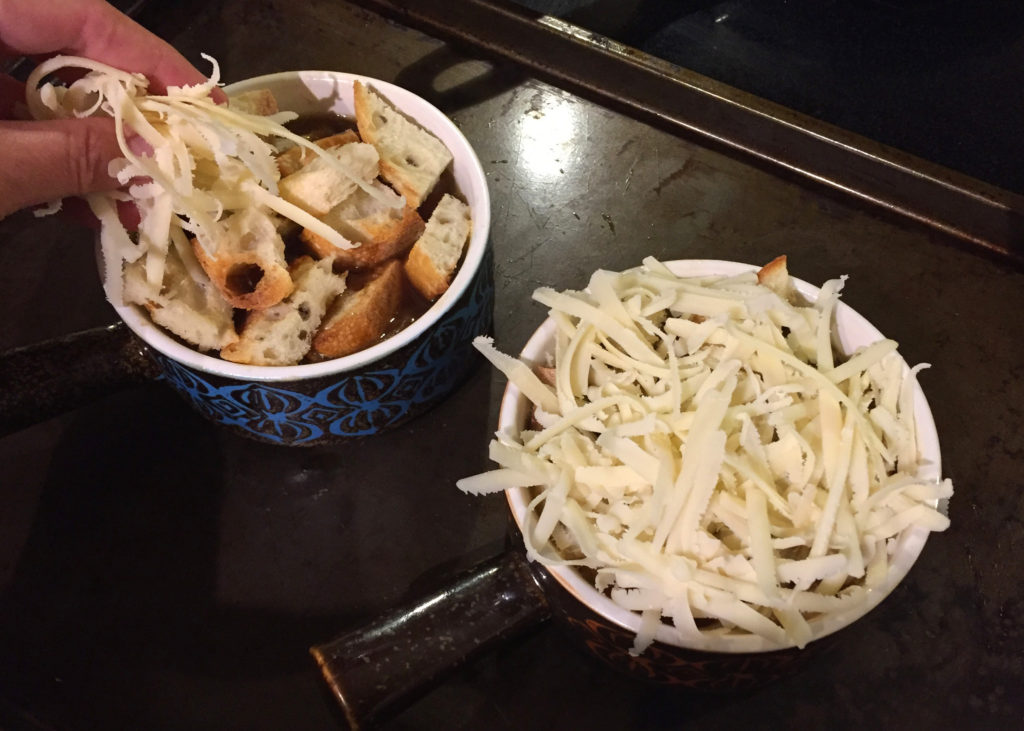
When you’re ready, reheat the soup if necessary. Preheat the broiler and fill oven-proof soup bowls leaving 1/2 inch of room at the top. Place croutons on top of soup and cover with grated cheese.
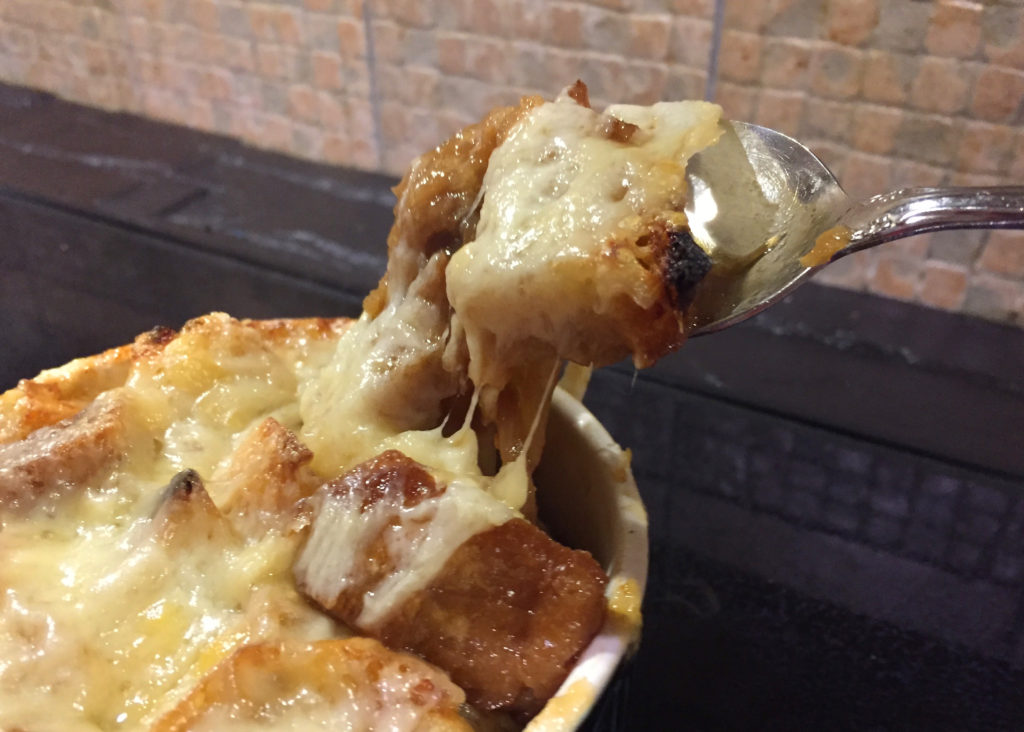
Set on a rimmed baking sheet and place on middle rack under broiler until bubbly and golden brown. This should take 5-10 minutes. Watch closely for burning. We ate this as our main course with a hearty salad. Bon appetit!

 I have something to tell you guys. I did something a few nights ago that scared the heck out of me. Are you ready?… I catered my first dinner. I mean for real! SOMEONE ACTUALLY PAID ME TO COME TO THEIR HOUSE AND COOK FOR THEM! And it was a big success! I still can’t believe it. It was sooooo much work and so stressful and even if I never do it again I feel like I left my safe little world and wandered out into the dark night and KICKED BUTT!